How to Write a Novel Outline: The Complete Step-by-Step
You've got the premise, the protagonist, and perhaps a vivid opening scene. Then you open a blank document and discover that a compelling idea isn't yet a novel. You may know how the story begins, but the middle feels uncertain, the character's choices don't quite match the person you imagined, and your research is scattered across notebooks, browser tabs, and files.
A useful outline prevents those problems without pretending you can predict every creative decision in advance. The practical answer to how to write a novel outline isn't to build an unchangeable blueprint. It's to create a working document that gives you direction, exposes weak logic early, and changes when the draft teaches you something new.
Table of Contents
- Why Your First Outline Will Change Everything
- Choosing Your Structural Framework
- Mapping Your Plot Beats and Scenes
- Building Character Arcs Into Your Outline
- Organizing Research and Reference Material
- Assembling Your Outline and Preparing for Drafting
- Common Outline Mistakes and How to Fix Them
Why Your First Outline Will Change Everything
A novel outline earns its keep by revealing problems before you've written tens of thousands of words. It can show that the protagonist has no meaningful choice in a pivotal scene, that the central conflict disappears after the opening, or that the ending depends on information the reader never receives. Finding those issues in a planning document is far less expensive than discovering them during a full revision.
That doesn't mean the first outline should dictate the book. Experienced writers rebuild outlines because drafting generates information that planning alone can't provide. A character may resist the action you assigned them, a secondary relationship may become more interesting than expected, or a solution may feel emotionally false once you write it in a scene.
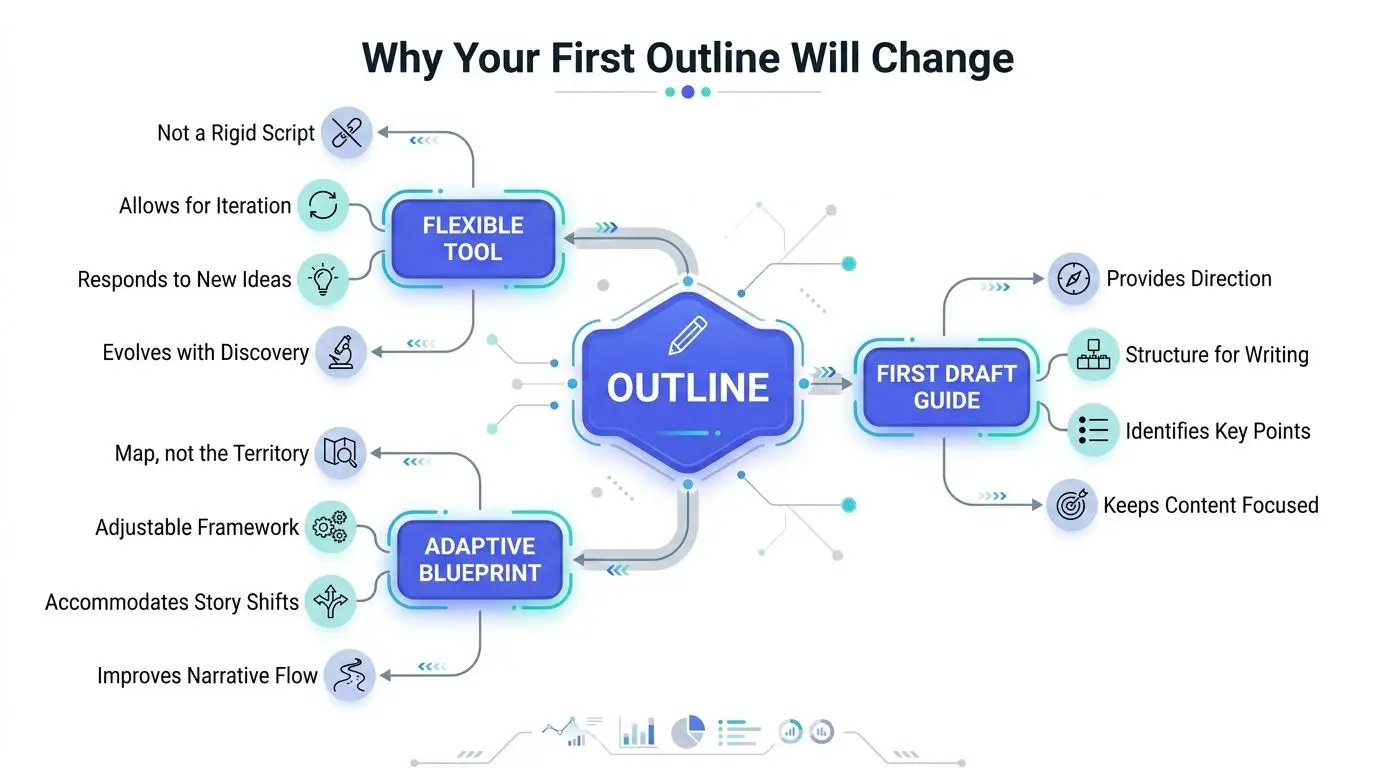
Use a reversible outline
A reversible outline treats structural decisions as hypotheses. You're not promising that the protagonist will confront the antagonist in a particular location or that a subplot will resolve in a particular chapter. You're recording the current best version so you can test it.
For each major scene, capture:
- The intended function: What changes because this scene exists?
- The pressure: What does the POV character want, and what prevents it?
- The consequence: What new problem or decision follows?
- The uncertainty: Which part might change during drafting?
This approach preserves momentum while leaving room for discovery. It also prevents a common psychological trap, where writers defend an outline just because they spent time creating it. Your loyalty belongs to the novel's logic and emotional truth, not to an earlier planning session.
Practical rule: If a drafted scene contradicts the outline but produces a stronger character choice, revise the outline instead of forcing the scene back into compliance.
You can develop the initial plan in writing, on index cards, or through desktop voice brainstorming techniques when speaking helps you discover connections faster. Keep the result readable and easy to rearrange. A planning workspace such as why outlining a book helps can also help you distinguish a flexible roadmap from a rigid contract.
Choosing Your Structural Framework
Structure gives your ideas a shape, but no framework can solve a story that lacks conflict, desire, or consequence. Choose the system that matches the decisions you already know how to make.
The three-act structure remains a practical foundation. It organizes a story around setup, confrontation, and resolution, a modern adaptation of principles associated with classical drama. Story Grid's overview of novel outlining describes how this model maps cleanly onto beginning, middle, and end. It works particularly well when you understand the central problem and have a strong sense of the ending, but it can feel too broad if you need help deciding what happens between major turning points.
A beat sheet breaks the story into recognizable milestones. Instead of asking only what belongs in each act, you identify the opening disturbance, escalating complications, midpoint shift, crisis, climax, and aftermath. This method suits thrillers, mysteries, commercial fantasy, and romance, where readers expect clear momentum. Its risk is mechanical drafting. If you treat every beat as a mandatory appointment, scenes may exist only to satisfy a formula.
The snowflake method expands outward. You begin with a compact premise, develop characters and a synopsis, then add increasingly detailed layers. It's useful for writers who want guardrails but prefer to discover detail gradually. The trade-off is time. You may spend too long refining planning documents before testing whether the story works in actual scenes.
Outline framework comparison
| Framework | Best For | Complexity | Drafting Speed |
|---|---|---|---|
| Three-act structure | Writers who know the core conflict and ending | Low to moderate | Fast once the major turns are clear |
| Beat sheet | Plot-driven novels that need scene-level momentum | Moderate | Fast for writers comfortable with milestones |
| Snowflake method | Organic development with layered planning | Moderate to high | Steady, after the premise and character layers work |
Choose three-act structure if the ending is clear. Choose a beat sheet if you keep losing momentum between major events. Choose snowflake if you want to grow the story in controlled passes. You can also combine them, using three acts for the large shape and scene cards for the working draft. A concise explanation of the larger model is available in this guide to the three-act structure.
Mapping Your Plot Beats and Scenes
A plot can lose momentum before the draft begins. The protagonist finds the stolen diary, confronts her brother, and uncovers the family secret, yet the sequence still feels flat if each event follows the last. Start with one sentence containing the protagonist, central disruption, and difficult objective: A reluctant archivist must recover a stolen diary before its hidden evidence destroys the family she has spent her life protecting.
Treat that premise as a direction, not a contract. Expand it into a short character summary covering what the archivist wants, what she fears, and why she cannot walk away. Then write a chronological, multi-page synopsis from beginning to end. Include the major scenes and turning points, while marking uncertain details as provisional. Reversible outlining lets you test the story's shape without treating early decisions as permanent. Friction Lit's premise-to-synopsis workflow follows a similar progression.
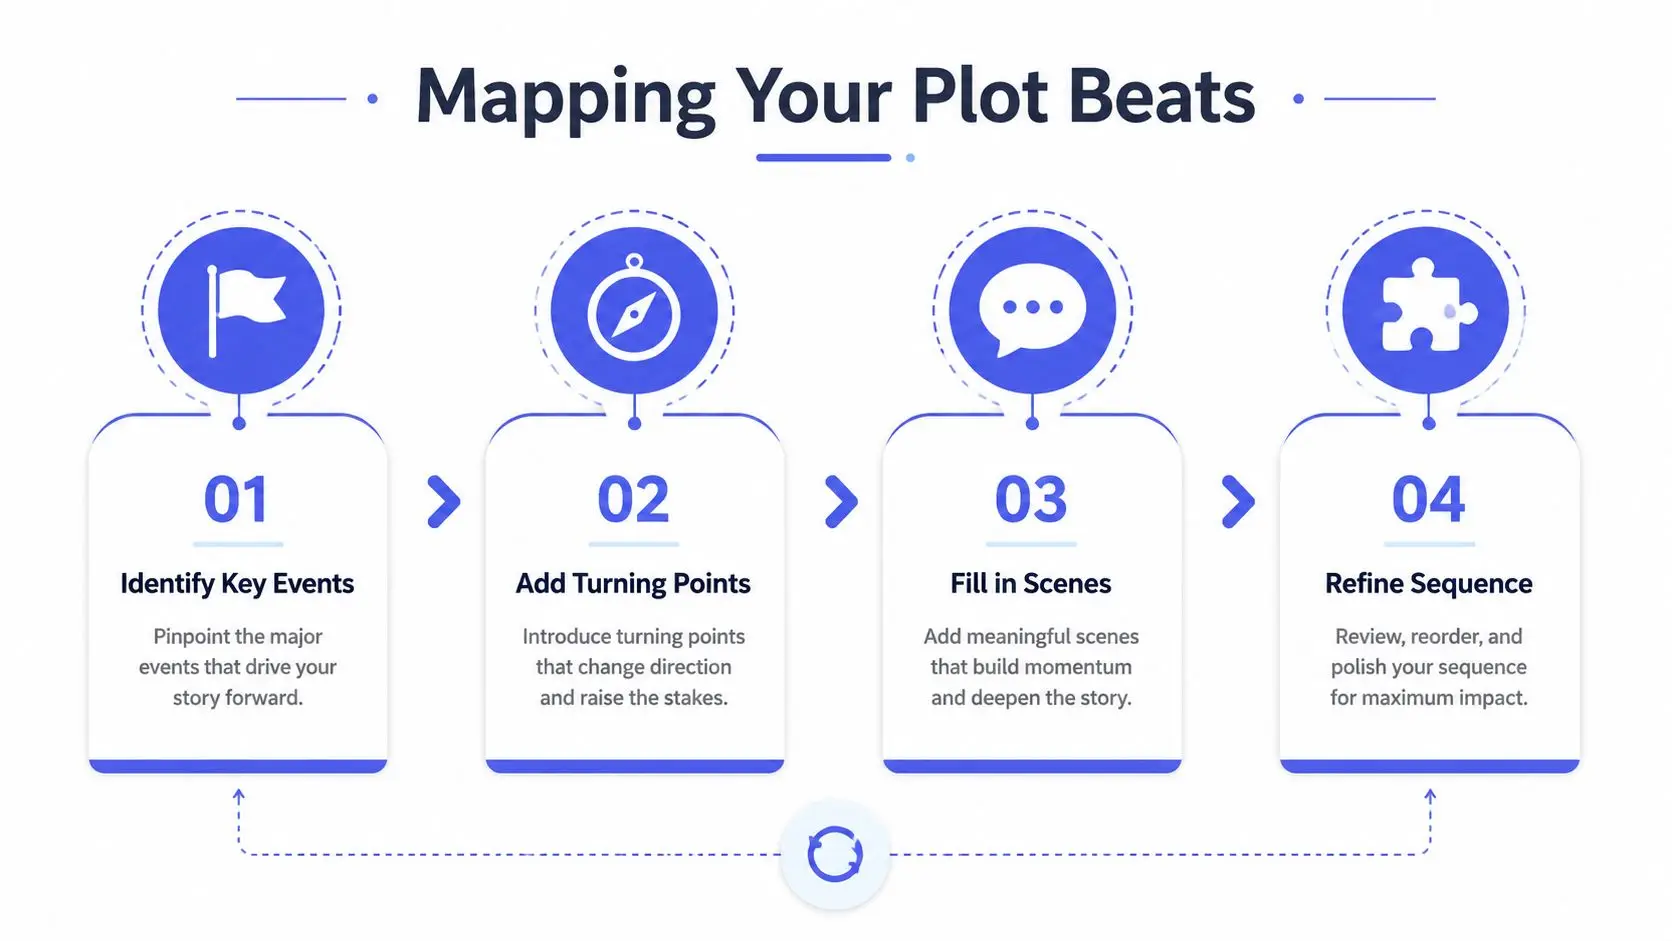
Build scene cards that can move
Break the synopsis into roughly 15 to 40 scene cards. Keep them loose enough to reorder, combine, or discard. Each card should identify:
- POV character: Who experiences the scene?
- Goal: What does that character want immediately?
- Obstacle: Who or what blocks the goal?
- Outcome: What changes by the end?
For the archivist, one card could read:
POV: Mara, the archivist
Goal: Persuade her estranged brother to return the diary.
Obstacle: He claims he burned it and refuses to discuss their family.
Outcome: Mara notices ash on his coat bearing an unfamiliar ink mark, so she follows a new lead.
A useful outcome creates pressure for the next scene. If a card ends with information but no decision, revise the scene or question its place in the outline. Track emotional movement alongside external events. Mara may begin by protecting the family's reputation, then recognize that her silence helped preserve the harm she fears exposing. Add a short emotional note to each card, such as deflects, suspects, admits, or chooses.
A scene-by-scene beat sheet resource can separate external events from the internal choices that give them meaning. For a broader discussion of turning information into reader-facing tension, see the art of storytelling.
Before drafting, write five cards for your own novel. Cover the opening disruption, protagonist's first response, first failed attempt, revealing complication, and decision that points into the next movement. Stop there. Those cards are enough to test momentum before you spend hours detailing scenes the draft may replace.
Building Character Arcs Into Your Outline
A plot outline can be perfectly logical and still produce a lifeless novel if the protagonist remains emotionally unchanged. Give the character an external want that creates movement and an internal need that creates meaning.
Consider a cautious paramedic who wants to expose corruption at her hospital. Her ghost, or formative wound, is the death of a patient she failed to save. Her lie is that emotional distance prevents professional mistakes. Her truth is that responsibility requires connection, judgment, and the courage to act before certainty arrives.
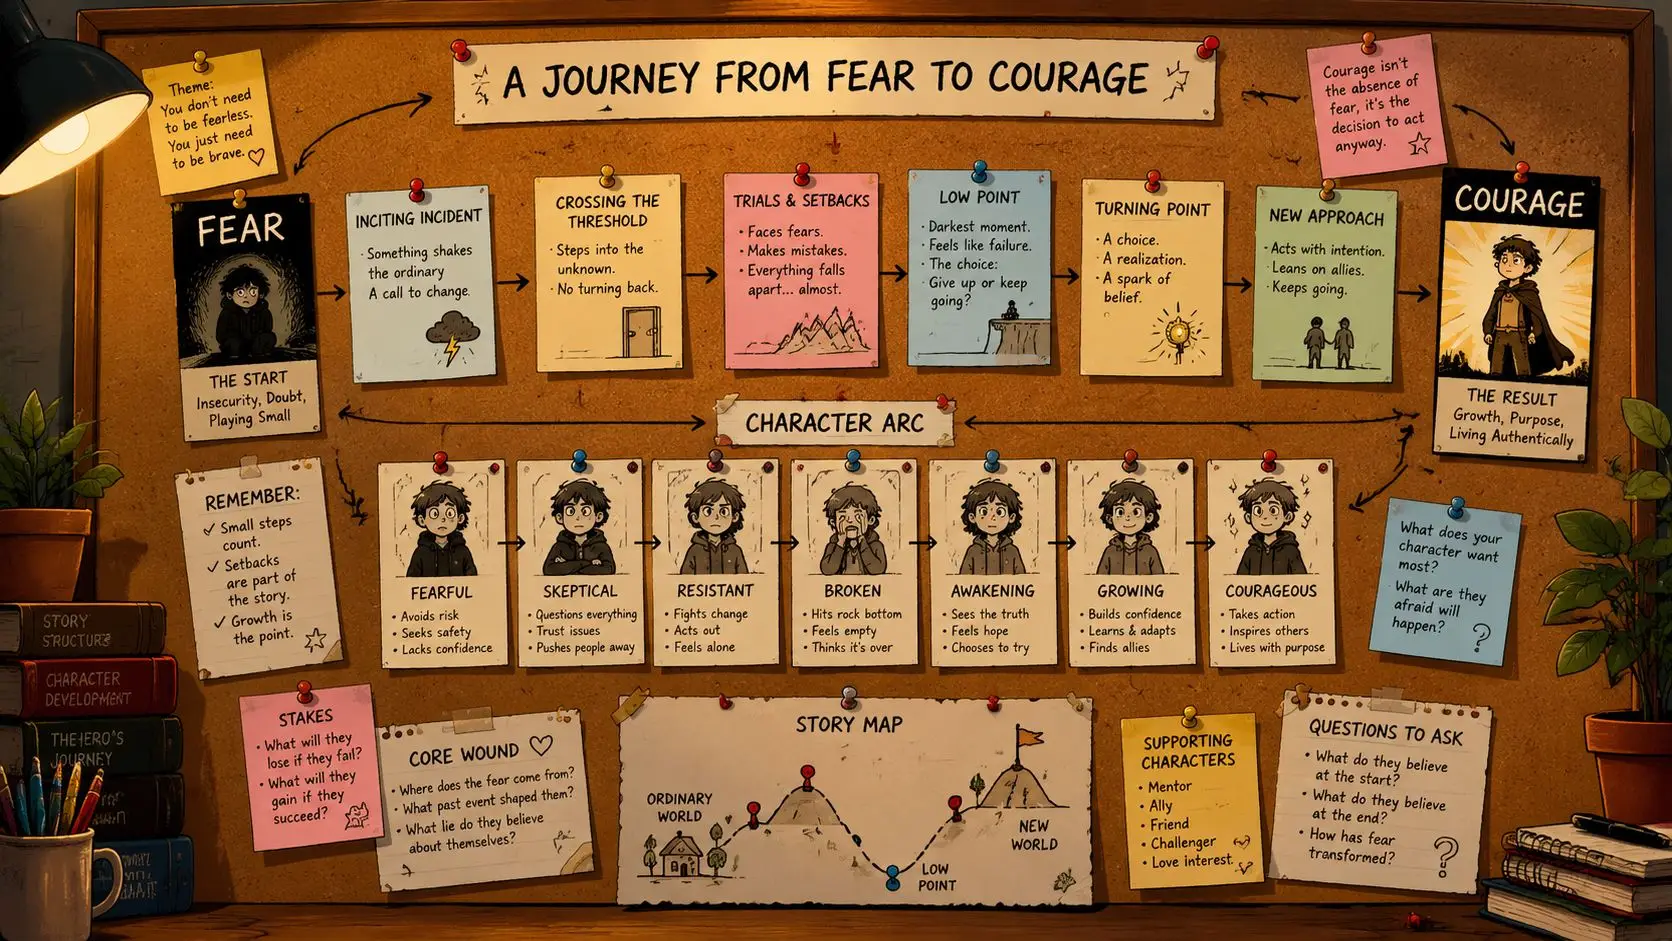
Turn the arc into choices
Map the internal transformation through scenes rather than writing it as a separate biography.
- Early pressure: She withholds evidence because she believes procedure will protect her.
- First confrontation: A colleague asks for help, forcing her to choose between institutional loyalty and a vulnerable person.
- Mid-story reversal: Her careful strategy fails because the people in power exploit her silence.
- Crisis decision: She must act publicly, accepting professional and personal consequences.
- Climactic proof: She uses the empathy she once rejected to make a difficult, humane choice.
The exact number of turning points isn't the important part. The important question is whether the external plot repeatedly forces the character to confront the belief that keeps her stuck. If the character can reach the ending without changing how she interprets the central problem, the arc probably exists only in your notes.
Secondary characters need lighter, distinct trajectories. A colleague might move from opportunism to accountability, while a sibling moves from resentment to protective honesty. Don't make every arc reproduce the protagonist's transformation. Parallel arcs should create contrast, not repetition.
For each important character, add four lines to the outline:
- Want: What do they pursue in practical terms?
- Need: What emotional change would make that pursuit meaningful?
- Resistance: What belief or fear blocks them?
- Proof: Which final choice demonstrates what they've learned?
This keeps character development attached to action. It also reveals when a subplot is consuming space without changing anyone involved.
Organizing Research and Reference Material
Research should sit beside the scenes that use it. Historical facts, worldbuilding rules, visual references, and character details scattered across files force repeated searches during drafting. They also create continuity errors, especially when a timeline or rule changes.
A research-first workflow gathers material before drafting, then sorts it by the story's beginning, middle, and end. The guidance on research-first novel outlining supports this approach: collect relevant material first, then connect the points that affect each stage of the story. Keep the outline reversible. A note can move when the plot changes, rather than forcing the draft to obey an early assumption.
Bind each source to a scene
A research archive becomes useful when the outline tells you when to consult it. Attach each note to a specific scene or chapter:
- Historical fact: Place it beside the scene where the protagonist encounters its consequence.
- Worldbuilding rule: Record the rule, its exceptions, and the scene that tests it.
- Visual reference: Save the image or description beside the setting, object, or character it informs.
- Source record: Add the title, author, URL, and a short note explaining what the source supports.
In a historical novel, put a date beside the chapter event that depends on it, not only in a general timeline. In speculative fiction, place a rule beside the first scene where readers need to understand it. Continuity review then happens during planning, while changes are still cheap.
Use binders for broad projects, tags for retrieval, and side-by-side panels when comparing a source with a scene. A guide to organizing research notes can help establish categories before the material becomes difficult to manage. Keep the system light enough that filing a note takes less effort than searching for it later.
Audit the setup before chapter one
Check that every major research dependency has a home. Use consistent labels for character names, relationships, locations, chronology, invented terminology, and source references. Mark uncertain details clearly so an assumption does not become a false fact in the draft.
For collaborative projects, define who may add, revise, or approve notes. Keep a brief change record when research alters the outline. That record shows why a detail changed and prevents a later contributor from restoring an outdated version. Review the record whenever a scene moves or a premise changes, then update only the affected notes rather than rebuilding the entire research file.
Assembling Your Outline and Preparing for Drafting
Your master outline should be a drafting instrument, not a storage dump. Combine the chosen framework, synopsis, scene cards, character arcs, research notes, and open questions into a document you can scan quickly while writing.
Start with a short premise and a paragraph describing the ending. Follow with the structural overview, then list chapters or scenes in order. Each entry should show the POV character, goal, obstacle, outcome, emotional shift, research dependencies, and unresolved continuity questions. Keep optional ideas in a separate section so speculative material doesn't look like a commitment.
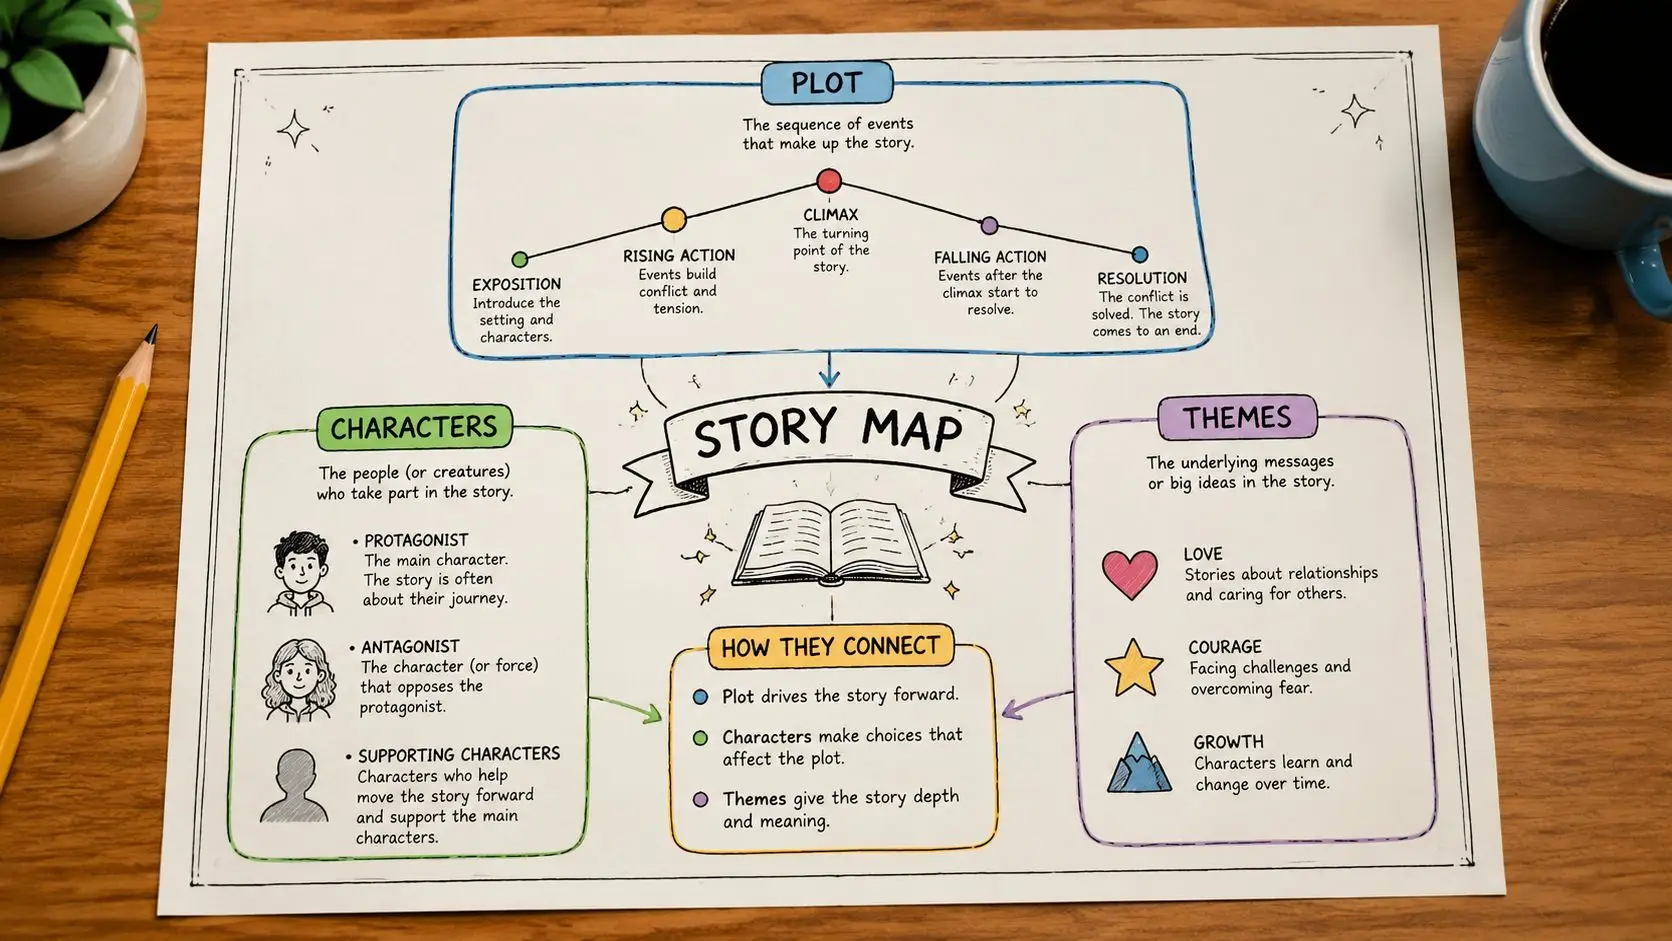
Format for revision, not decoration
Use consistent headings and labels. Give each scene its own block, and leave space for a revised outcome after drafting. When a scene changes, update the card immediately. An outdated outline creates more confusion than no outline because it presents false certainty.
Your drafting workspace should protect attention. Set a daily word target that fits your actual schedule, use focus mode when interruptions pull you away, and track progress only as a record of practice rather than a judgment of quality. Storyloft combines long-form drafting, notes, comments, edit history, goals, focus mode, research organization, and export tools for ebook and print-ready outputs, so authors can keep planning and production material connected in one workspace.
Test the structure early
Share a synopsis or selected outline pages with a trusted beta reader, editor, or co-writer before you commit fully to the draft. Ask targeted questions:
- Where did the cause-and-effect chain become unclear?
- Which character decision felt unearned?
- Which subplot appears disconnected?
- What do you expect the ending to resolve?
Record feedback separately from your own decisions. A beta reader can identify confusion, but you still decide whether the confusion reflects a genuine structural flaw or deliberate mystery. Preserve revision history so you can compare versions without flattening the project into a single, constantly changing file.
Use this pre-drafting checklist:
- Premise states the central conflict.
- Ending identifies the emotional and external resolution.
- Every scene has a goal, obstacle, and outcome.
- POV changes have a clear reason.
- Character arcs appear in decisions, not only biographies.
- Research notes sit beside dependent scenes.
- Open questions are labeled as provisional.
- Feedback has been logged without replacing your judgment.
Common Outline Mistakes and How to Fix Them
The most damaging mistake is treating the first outline as law. A rigid plan can force characters into convenient choices, preserve weak scenes because they're already scheduled, and discourage the discoveries that make a novel feel alive. Reversible outlining fixes this by treating every major decision as a working hypothesis until the scene proves it.
Outlines also fail when writers make them difficult to execute. Research on outline use found that 60% of respondents struggled to connect outline structure to coherent exposition, 55% had difficulty translating outlines into finished text, and 30% lacked confidence in using outlines effectively according to the cited study. Those findings point to a practical response: simplify the document, test it against actual scenes, and revise the system instead of blaming yourself for not following it.
Correct the recurring problems
- Over-prescribed structure: Replace fixed scene instructions with a purpose, pressure, and provisional outcome. Keep alternatives nearby when the next move isn't settled.
- Too much detail too early: Write only enough to make the next drafting decision. Expand a scene when you understand its function, not because a template demands more description.
- Unclear exposition: Rewrite jargon-heavy cards in plain language. If you can't explain what changes in a scene, the scene probably needs work.
- Disconnected subplots: Track each subplot's introduction, escalation, intersection with the main plot, and resolution. Remove or merge threads that never affect a meaningful choice.
- Research drift: Attach sources and continuity notes to scenes, then audit names, chronology, rules, and recurring objects before revision.
- Production blindness: Consider collaboration permissions, revision history, ebook structure, print formatting, and visual references while the outline is still easy to reorganize.
Complex novels need more than a chapter list. Multiple timelines, research dependencies, beta-reader input, artwork, and downstream formatting all create relationships that the outline must represent. A production-ready plan can still remain flexible if it records dependencies without dictating prose.
Your outline isn't a contract with yourself. It's a map that helps you see the terrain, and you're allowed to redraw it when the story reveals a better route.
Storyloft brings premise development, chapter planning, manuscript drafting, research organization, character tools, collaboration, and print and ebook formatting into one writing environment. Use its outlining workflow to turn your idea into a revisable scene plan, then visit Storyloft and start building the outline you can draft from.