How to Format and Export Your Book for Amazon KDP, IngramSpark, and Ebook Platforms
When your manuscript is finished, the next hurdle is usually formatting. That is where a lot of authors get stuck. Print books need the right trim size, margins, front matter, and high resolution images. Ebooks need clean structure, a cover, and a file that behaves properly across reading apps and devices.
The good news is that this does not have to turn into a wrestling match with design software. Inside Storyloft, you can take a finished manuscript and turn it into both a print-ready PDF and a polished ebook from the same place you wrote the book.
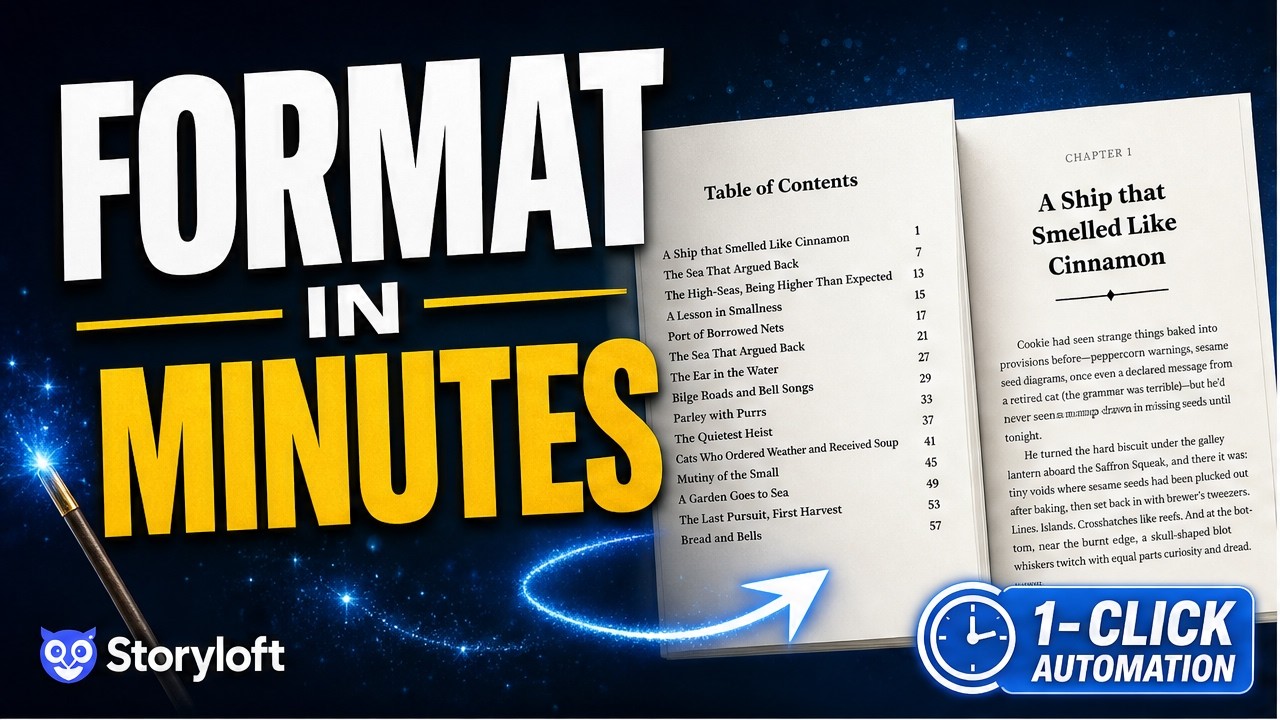
Start by cleaning up the look of your book
Before exporting anything, it is worth giving the book one quick formatting pass. The goal here is simple: make sure everything feels tight, intentional, and ready for publication.
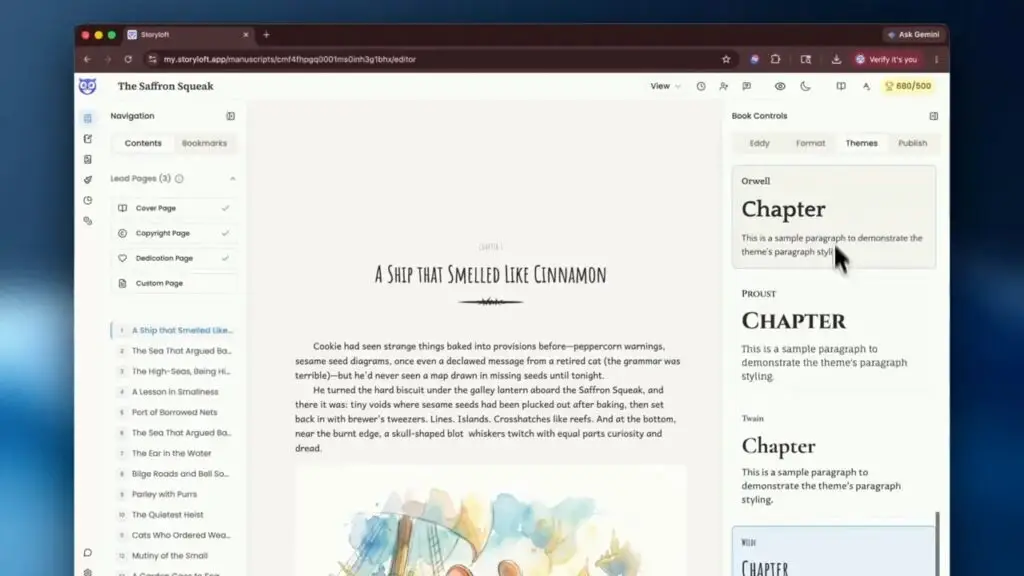
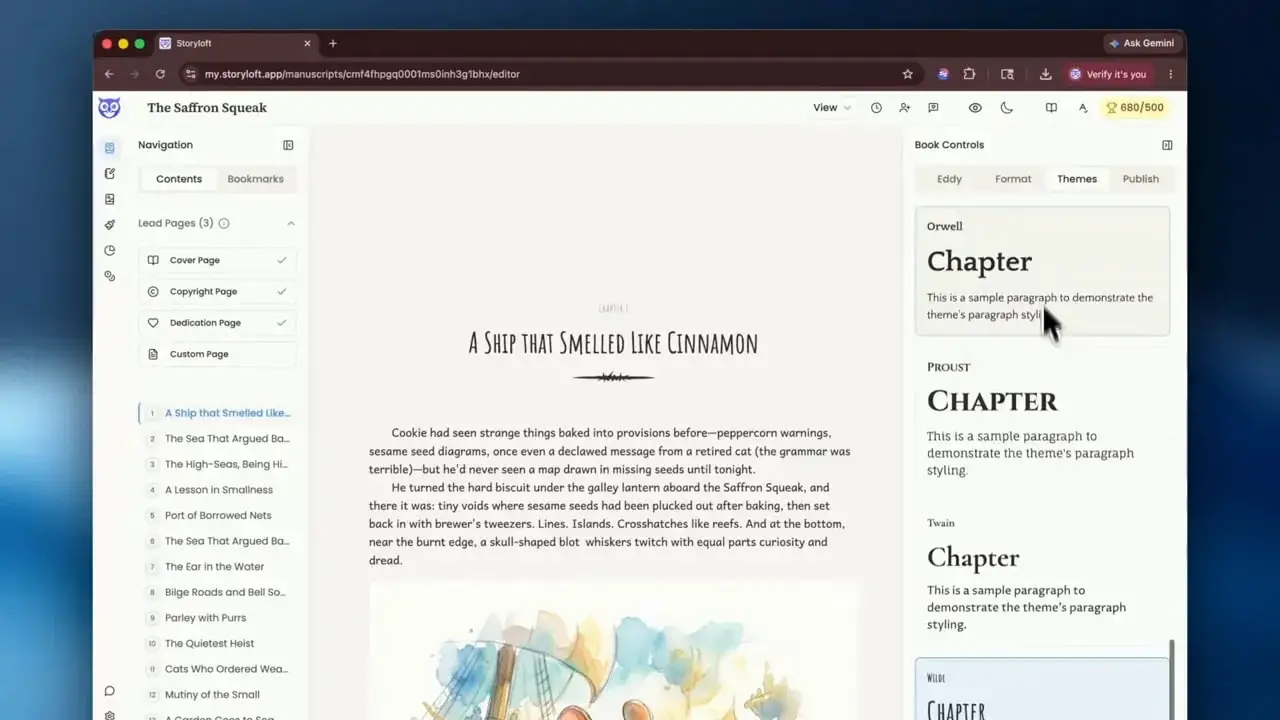
In Storyloft, that begins by opening the book from your dashboard and reviewing the current theme and chapter styling. If the look is too modern, too decorative, or just not quite right for the project, you can swap to something more classic and immediately preview the result.
That matters more than people think. The right visual tone helps a book feel finished. Chapter headings, title styling, and decorative elements all contribute to the reading experience, whether you are preparing a novel, memoir, nonfiction book, or illustrated work.
If you are still working through presentation details, it also helps to understand the differences between print and digital formatting. A lot of common issues show up later at export time, especially when authors carry over habits from word processors. This guide on ebook formatting mistakes is a helpful companion if you want to avoid those problems early.
Open the Publish tab and choose the format you need
Once the interior looks right, head to the Publish tab. Storyloft gives you three export paths:
- Print Book for paperback, hardcover, or direct printer delivery
- Ebook for Kindle and other ebook platforms
- DOCX if you need a Microsoft Word document
For most self-publishing workflows, the first two are the big ones. Print and ebook are where your production files live, and Storyloft handles them separately so each one is optimized for its format instead of forcing a one-size-fits-all export.
Exporting a print book
Start with Print Book and click Export Book. At that point, Storyloft begins assembling the high quality assets needed for print production.
One of the most useful things happening behind the scenes is image handling. Print books need 300 DPI images to look sharp on the page. Storyloft stores those larger source files for final export rather than loading them into the manuscript in full size all the time. That keeps the writing environment faster while still making sure your final PDF uses the proper high resolution versions.
This is a big deal for illustrated books, chapter art, and any project where print quality matters. When the PDF is generated, those larger files are pulled in automatically so the final output is suitable for professional printing.
Choose a trim size
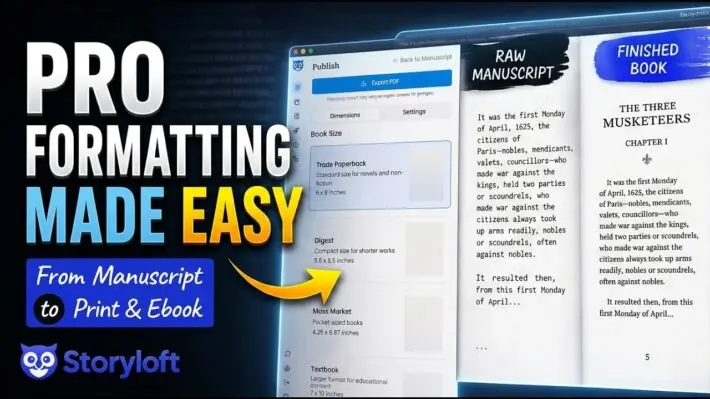
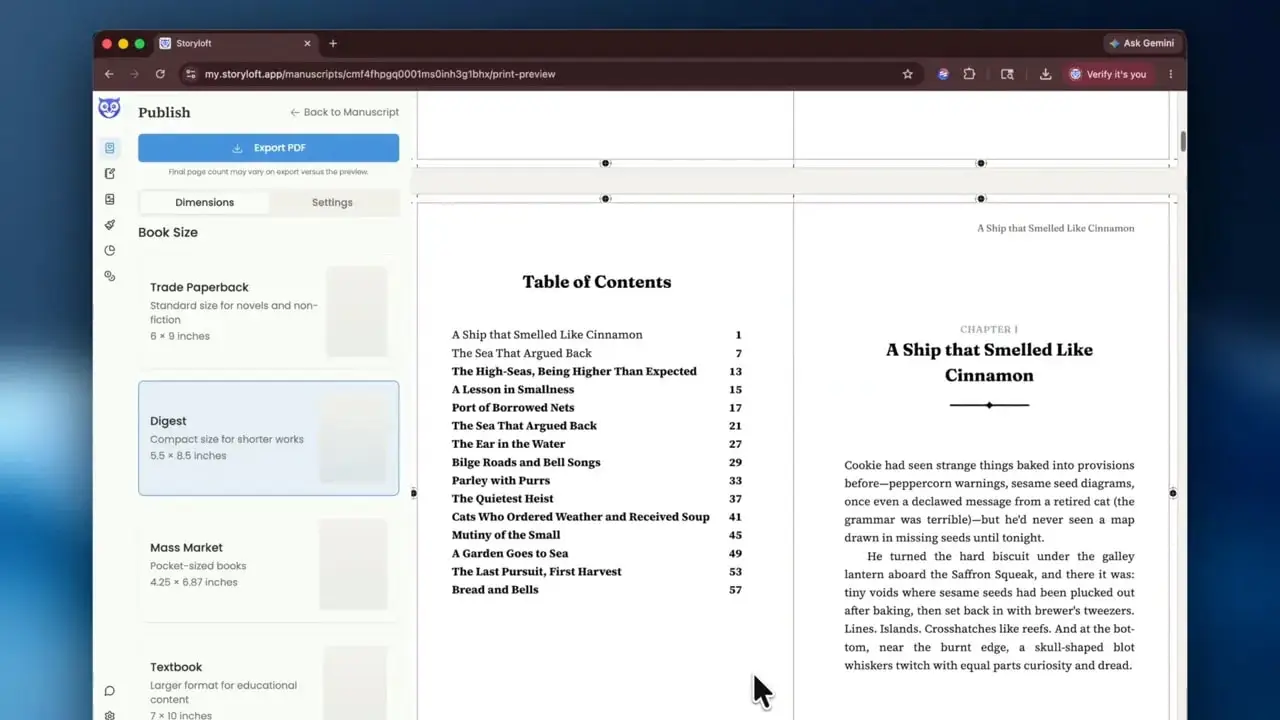
The first major print decision is your book size. In the walkthrough, the selected format is Digest 5.5 x 8.5, which is a popular trim size in publishing. Storyloft also supports other standard print dimensions, and your choice affects page count, line breaks, margins, and table of contents layout.

If you are unsure which size to use, match the format to your genre and publishing plan. A practical next step is reviewing a print book formatting checklist so you do not overlook trim, margins, headers, or export details before upload.
Review the automatically built front matter and layout
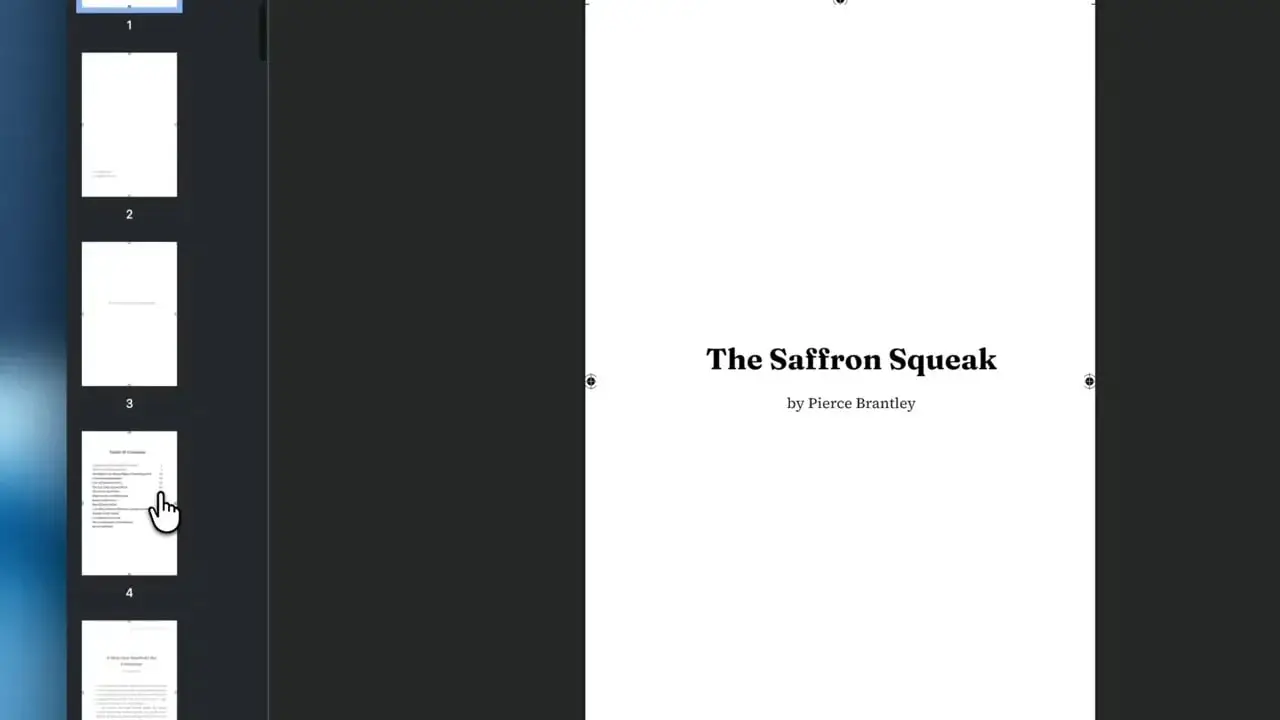
After the trim size is selected, Storyloft creates a full layout preview. This is where things get fun.
The book is assembled with the expected opening pages, including items like:
- Title page
- Copyright page
- Dedication page
- Table of contents
- Chapter openings
Each page type is formatted according to what it is. A title page does not look like a copyright page. A dedication page does not look like a chapter opener. That sounds obvious, but it is one of those details that separates a manuscript file from a real book interior.
Storyloft recognizes those page types and formats them appropriately, which saves a huge amount of manual cleanup.
Let Storyloft handle the table of contents
One of my favorite parts of this workflow is the table of contents. You do not have to manage it manually.
Storyloft knows where the chapters are, what order they belong in, and how to update numbering as the layout changes. That means when your trim size changes or your page count shifts, the table of contents can adapt without turning into a formatting mess.
That alone removes one of the most tedious parts of preparing a print book.
Check headers, chapter pages, and artwork treatment
As you preview the interior, look for the little details that make a book feel polished:
- Running headers with the book title on the left-hand pages and chapter name on the right-hand pages
- Chapter opening design that matches your chosen theme
- Illustration treatment that blends naturally into the page
- Paragraph behavior such as proper indentation after the opening paragraph
That last one is worth calling out. Storyloft formats paragraphs intelligently, so the first paragraph after a heading can remain flush while the following paragraphs indent correctly. That is a small typographic detail, but it is exactly the kind of thing readers notice subconsciously when a book feels professional.
Adjust margins if needed
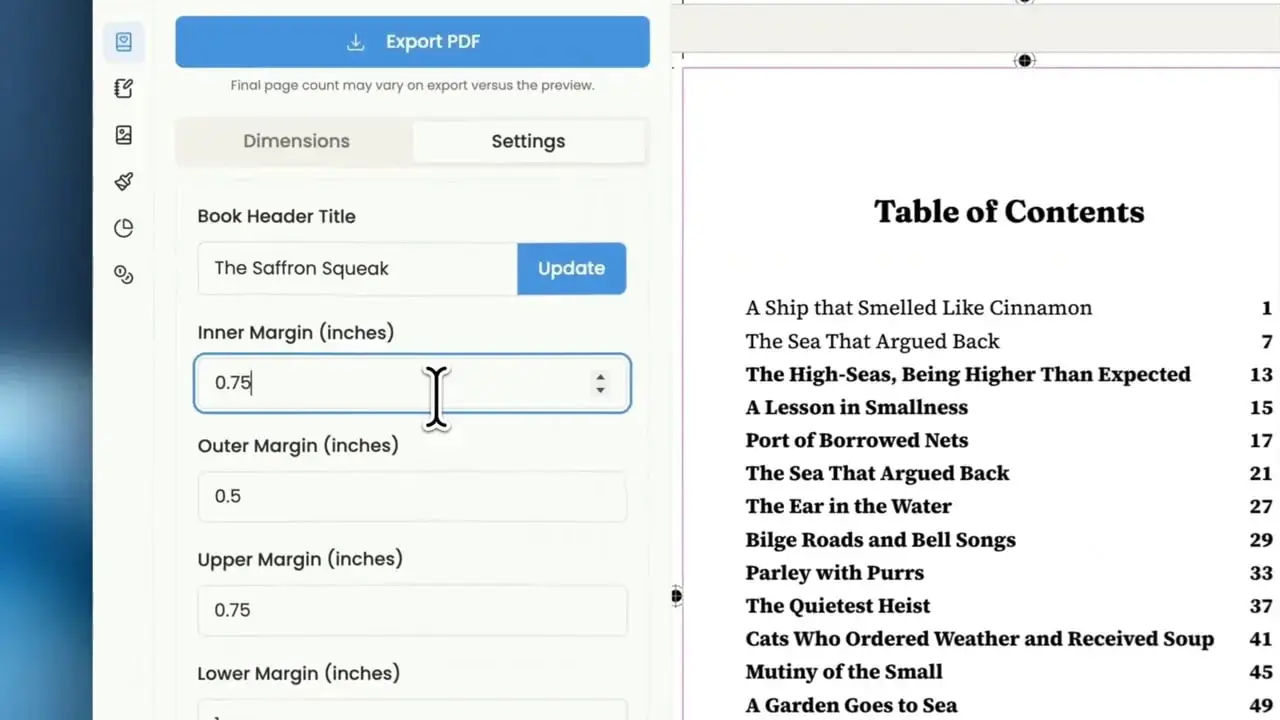
You are not locked into the default layout. If you want more breathing room near the gutter, you can adjust the inner margin and see the effect immediately.
For example, increasing the inner margin pushes the text slightly outward, which can make the book more comfortable to read and more suitable for certain page counts or binding preferences.
If you want a deeper reference for the final export side of this process, including trim size, font embedding, bleed, and image resolution, this walkthrough on how to create a print-ready PDF is a solid resource.
Export the print-ready PDF
Once the layout looks right, export the PDF. Storyloft prepares the file for you, including the high resolution images discussed earlier. Depending on the length of the book and the image load, that may take a little time, but once it is ready, the PDF is available to download.
The result is a file you can hand off to Amazon KDP, IngramSpark, or a printer with confidence.
If you are comparing publishing platforms, both Amazon KDP and IngramSpark provide upload and proofing tools for print books, but a clean interior file makes those steps much smoother.
Exporting an ebook
Once the print edition is done, the ebook is even simpler.
Click Export Ebook and fill in the basic metadata you want included. That usually means confirming the title, checking any subtitle or extra fields, and choosing the cover image you want attached to the ebook file.
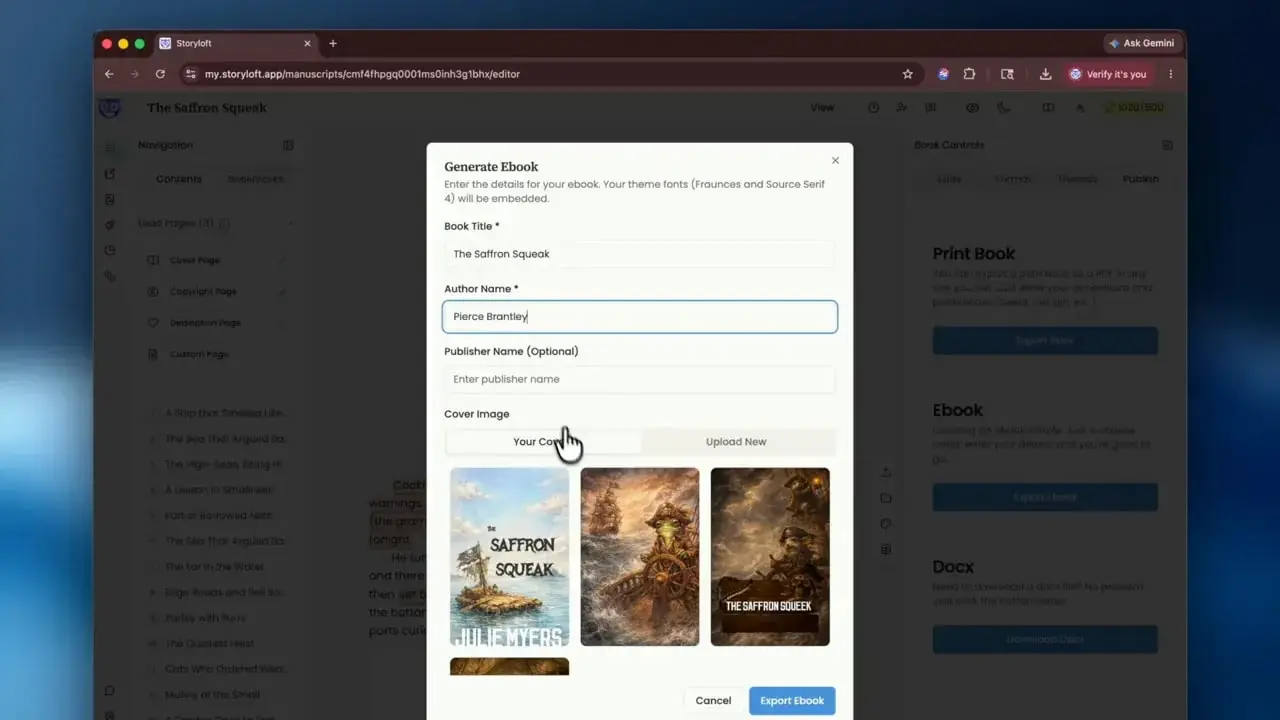
After that, Storyloft takes the front matter, chapters, and cover and packages them into an ebook file. Because digital books reflow based on screen size and reader settings, there is less page-by-page configuration than there is for print. The emphasis is on clean structure and consistent presentation.
Keep your theme consistent across print and ebook
One of the nicest touches in this workflow is visual continuity. Storyloft preserves your theme across both print and ebook formats, so the book still feels like the same book in each version.
That consistency helps your brand as an author and creates a cleaner experience across formats. A reader who buys the print edition and the ebook should not feel like they are looking at two unrelated products.
Preview the ebook before publishing
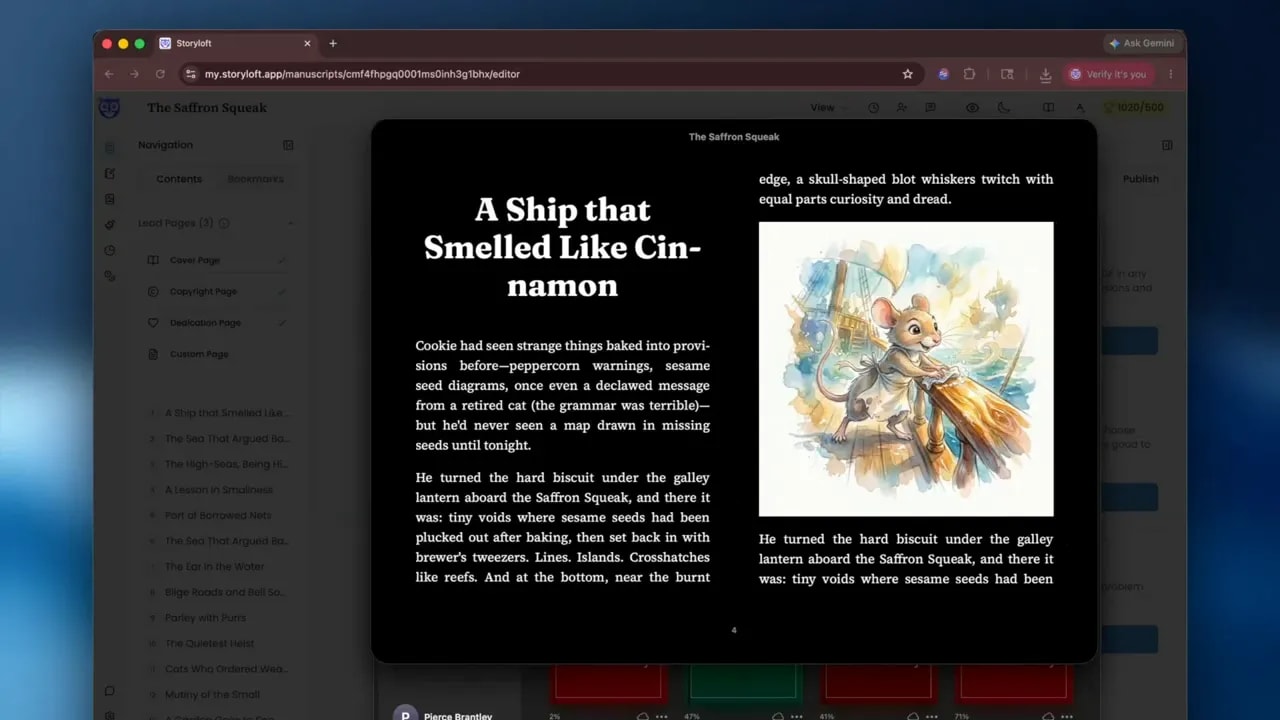
Always open the ebook file in a reading app before uploading it anywhere. In the workflow here, the file is opened in Apple Books to confirm that the title page, chapter structure, text, and images all come through properly.
This is the moment to check:
- Cover display
- Chapter navigation
- Image placement
- Overall visual consistency
- Basic readability
If it looks clean there, you are in a strong position for Kindle and other ebook platforms as well. Amazon’s own Kindle publishing guidelines are useful if you want to compare your file against device-specific expectations.
Why this workflow matters for self-publishing authors
The real win here is not just faster exporting. It is that the whole process stays author-friendly from start to finish.
Instead of writing in one tool, formatting in another, rebuilding a table of contents manually, exporting images from somewhere else, and crossing your fingers when you upload to KDP, you can move from manuscript to publishing files in one system.
That reduces errors, shortens production time, and makes it much easier to publish professionally without needing complex layout software.
A simple publishing checklist inside Storyloft
Before you export, run through this quick sequence:
- Open your finished manuscript.
- Choose a theme and chapter style that match the tone of the book.
- Go to the Publish tab.
- Select Print Book and choose your trim size.
- Review front matter, table of contents, headers, chapter pages, and illustrations.
- Adjust margins if needed.
- Export the print-ready PDF.
- Return to Publish and select Ebook.
- Add metadata and choose a cover.
- Export the ebook file and preview it in a reading app.
That is it. A finished manuscript becomes a print-ready interior and a clean ebook without having to rebuild the whole project for each format.
Final thought
Publishing a book should feel like the final stretch, not a detour into layout chaos. If your manuscript is done, Storyloft gives you a fast, clean way to prepare files for Amazon KDP, IngramSpark, or your own printer while also generating a consistent ebook edition.
And honestly, that is the kind of workflow authors need more of. Less fiddling. More finishing.