1. Navigate to https://my.storyloft.app/illustrations
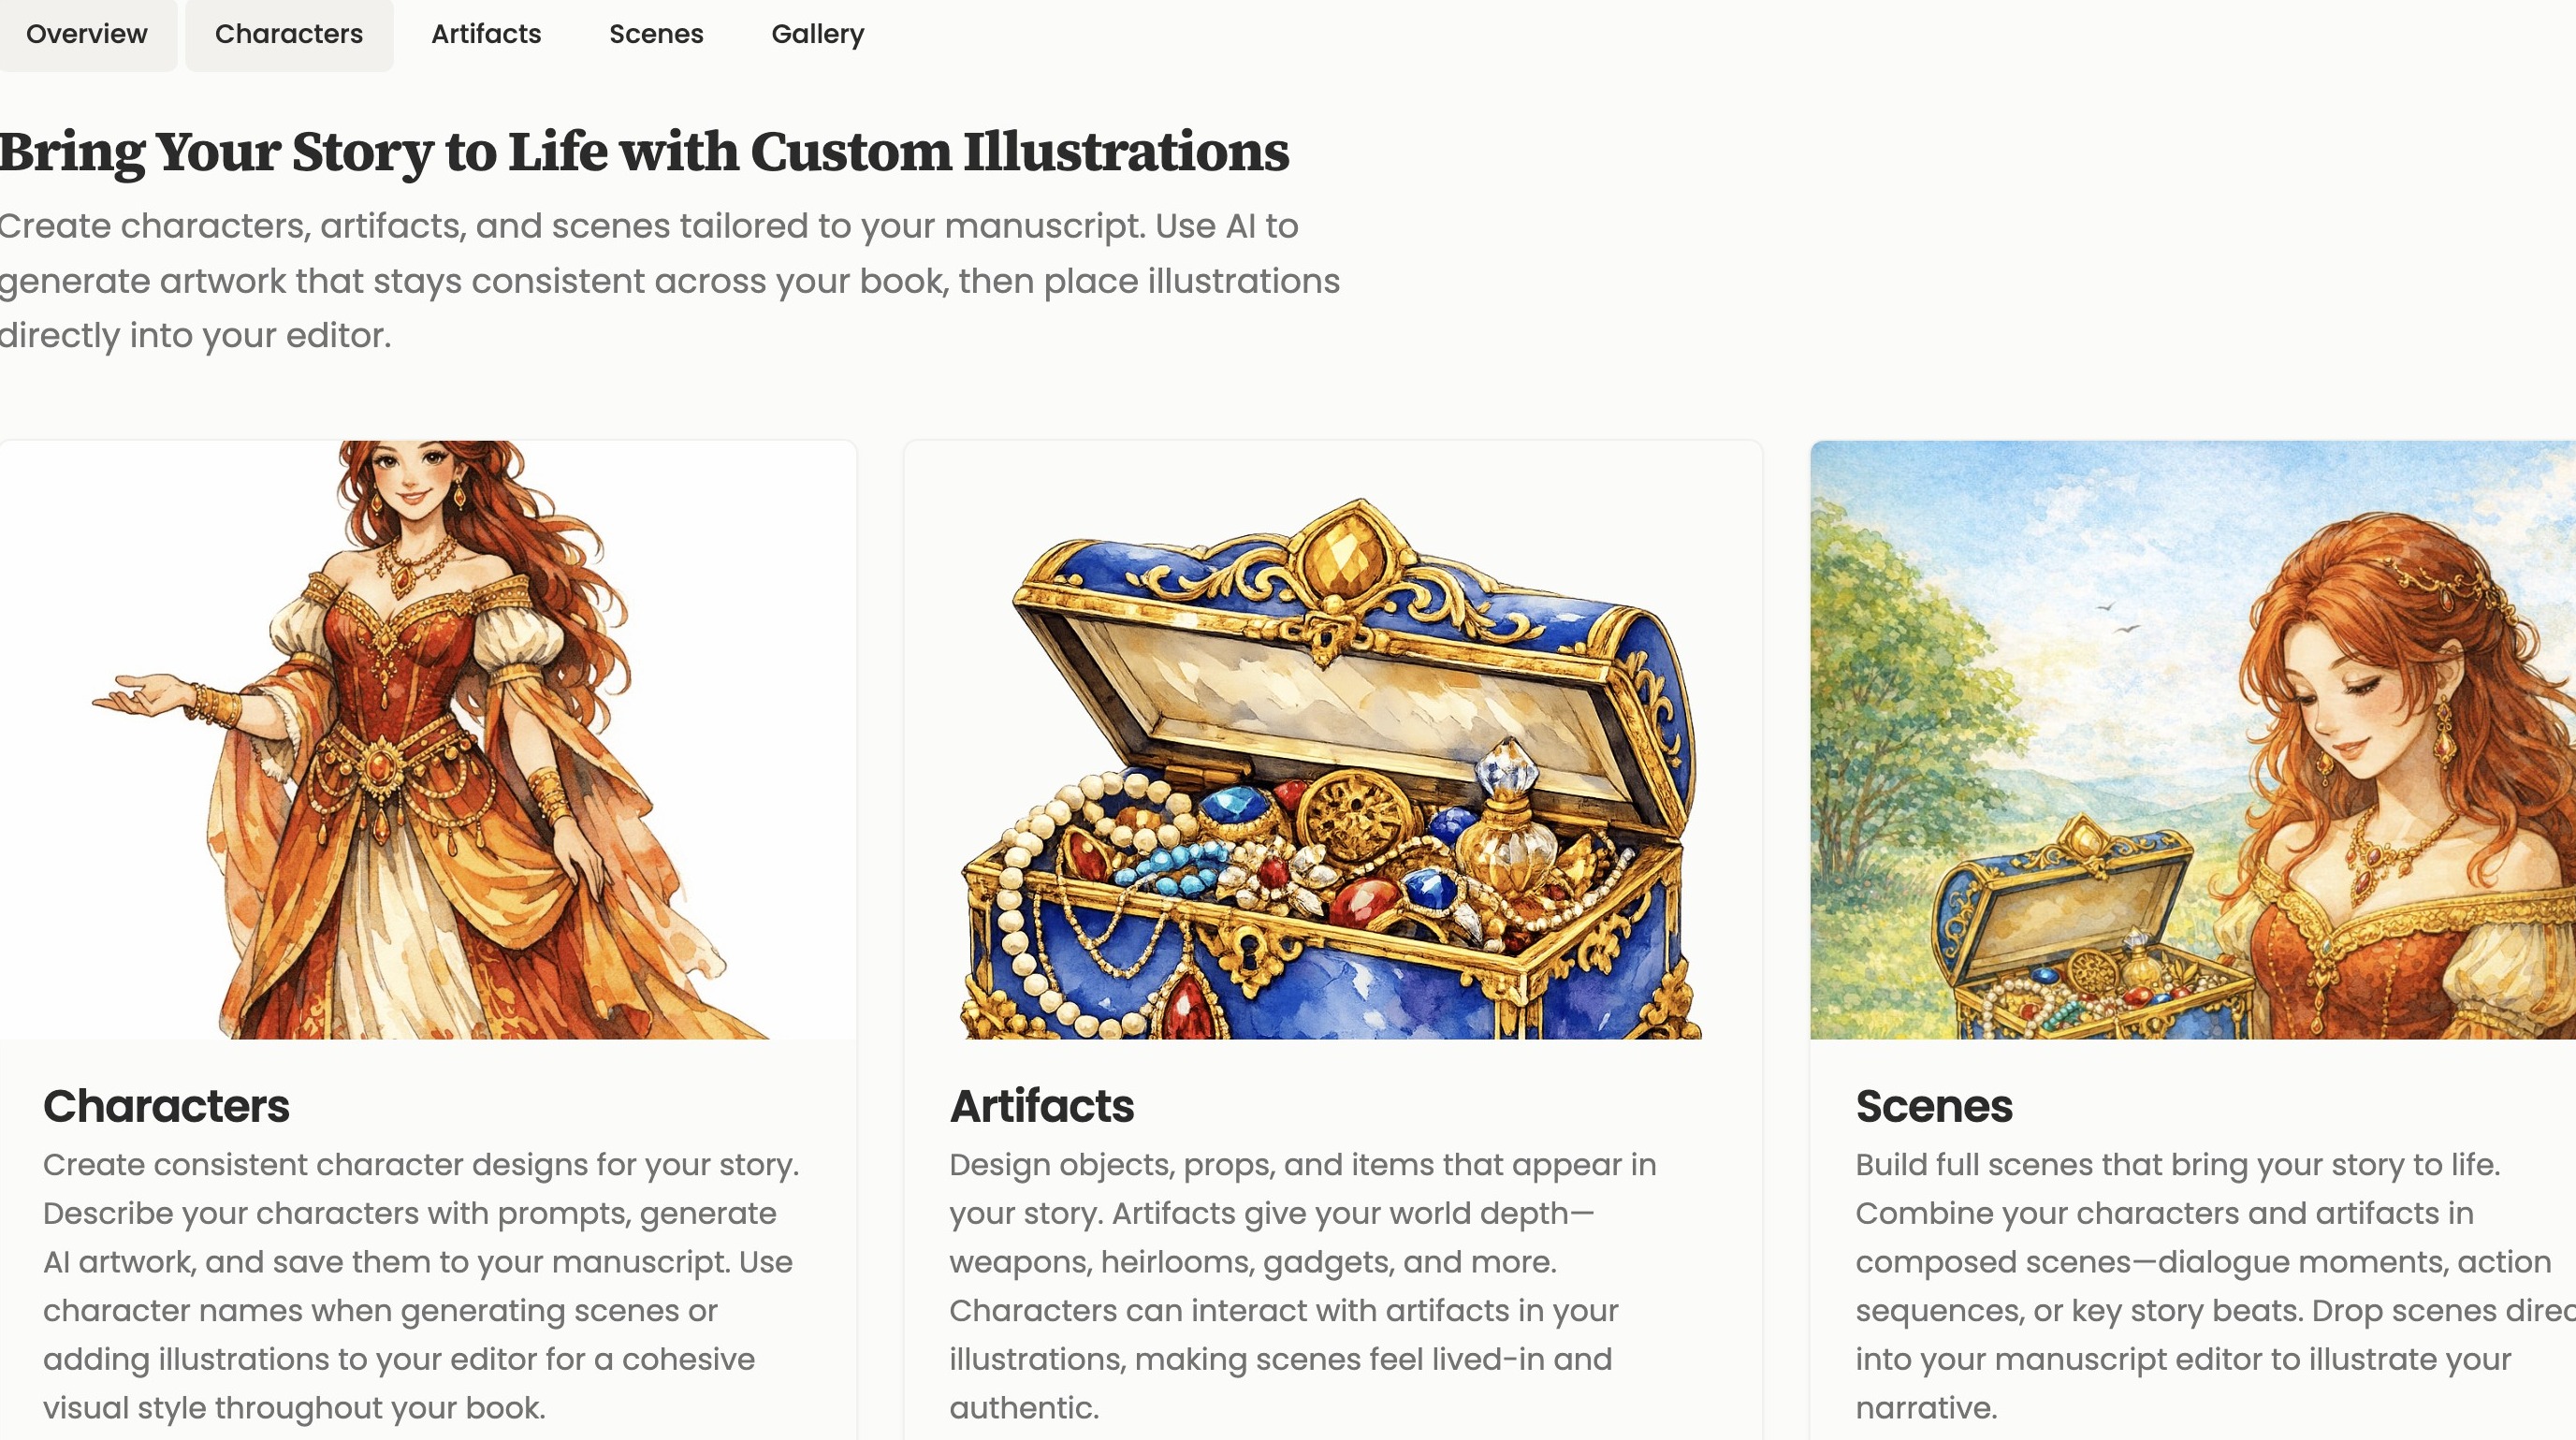
Character Illustration Setup
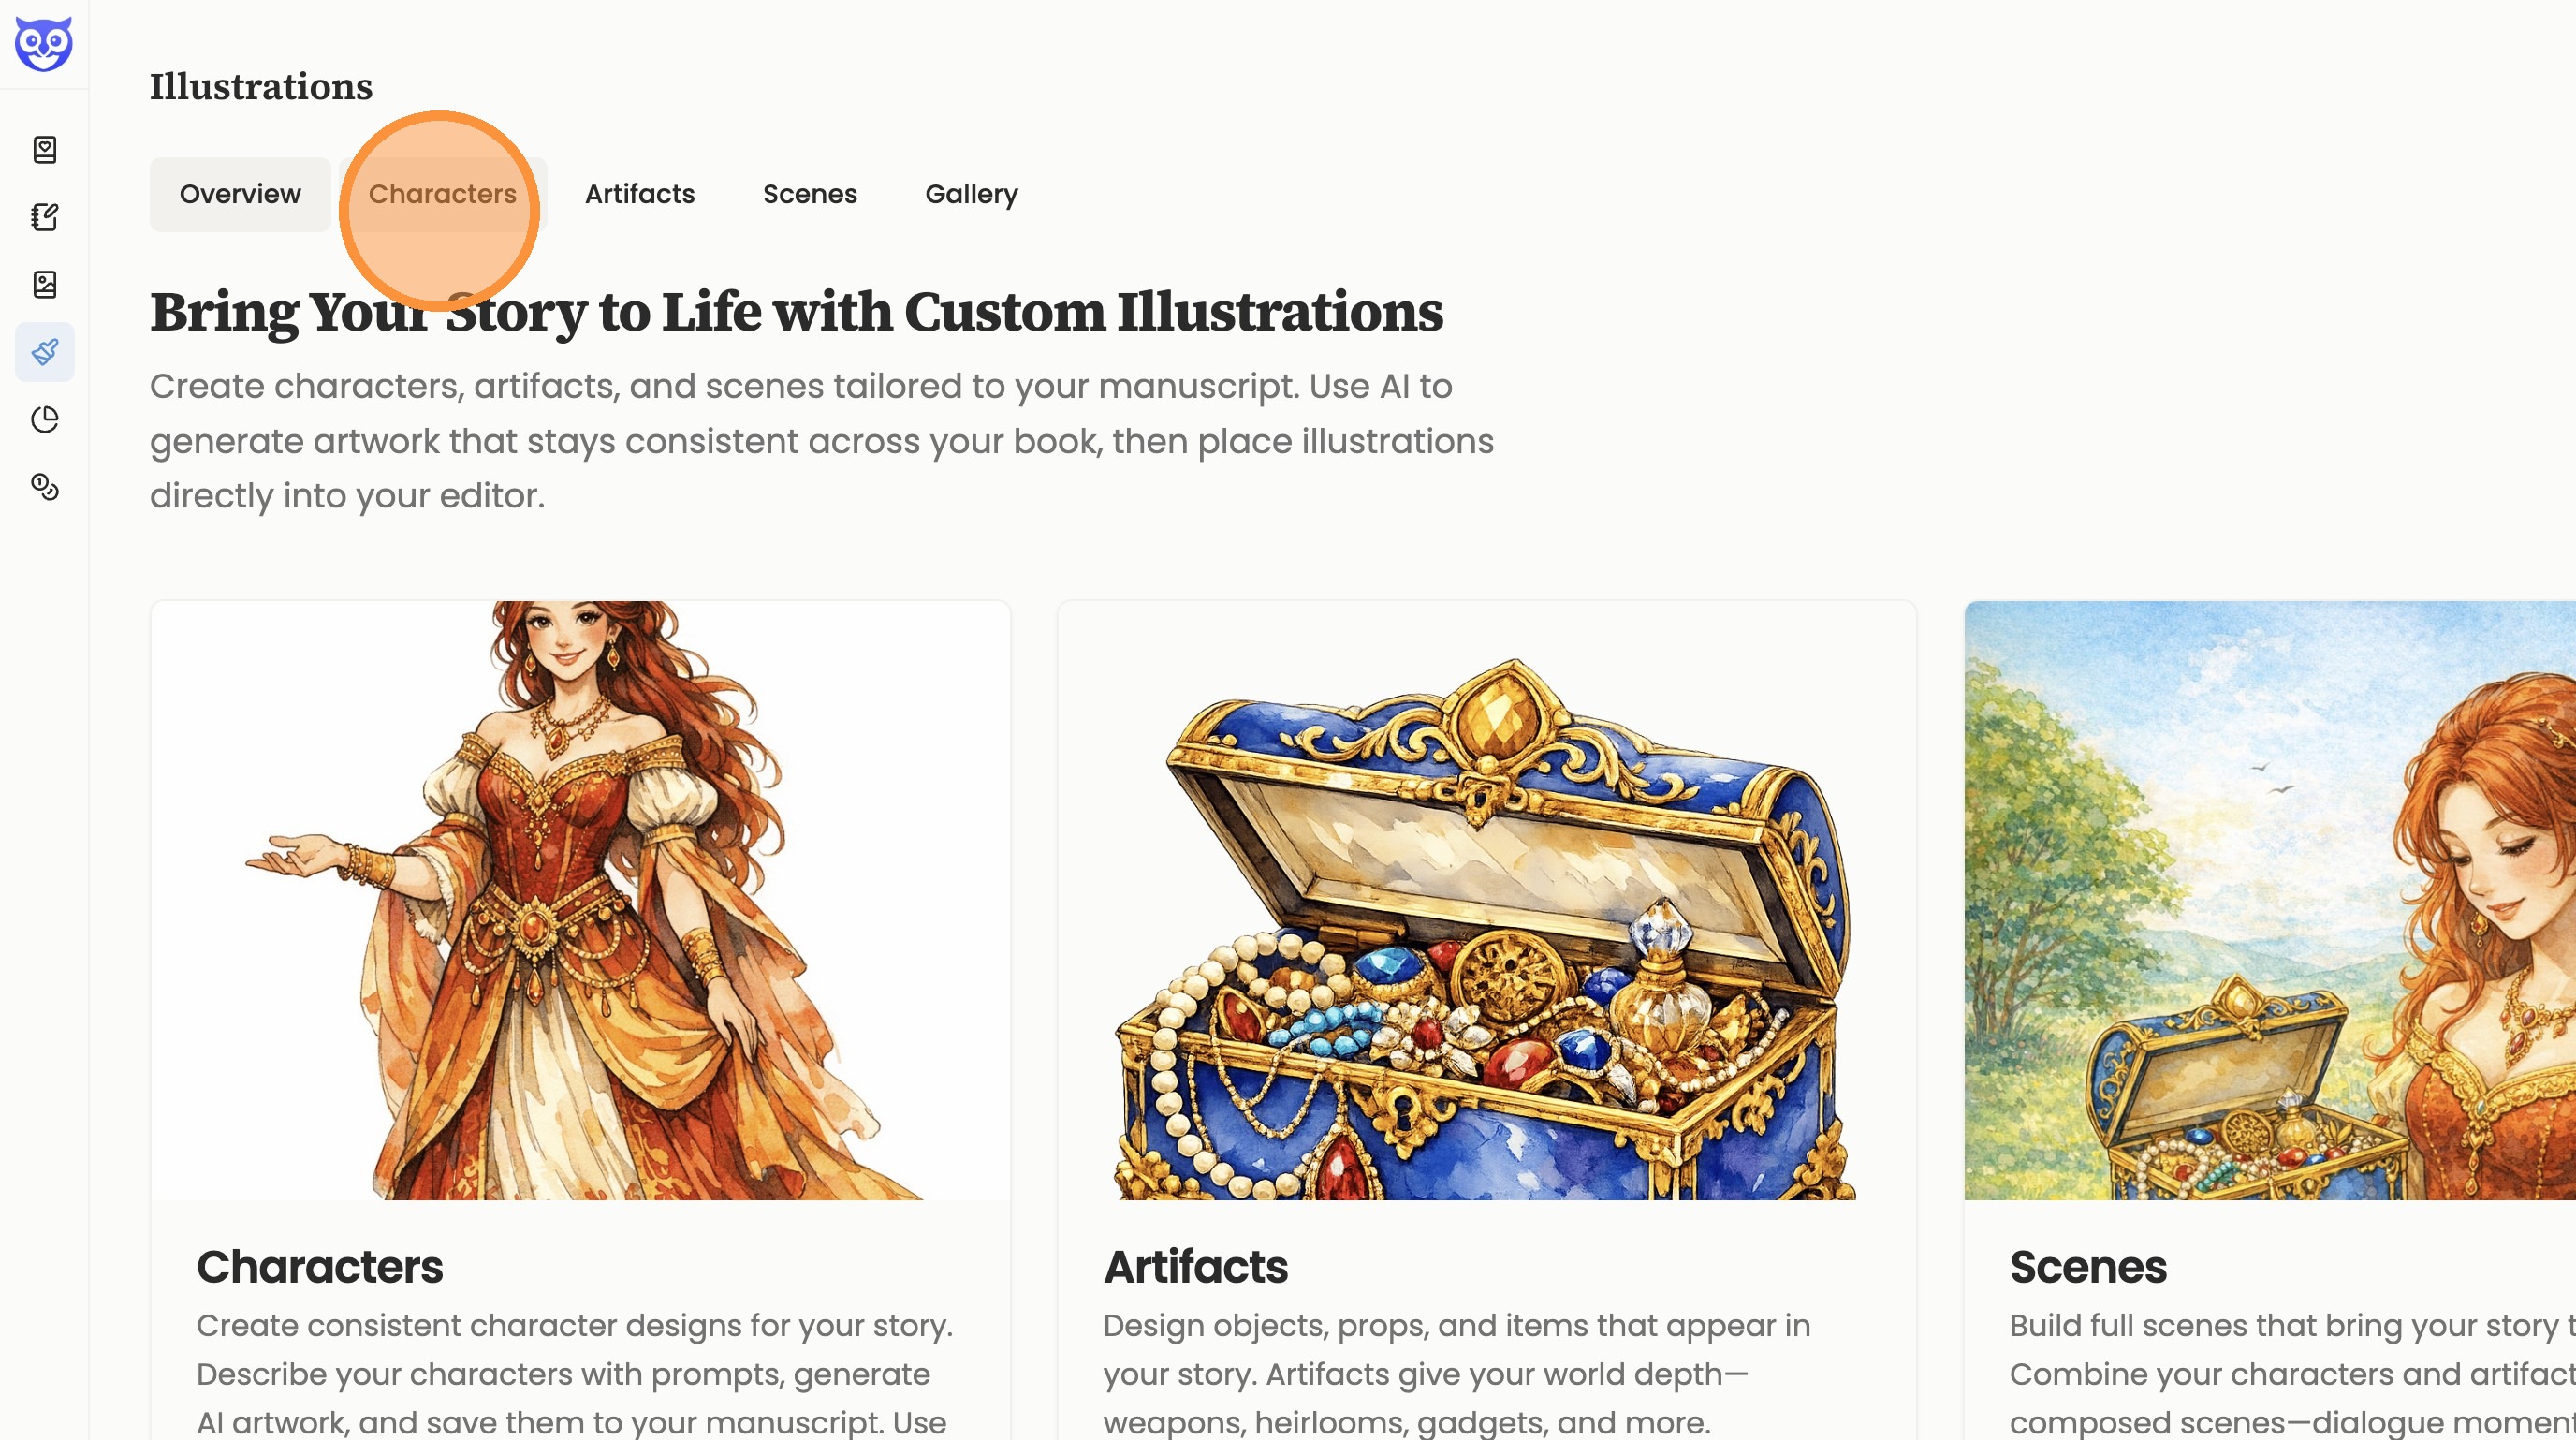
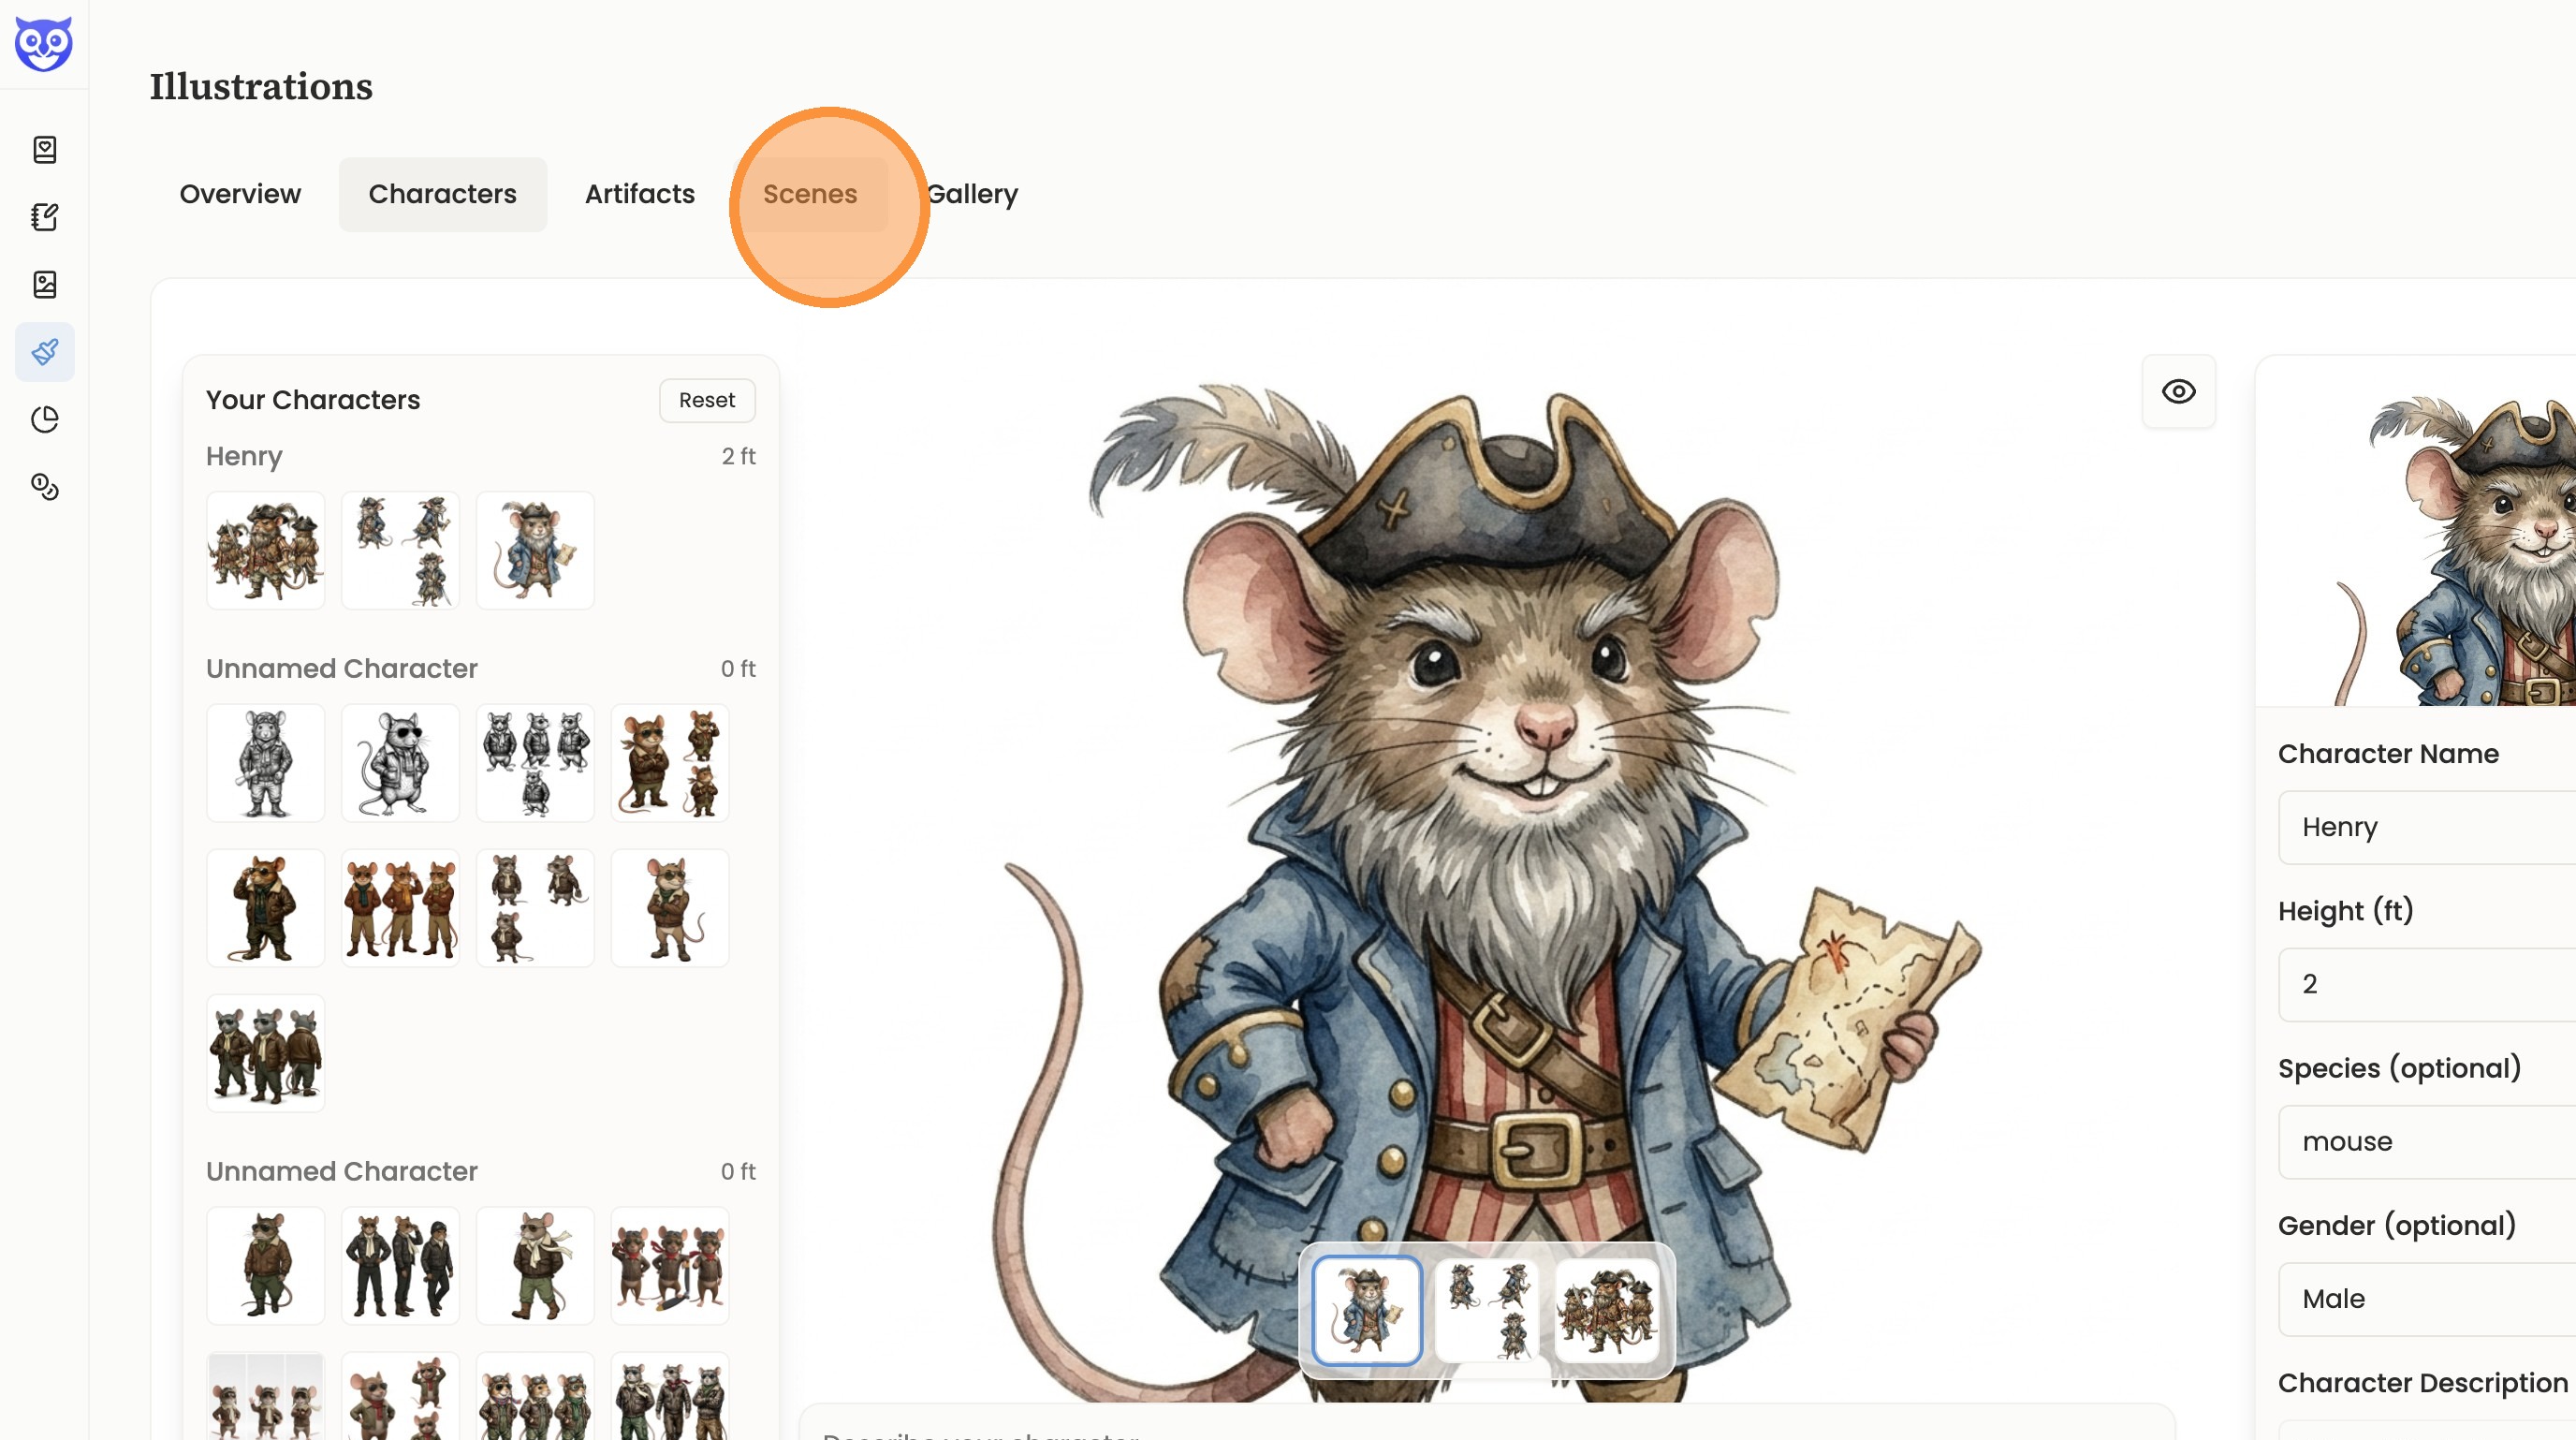
2. Click “Characters”
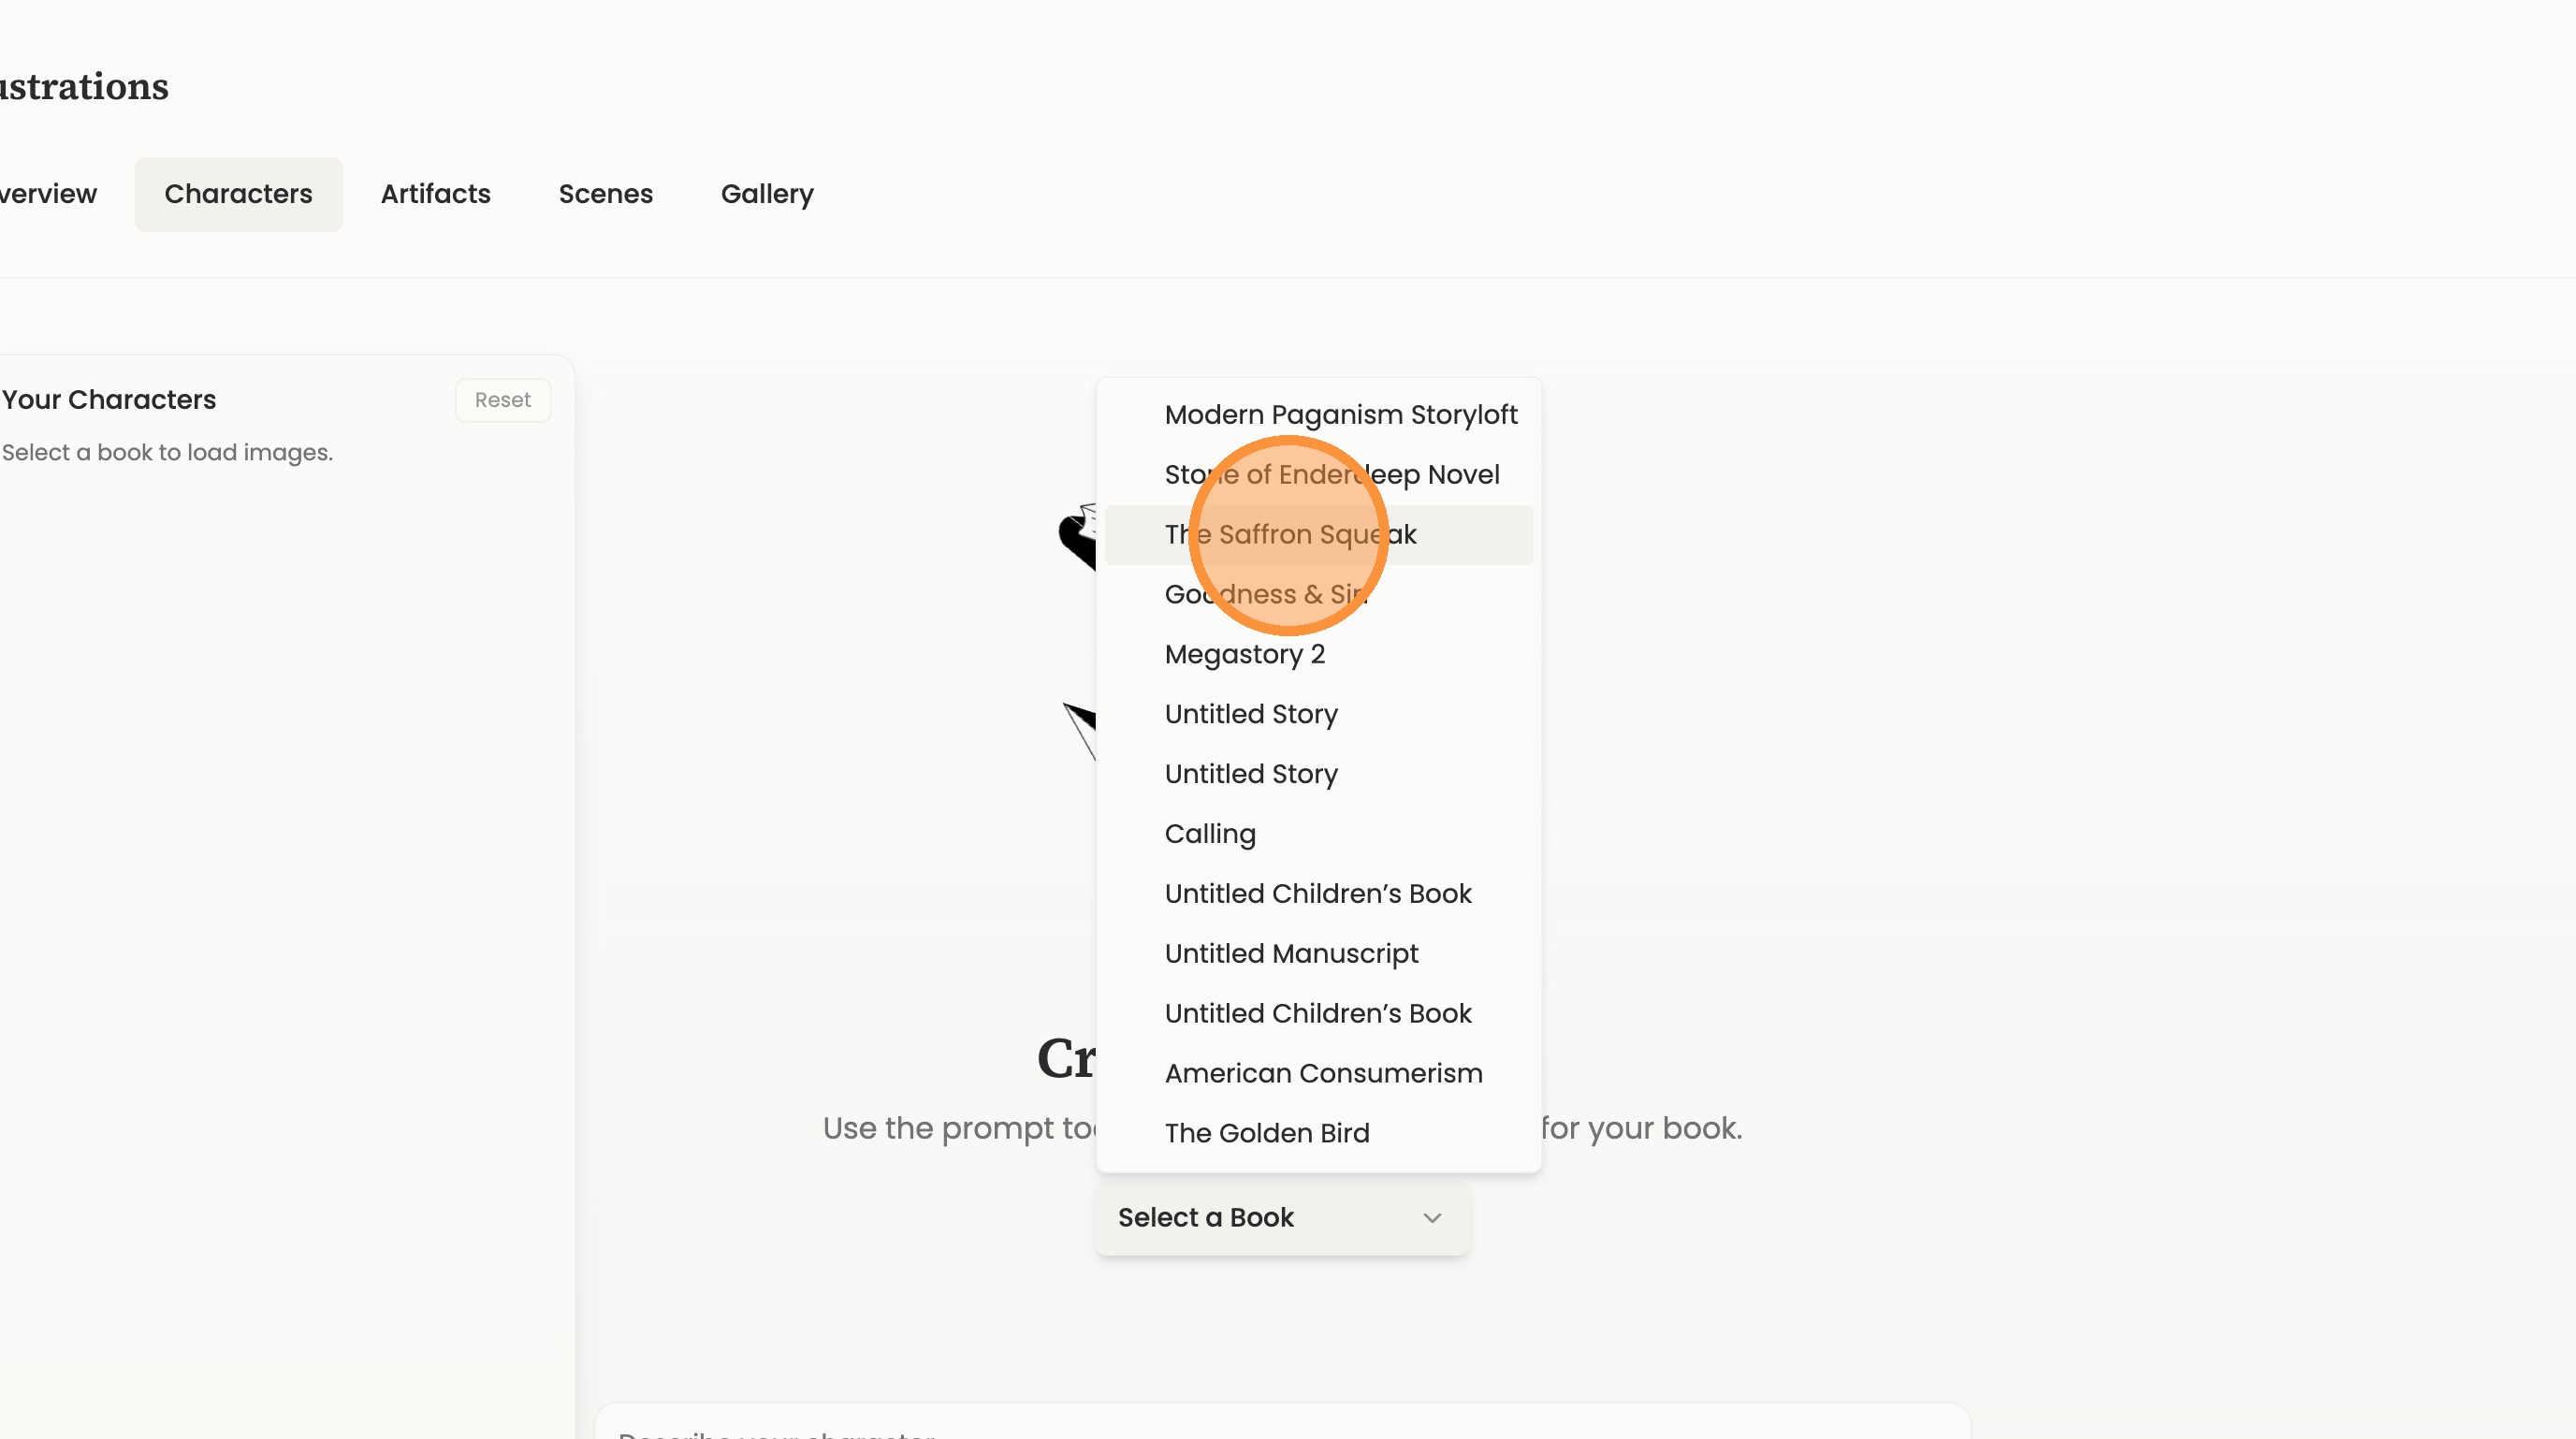
3. Click “Select a Book”
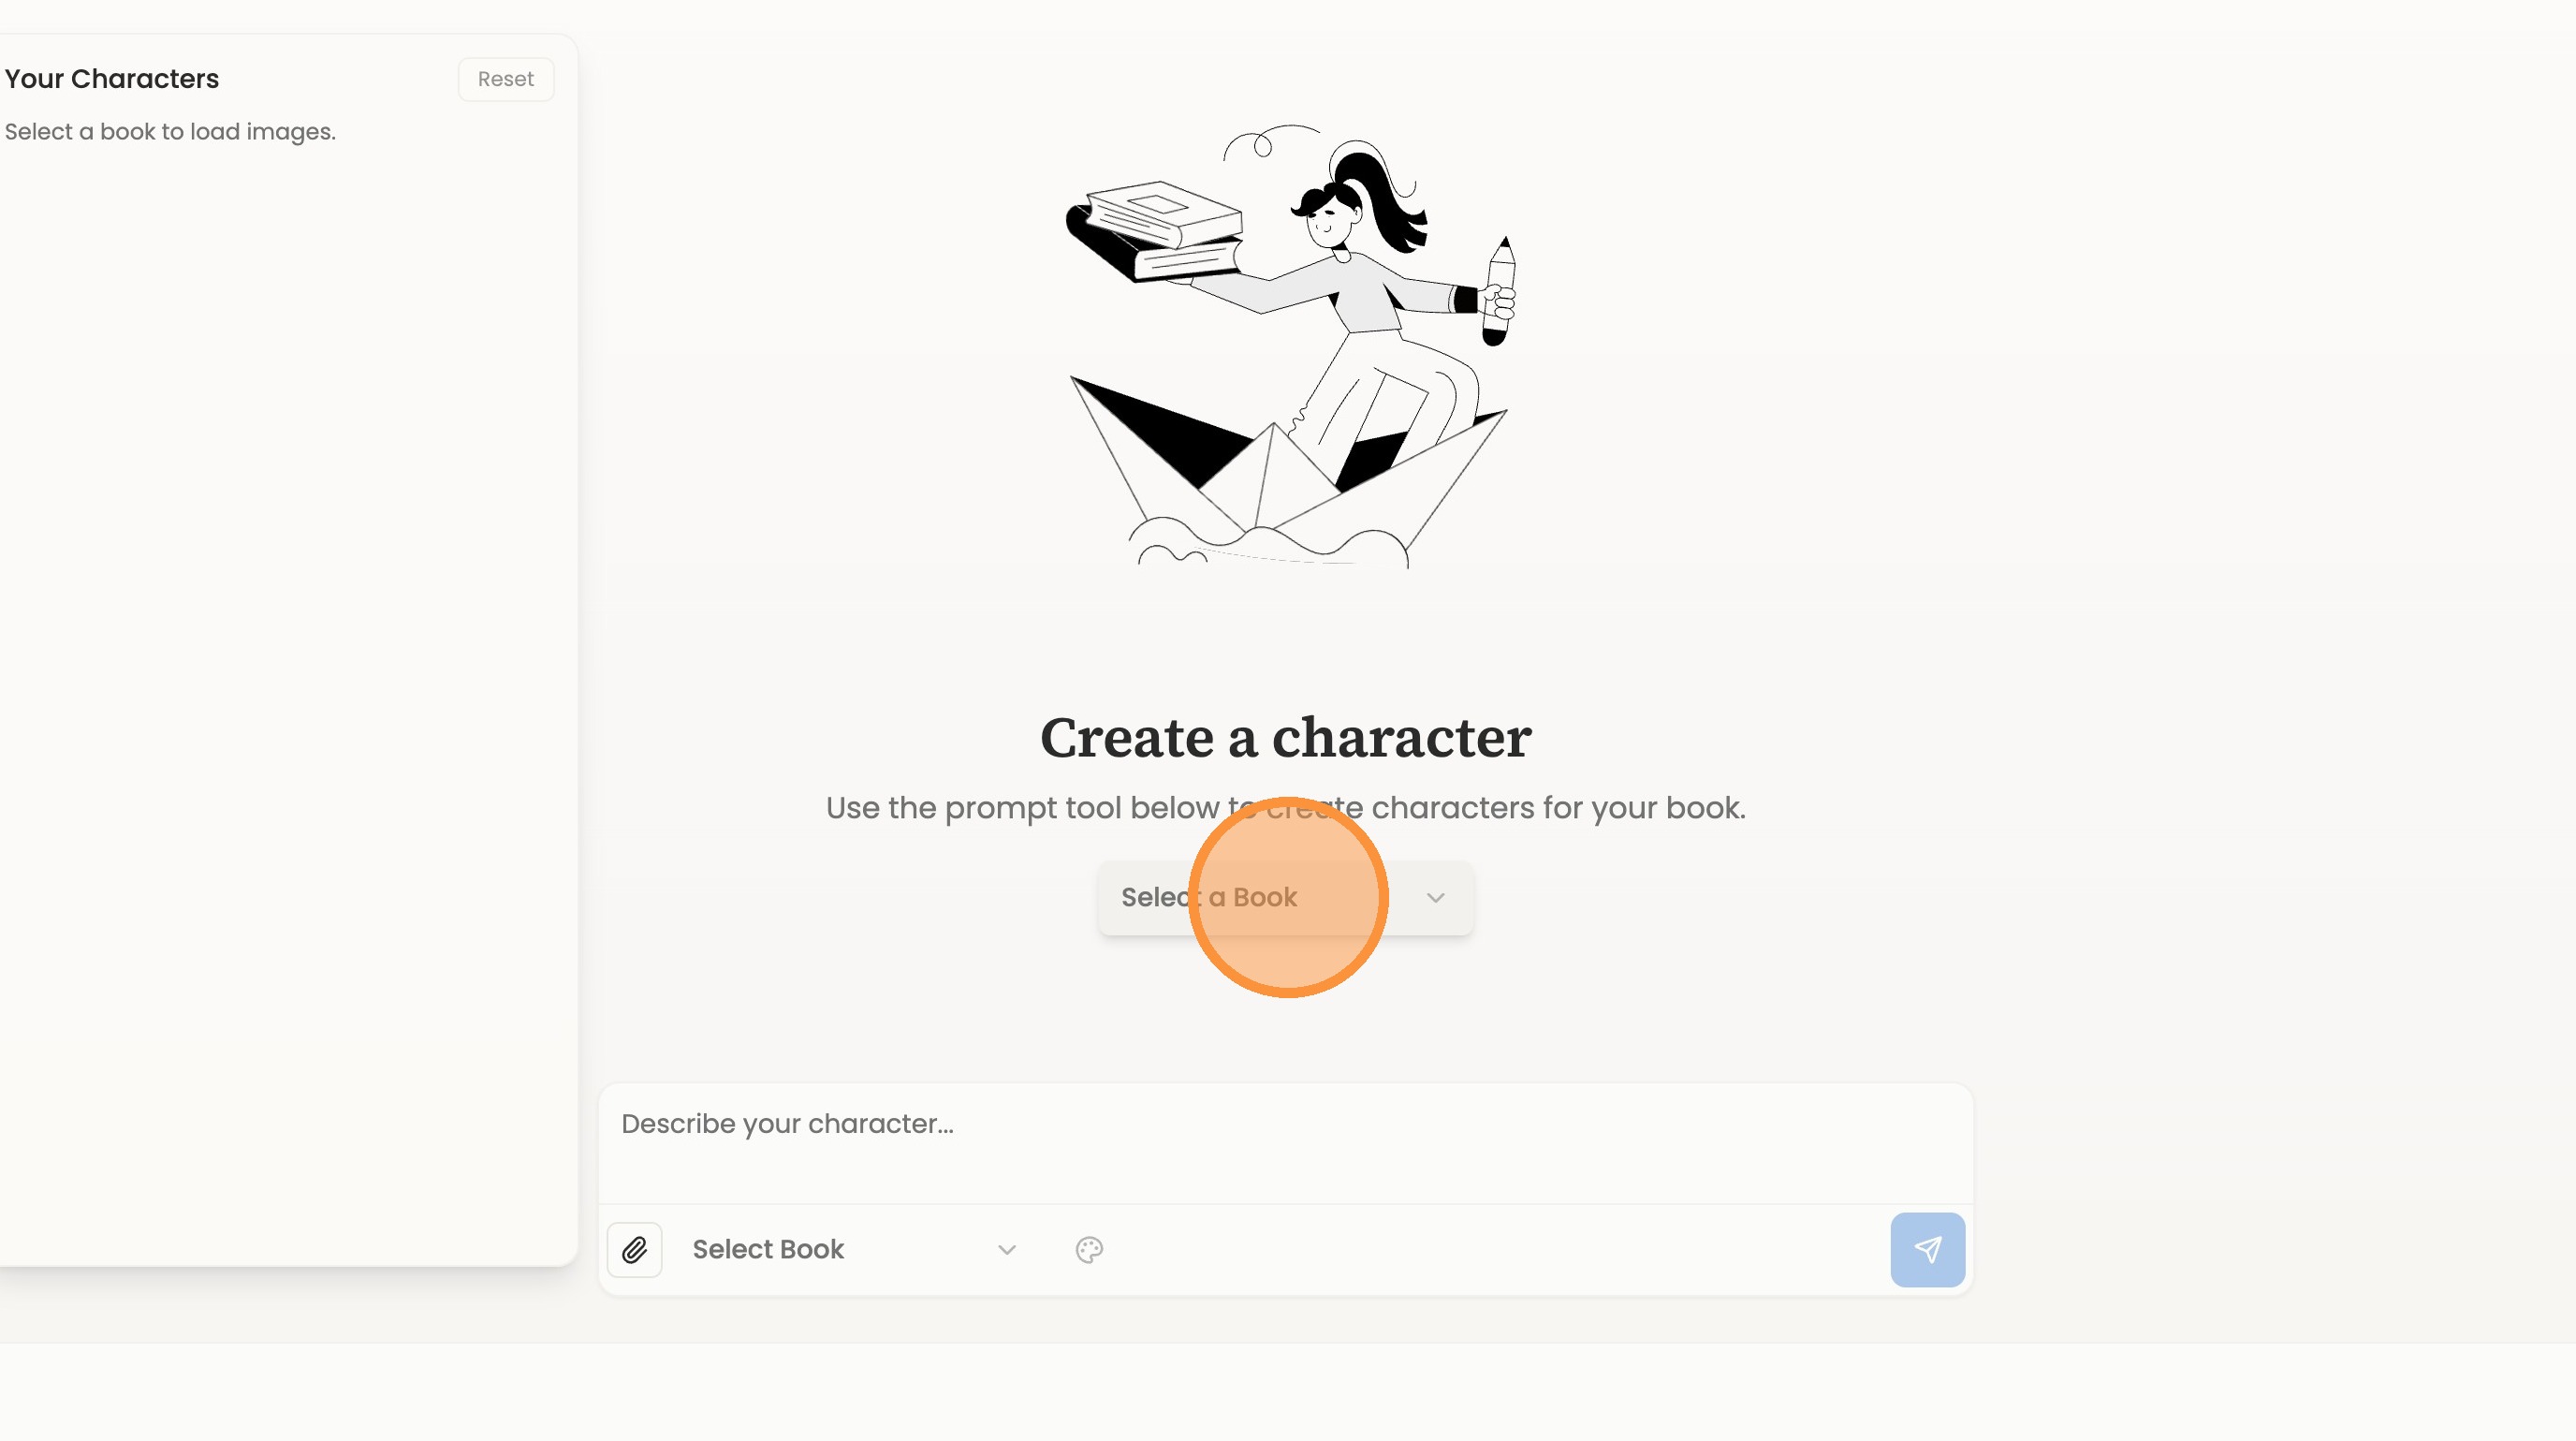
4. Choose a book name
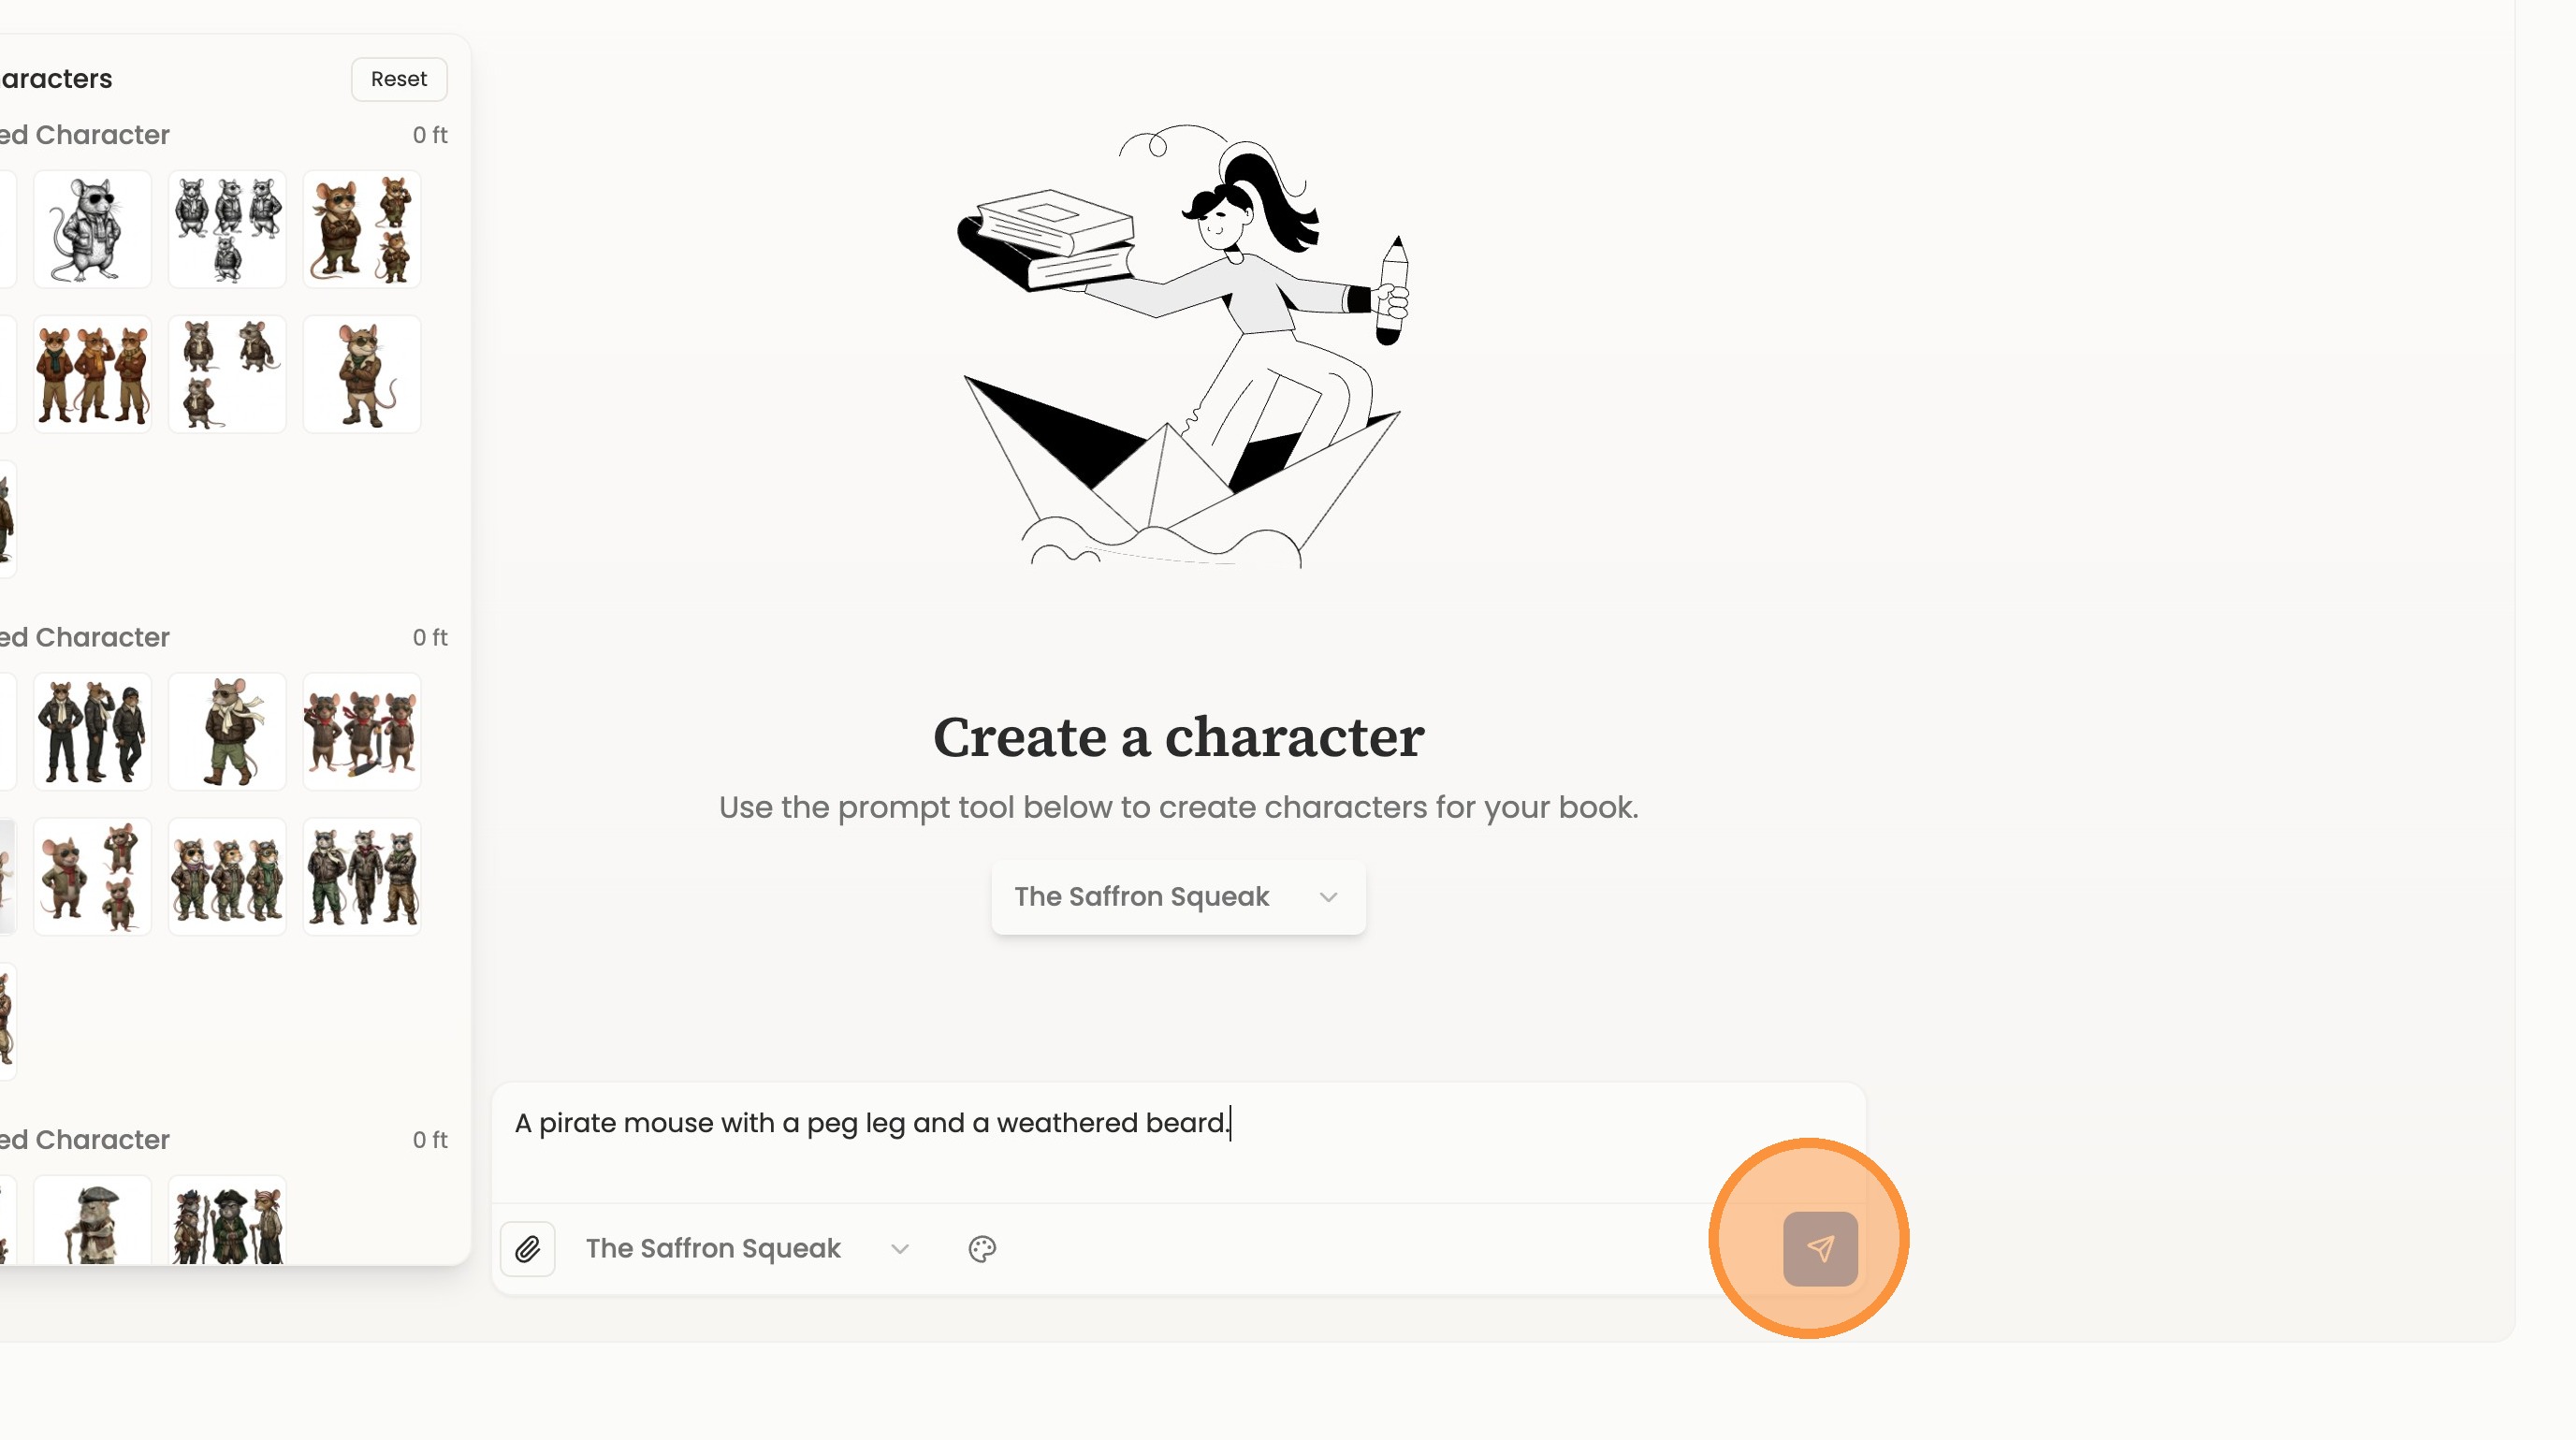
5. Describe your character in the character description field.

6. Click the send button to generate a character concept.
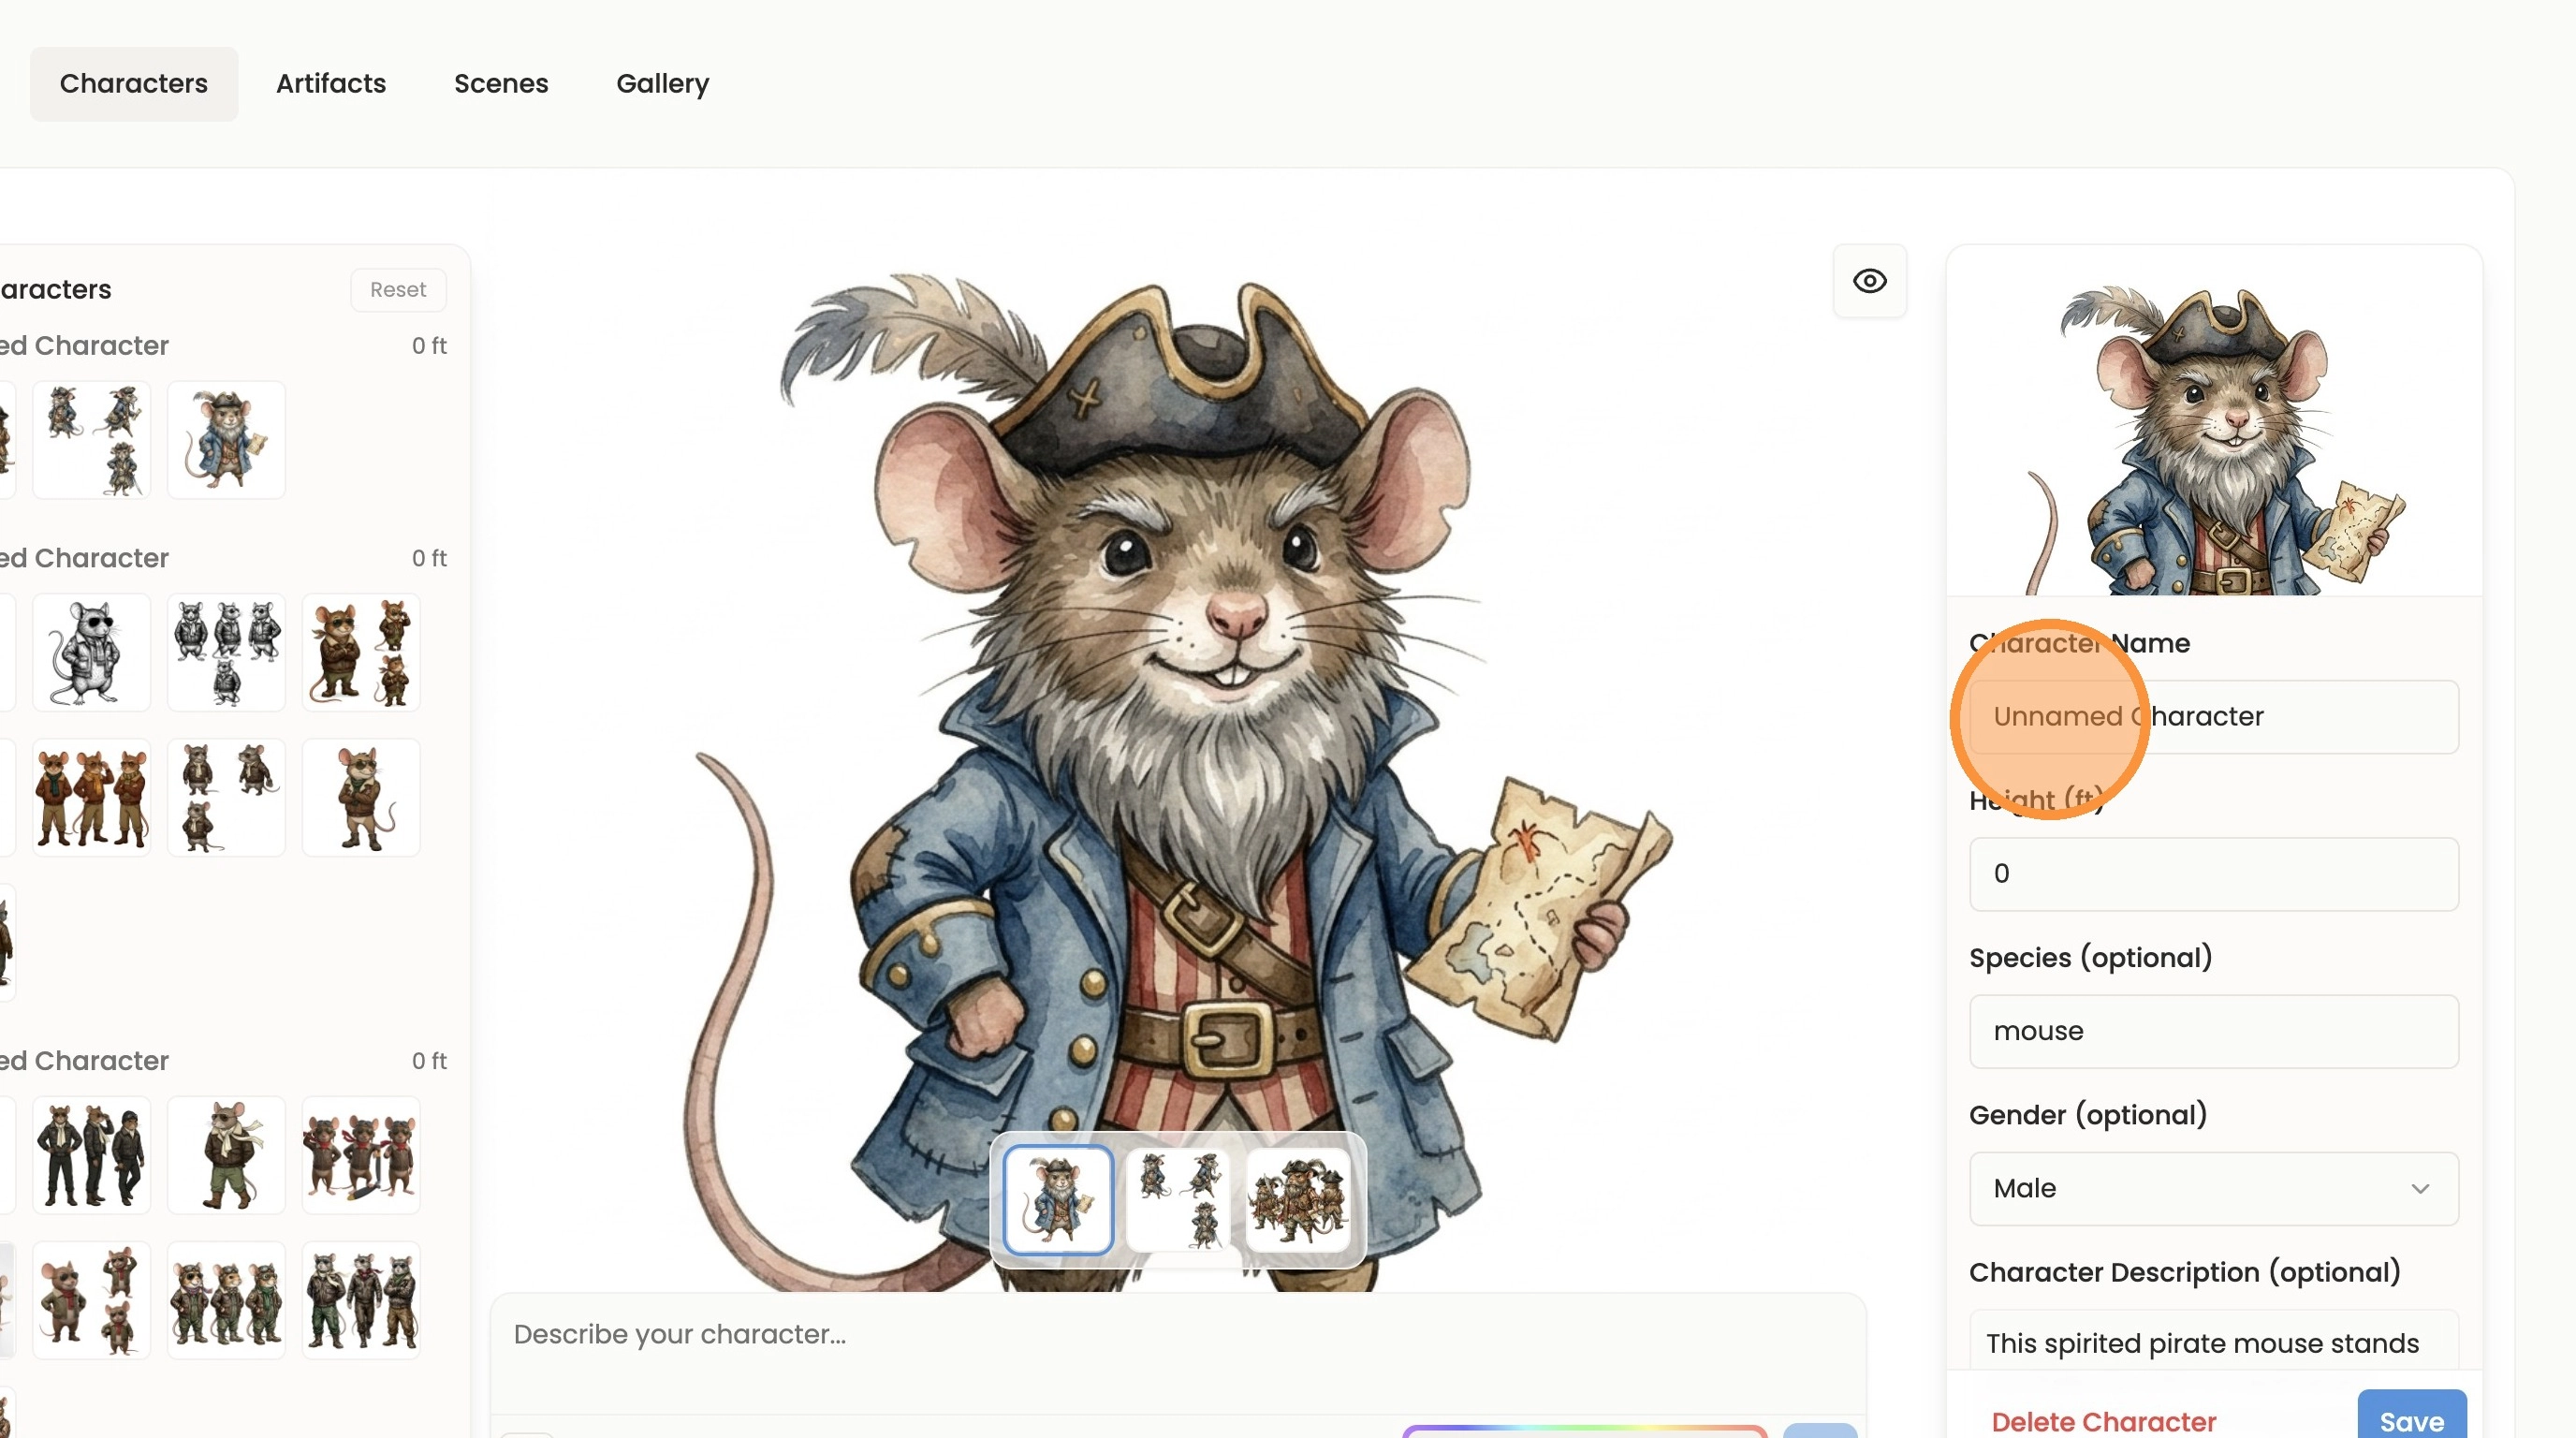
7. Give your character a name in the Character Name field. Storyloft will use this name later to understand your character and insert them in scenes. Be sure to check the description and details too.
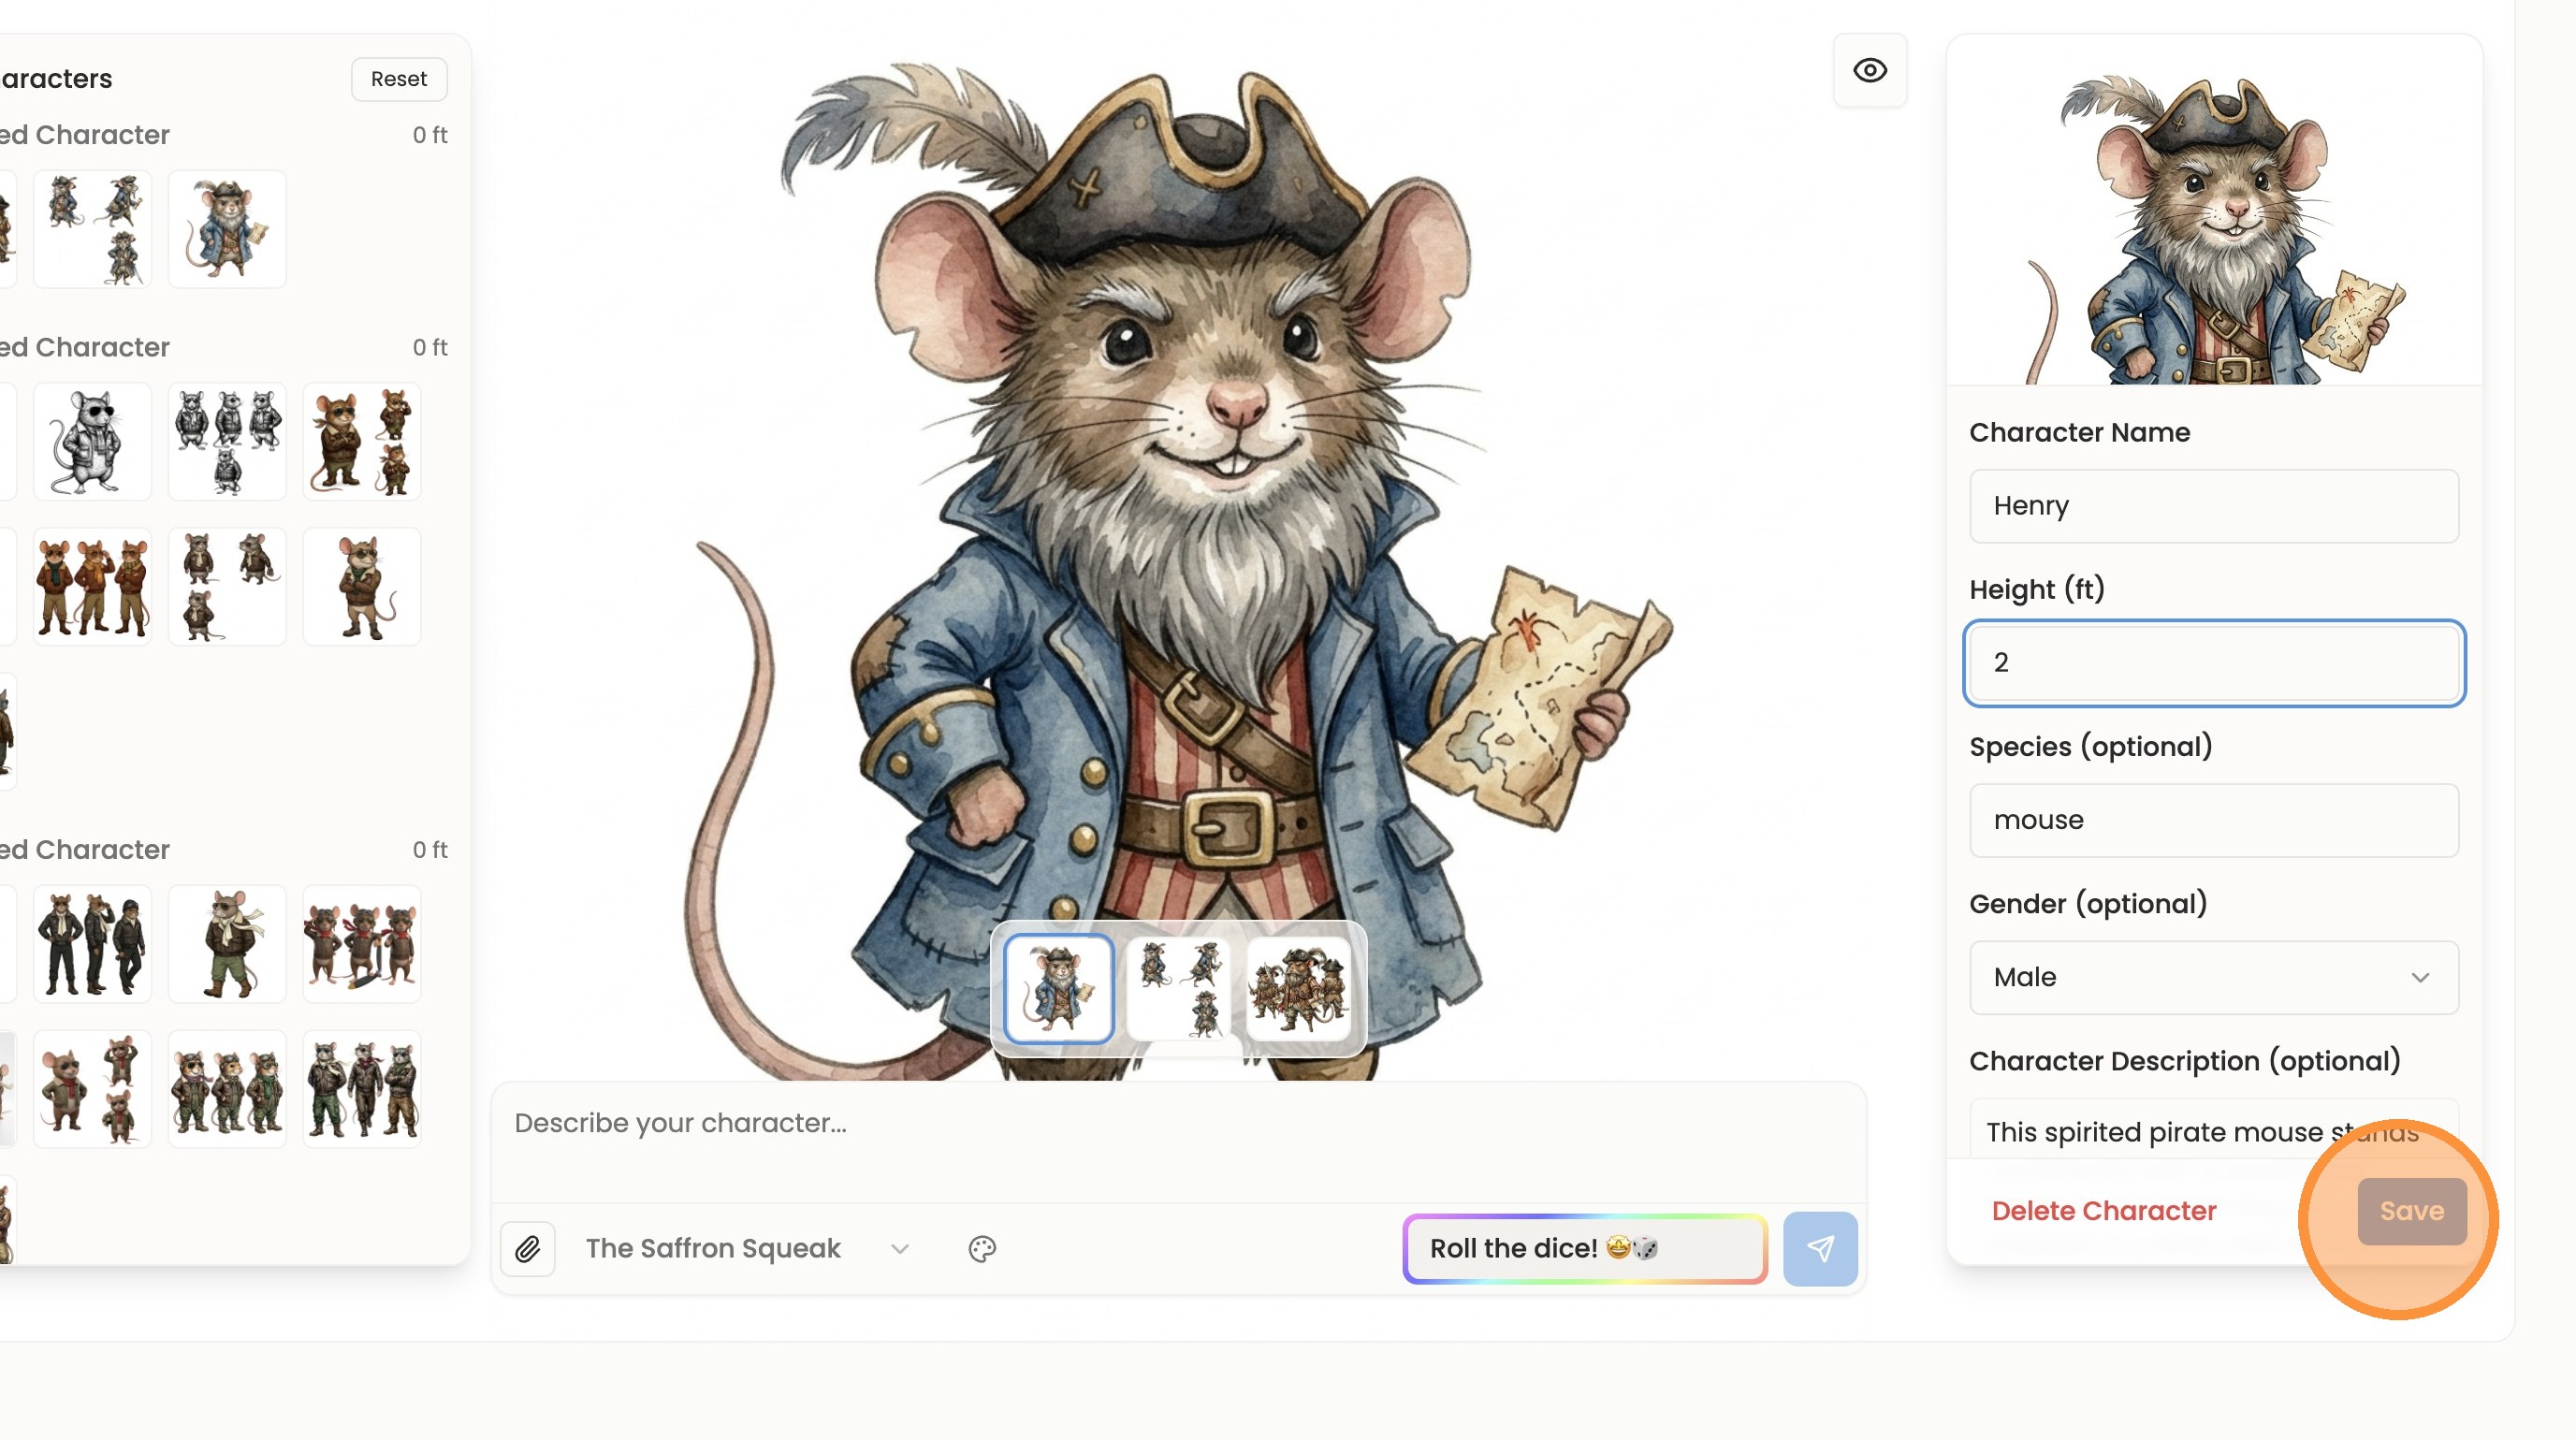
8. Character require a height to be set for character consistency.

9. Once you’re happy with the way your character looks, click “Save.”
Scene Generation
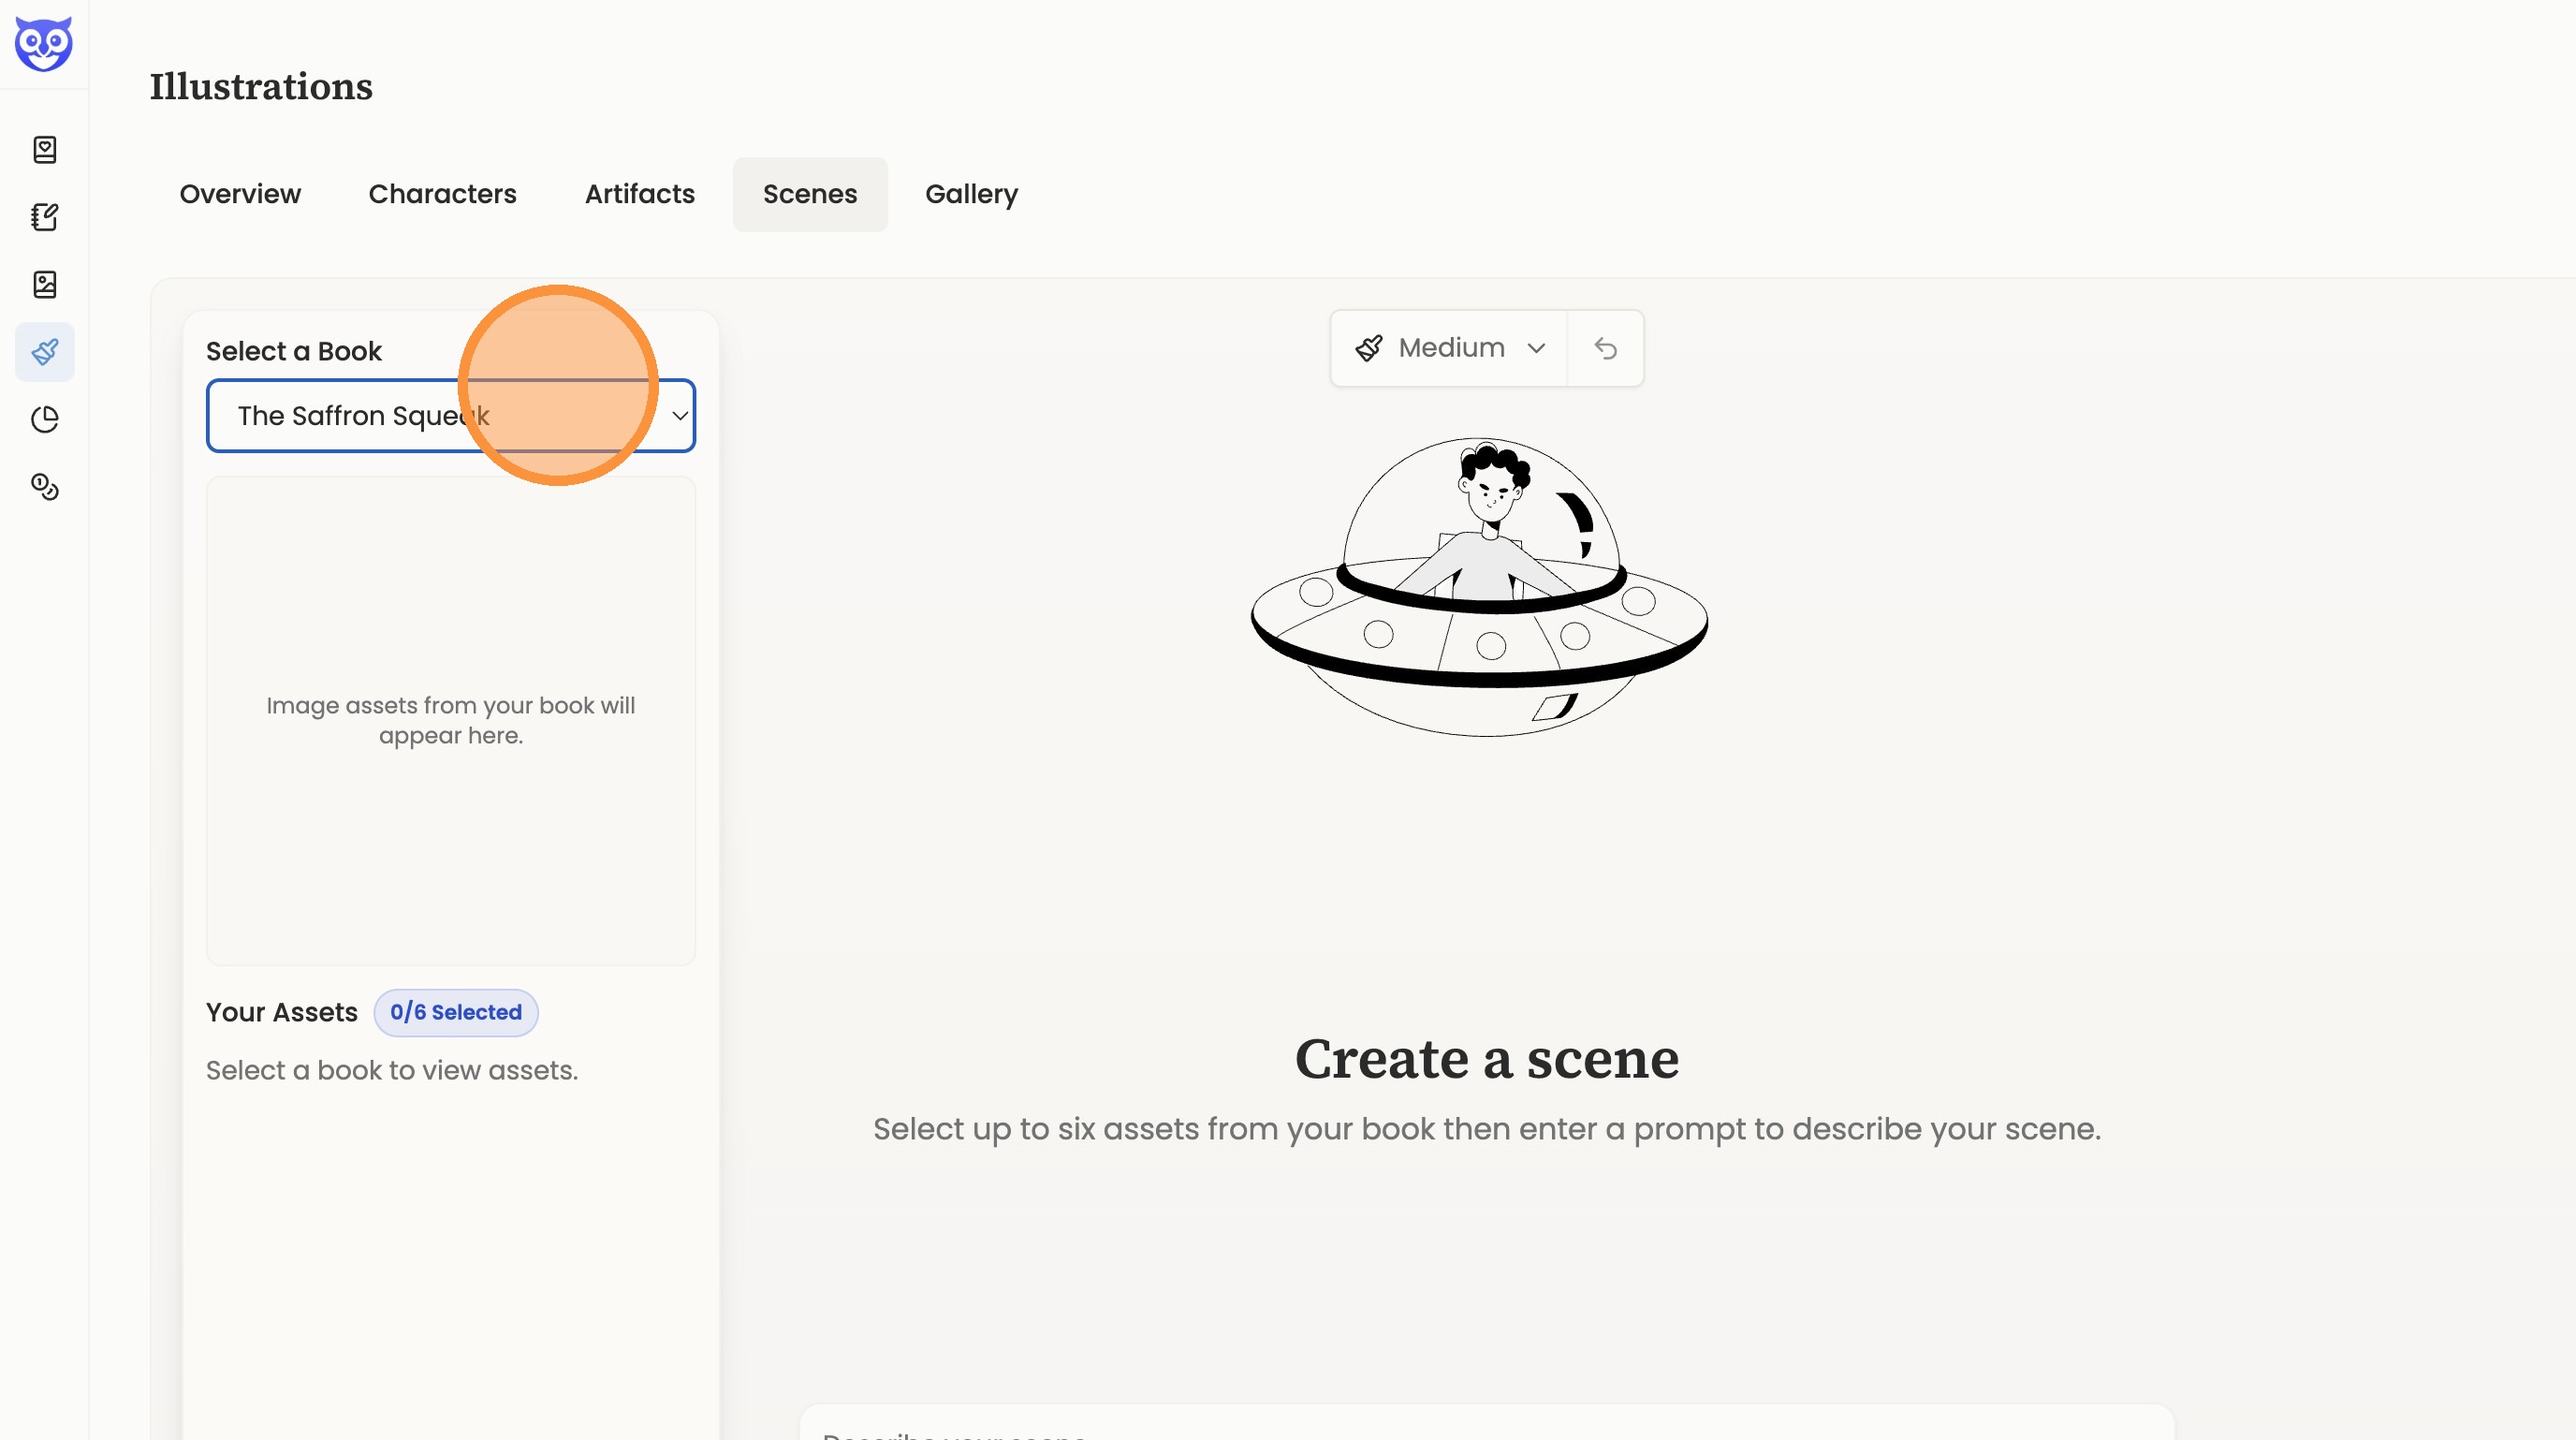
10. To generate a scene with your character navigate to the Scenes page in illustrations.
11. Select the book you want to illustrate.
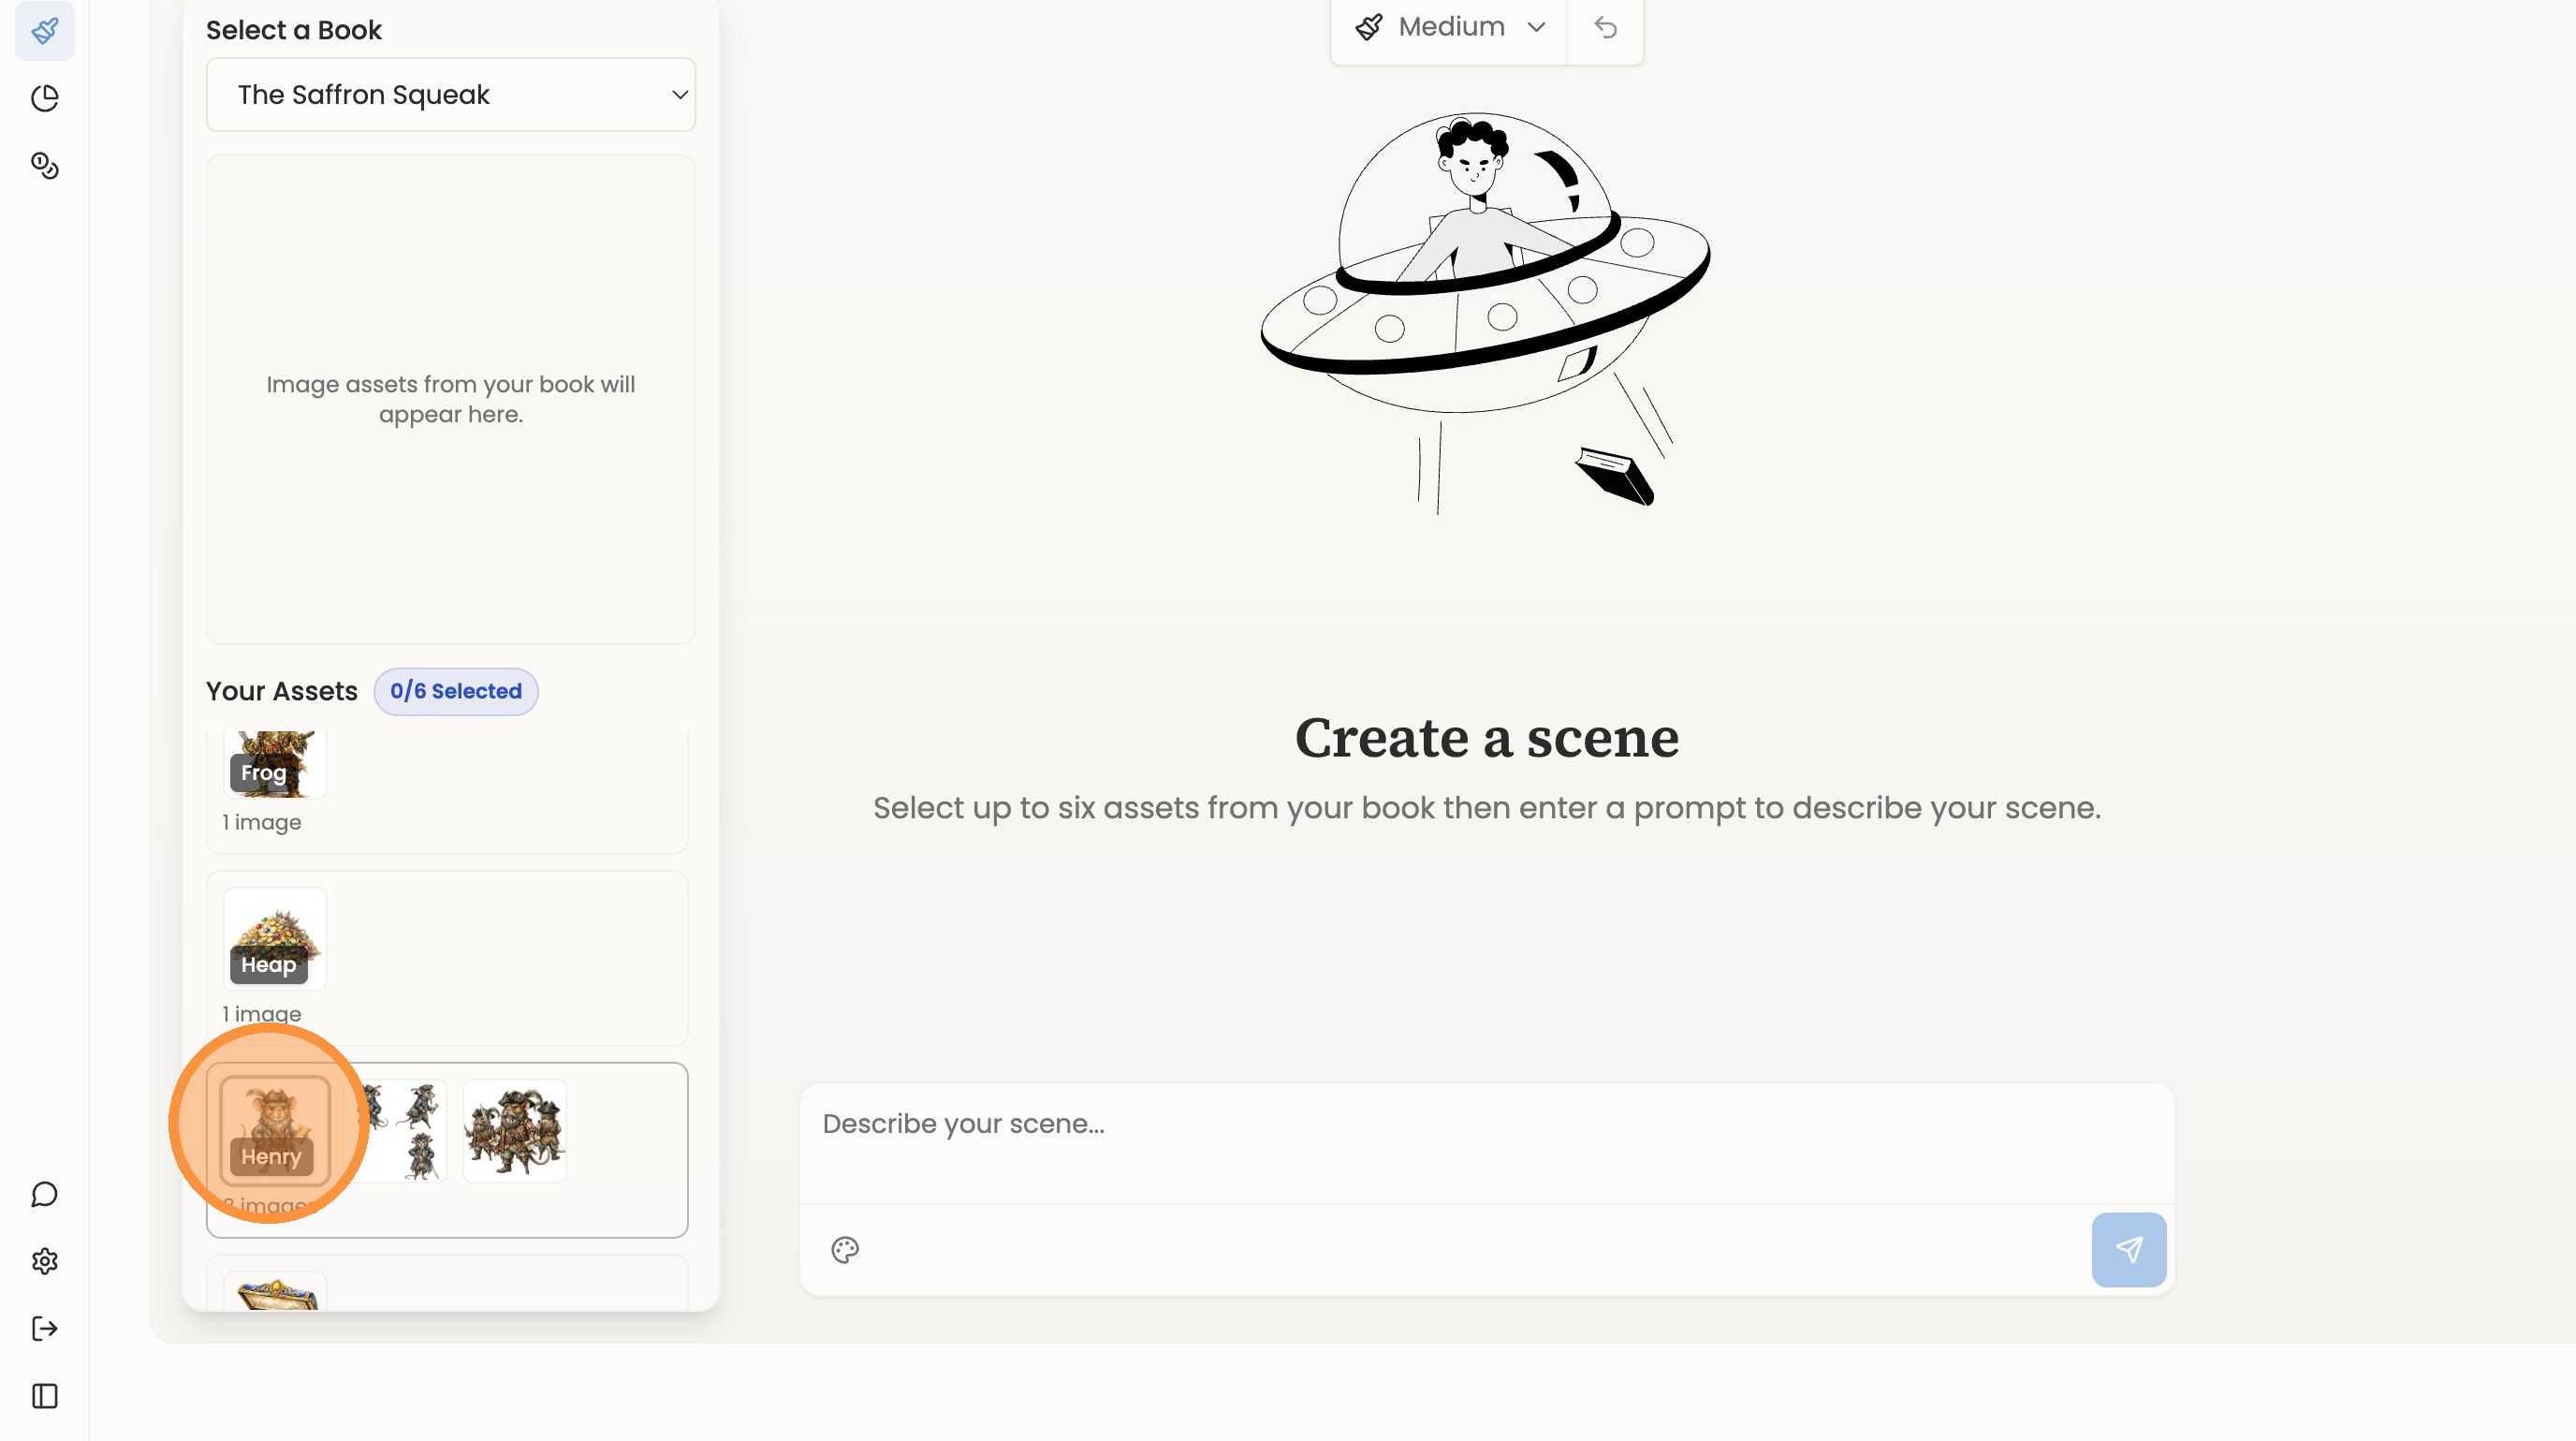
12. Select the character assets for your scene. You can choose up to six characters.
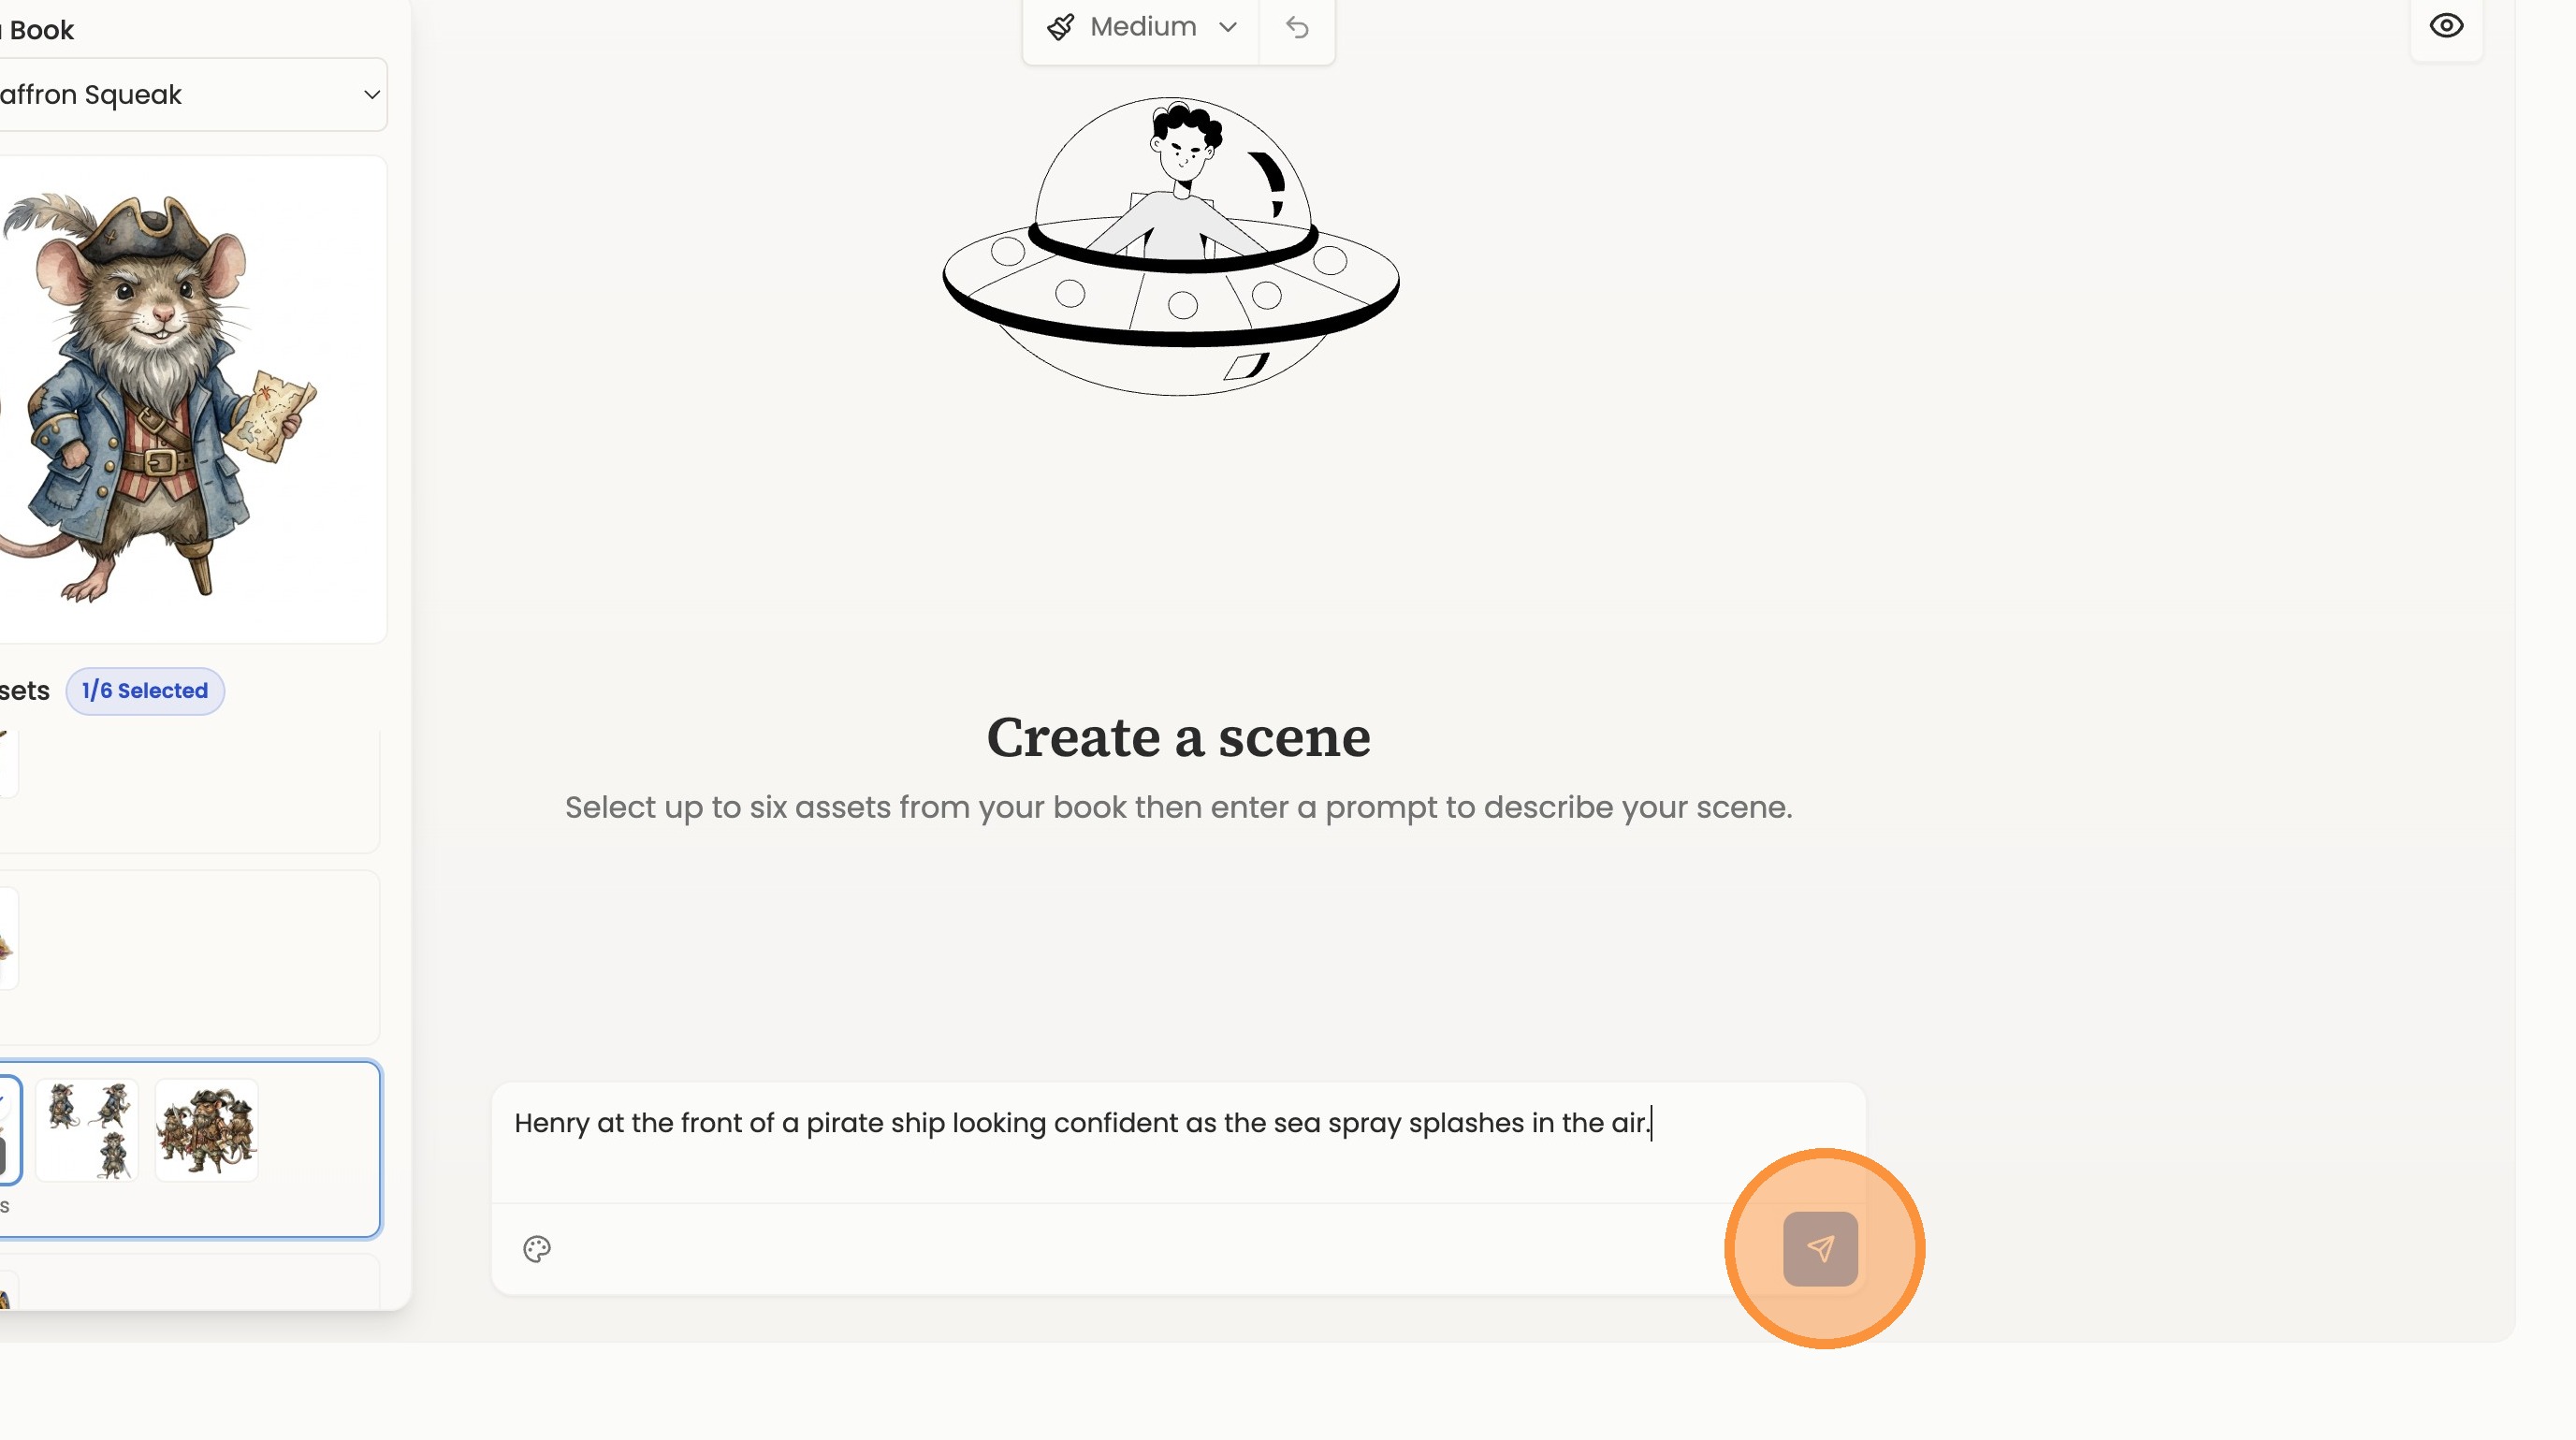
13. Describe your scene in detail using your character in narrative fashion.

14. Click the send button to generate the scene.
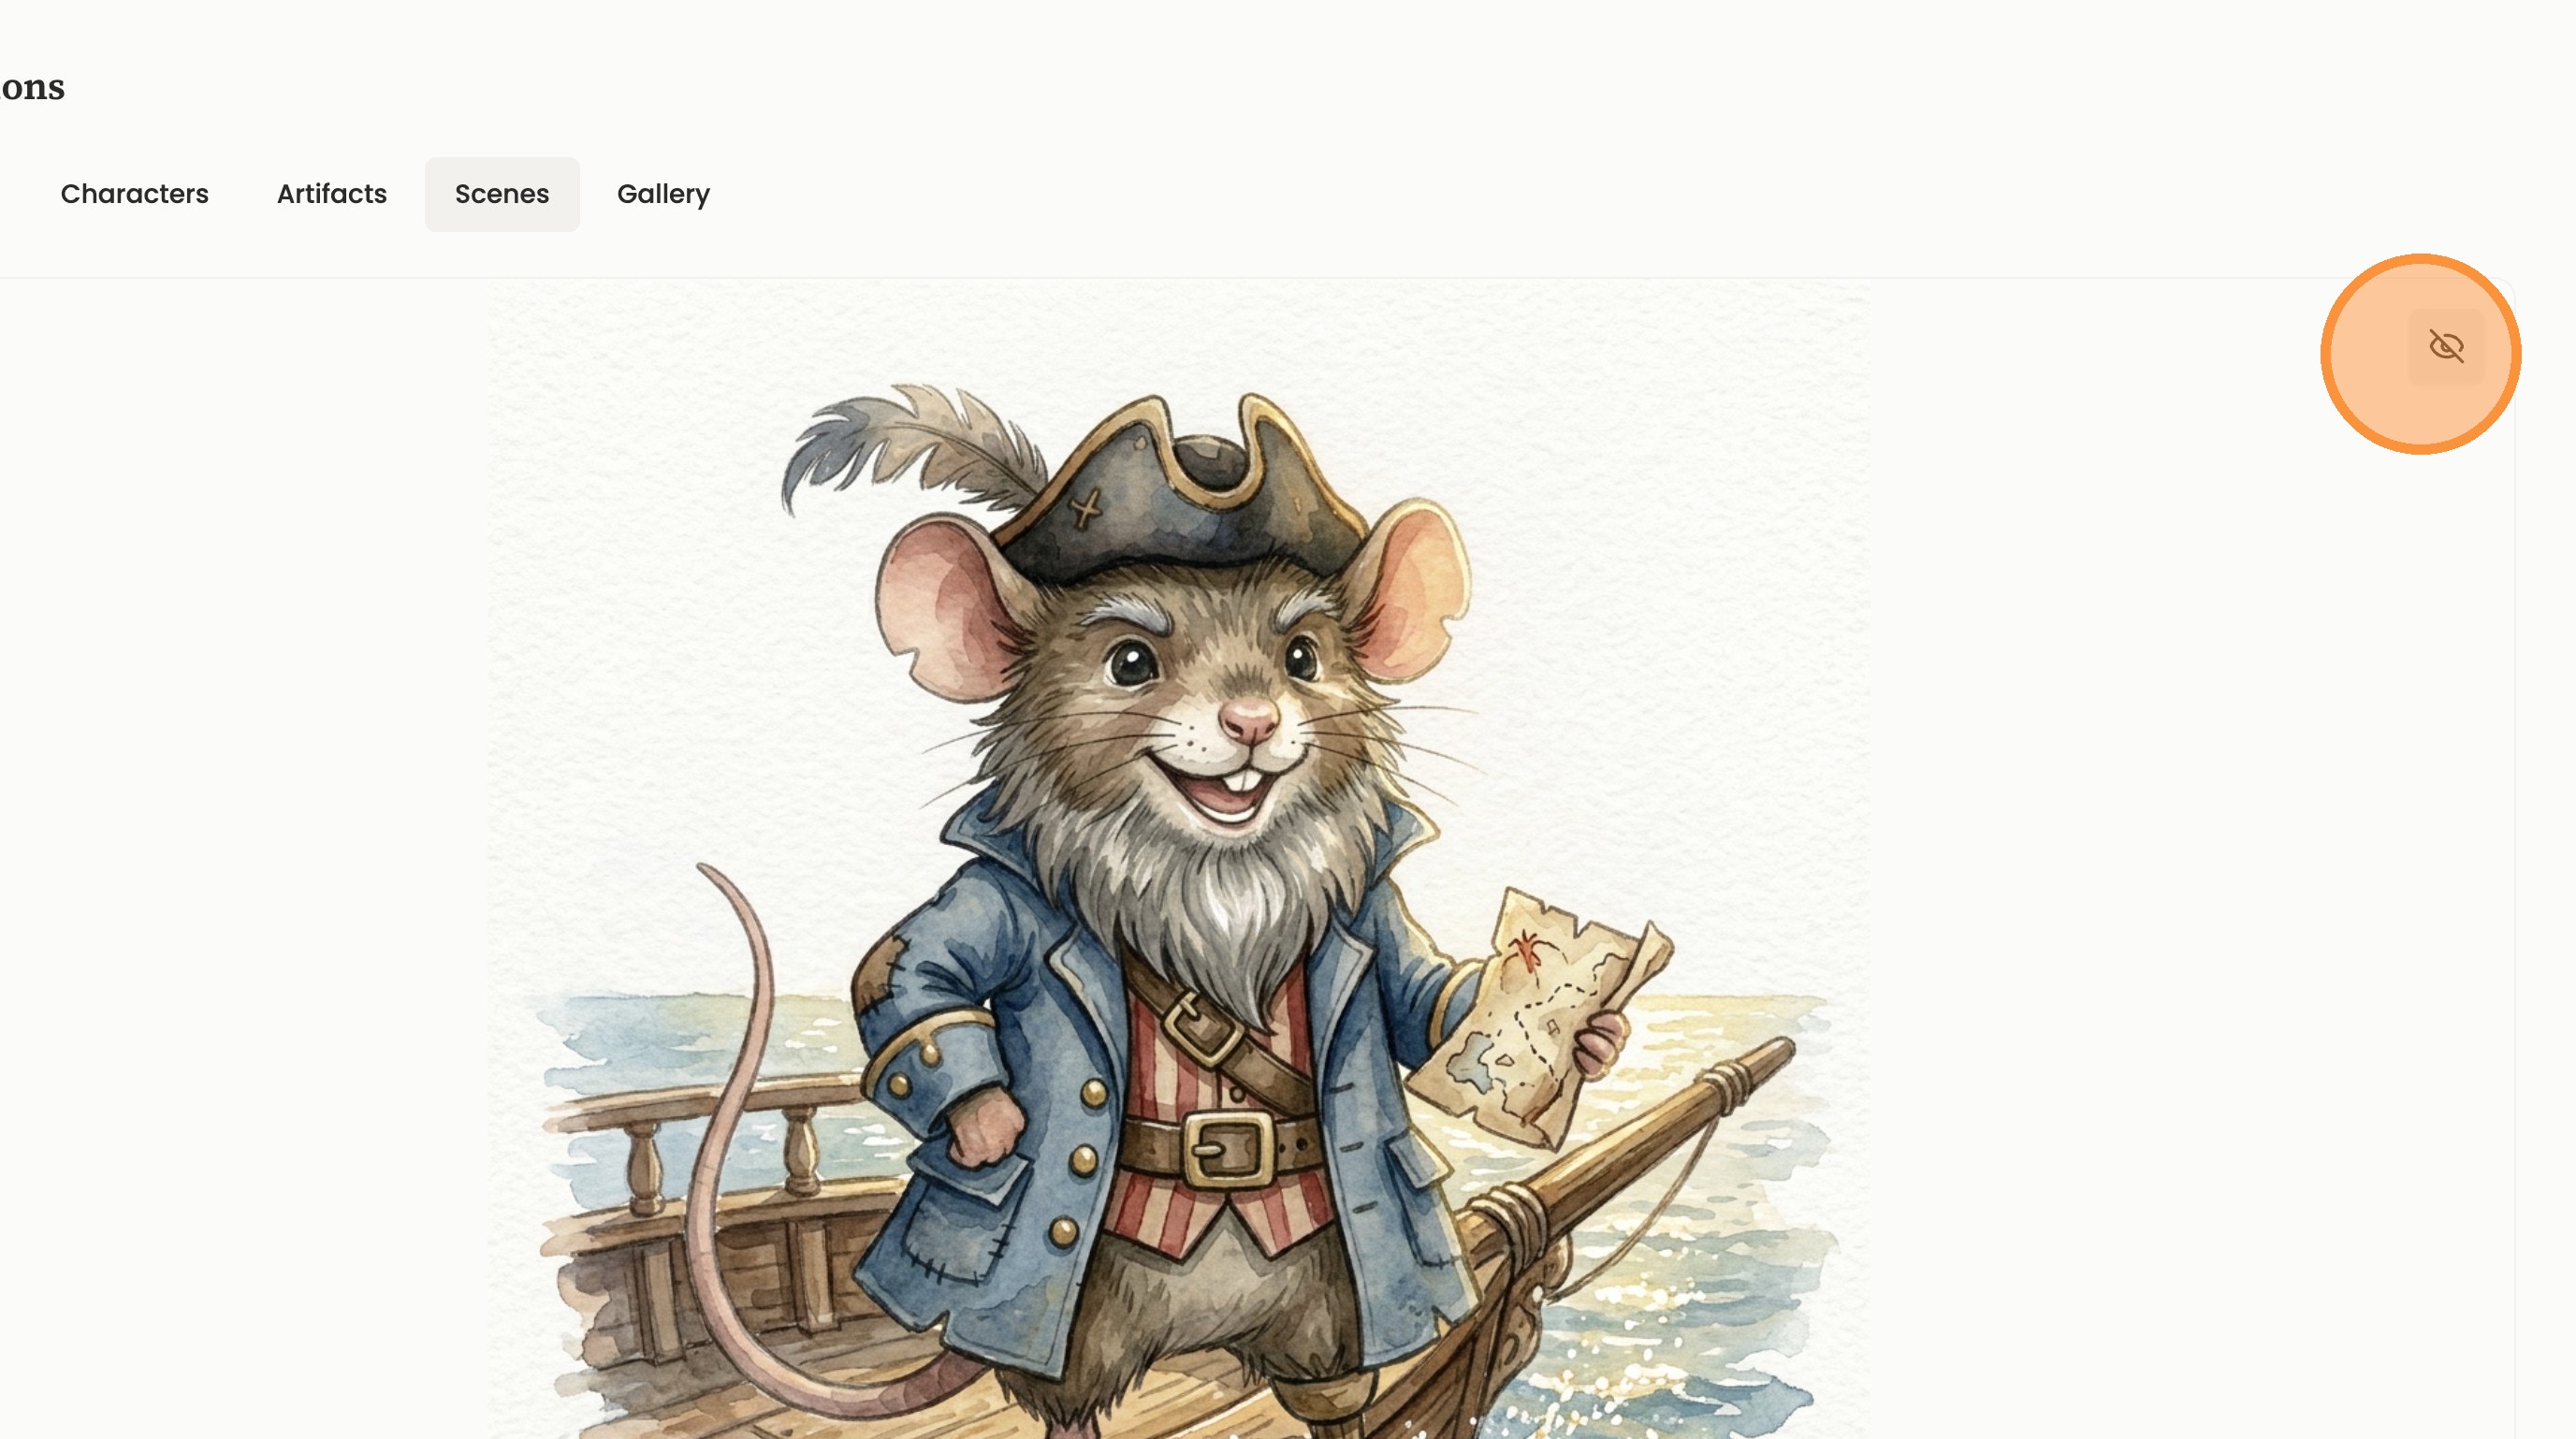
15. View the final generated scene.
Gallery Access
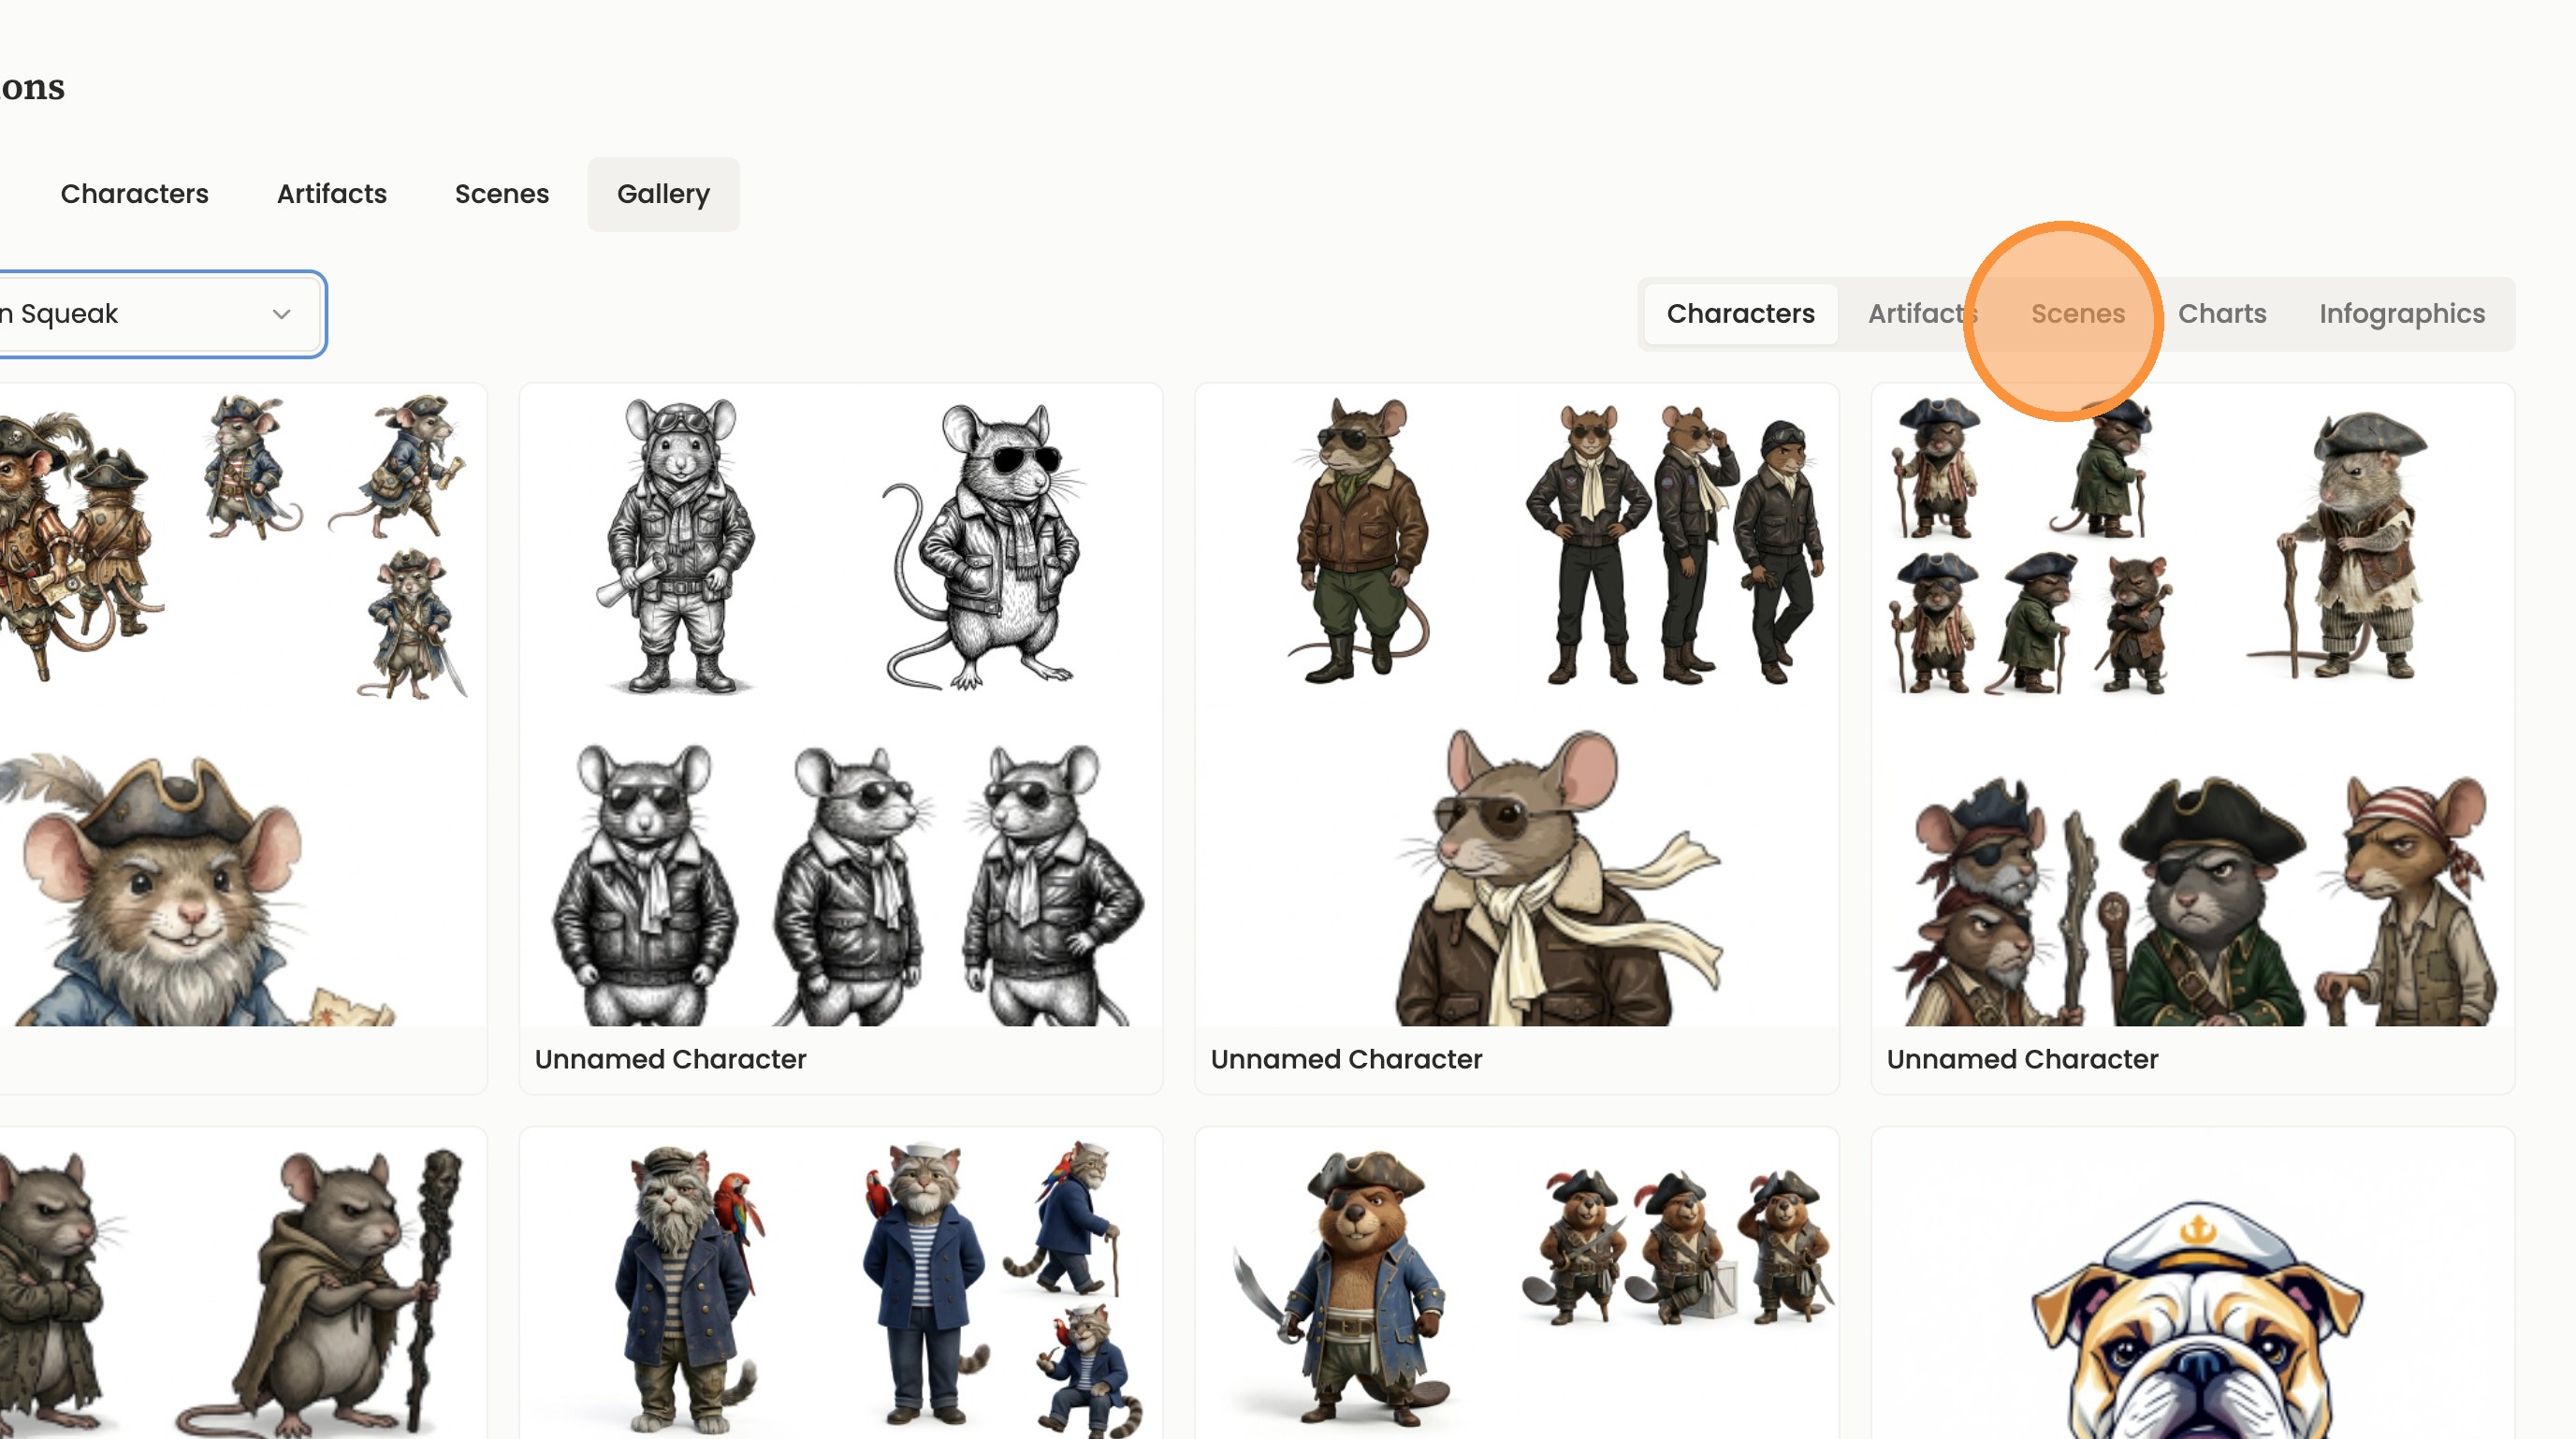
16. Click “Gallery”
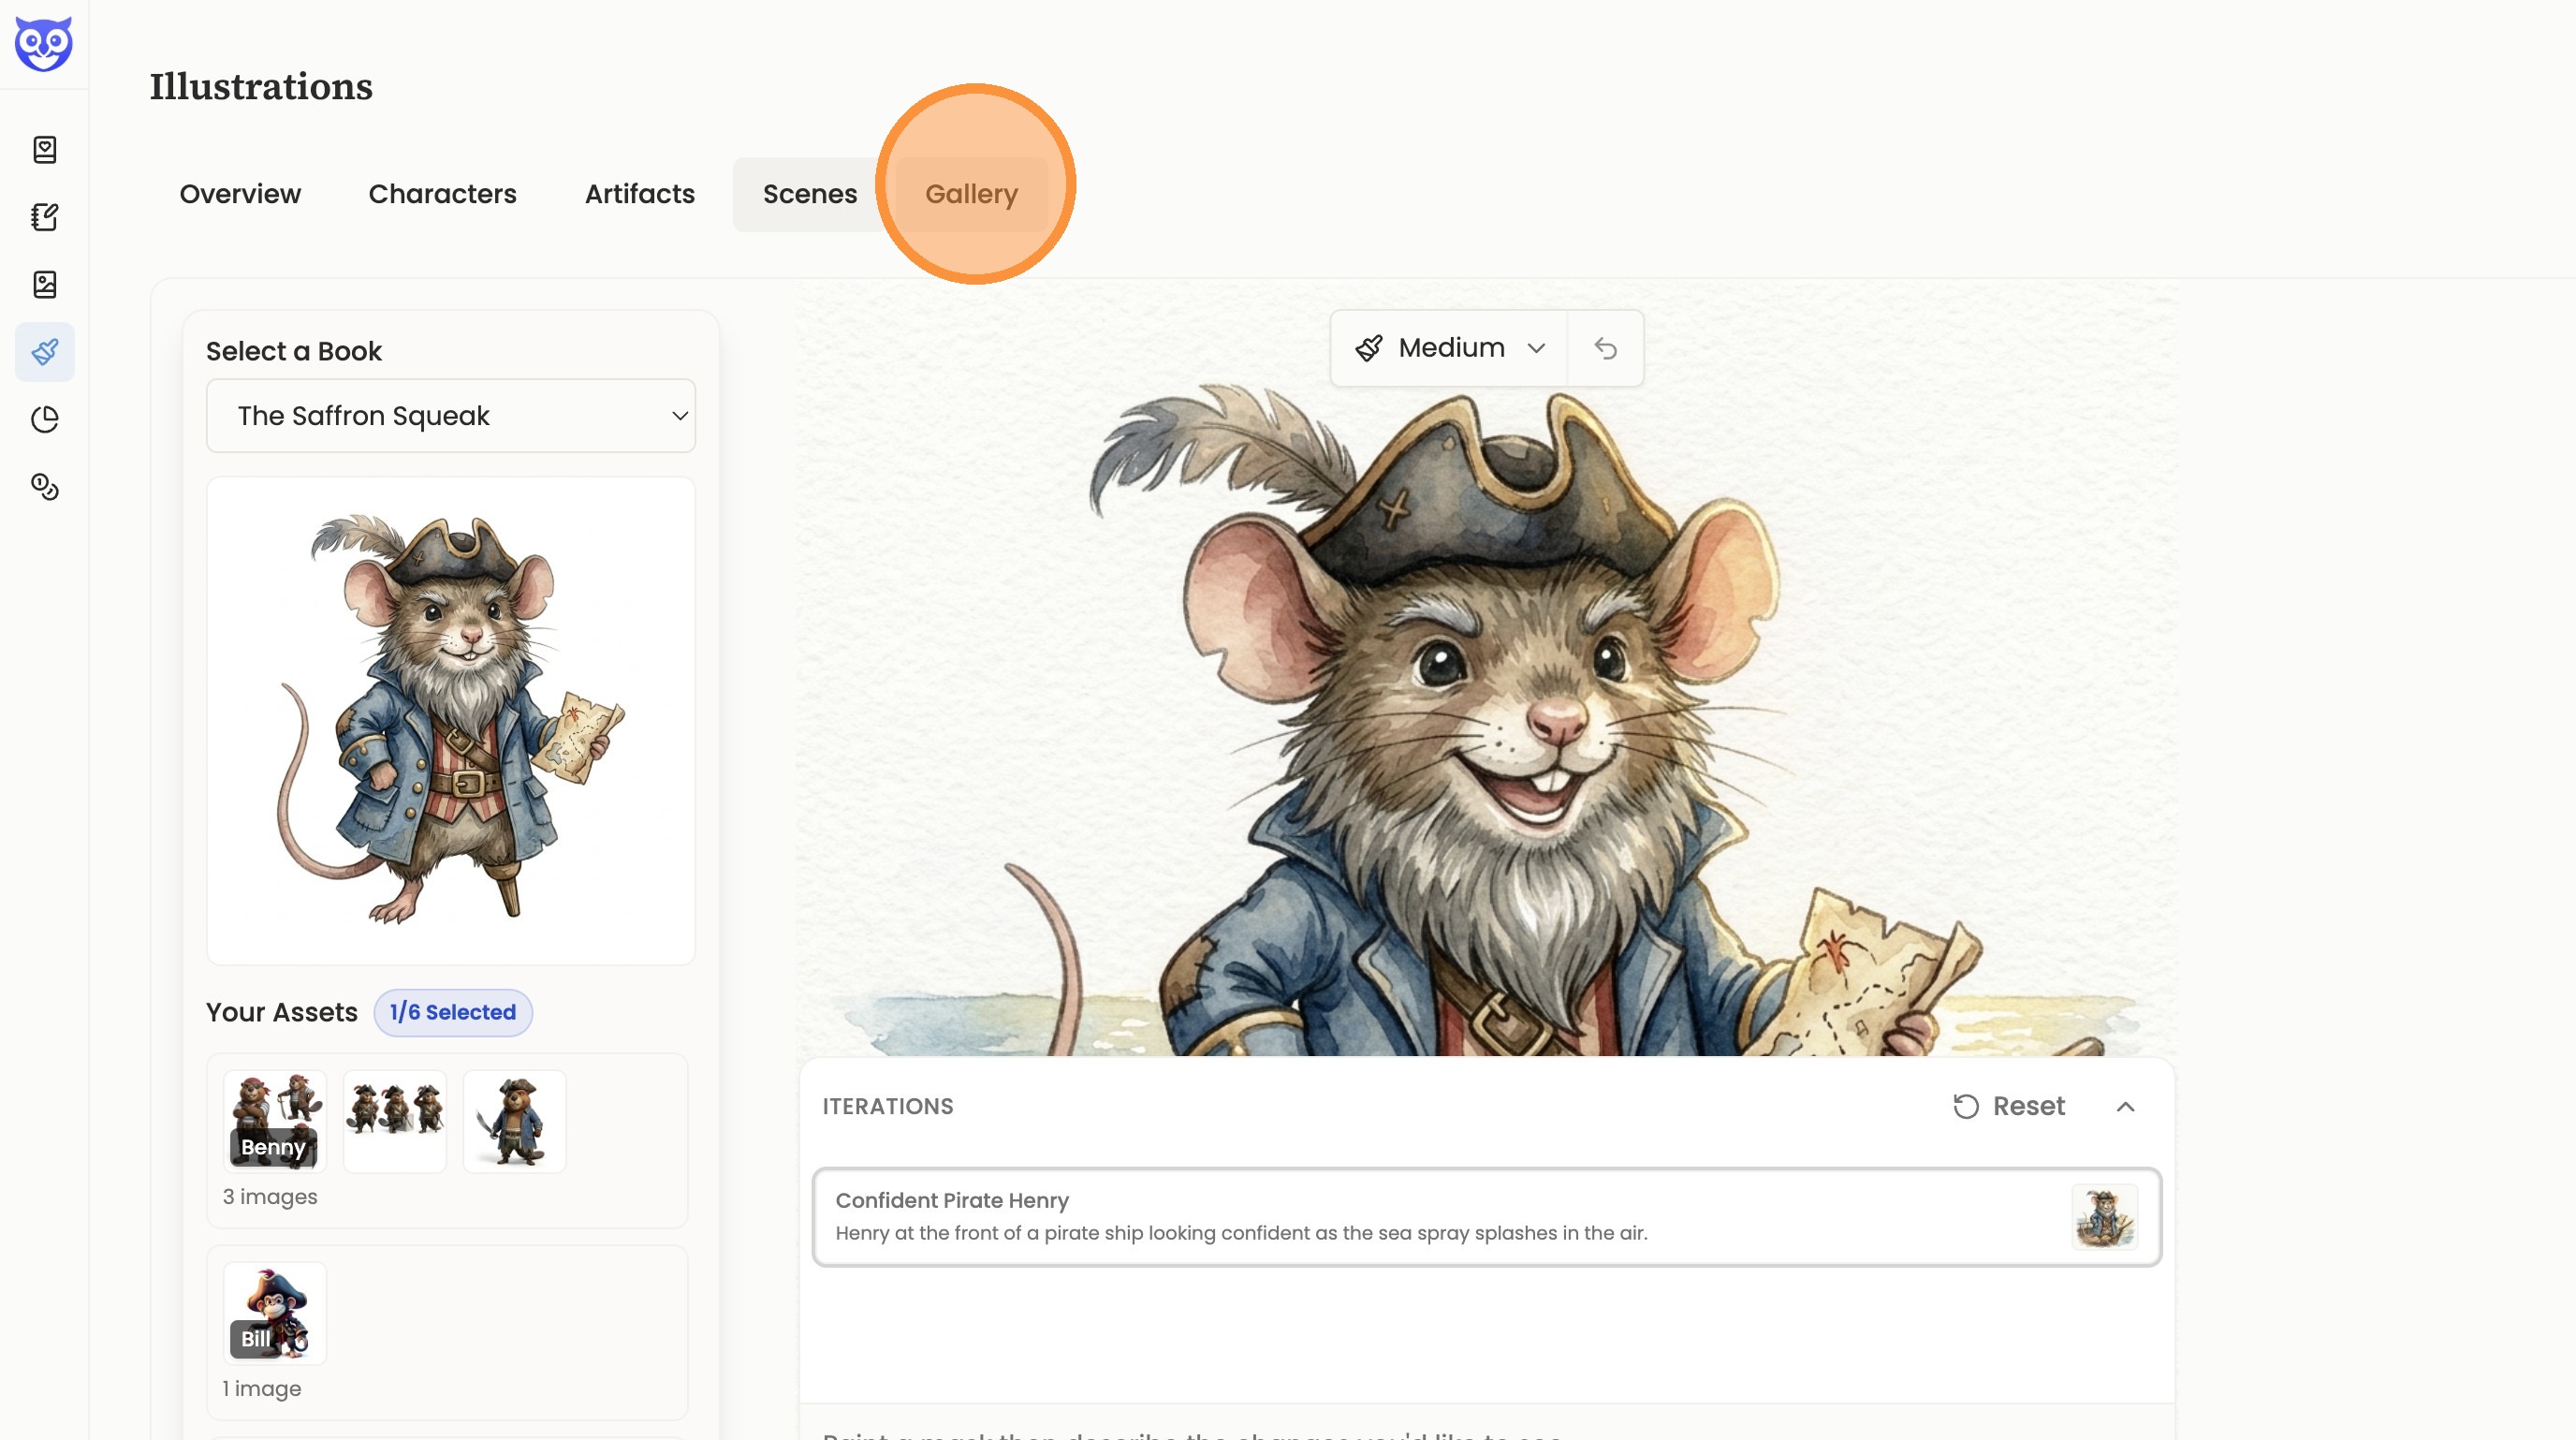
17. Select the book from the gallery list.

18. Click the “Scenes” tab to view generated scenes.